How to Easily Customize the Date and Time Format in WordPress

People have different preferences when it comes to setting and displaying the time and date on their website. Conveniently enough, WordPress comes with various date and time formats – no matter if you’re using free or premium WordPress themes. Whether you prefer a month/date format or the other way around, or whether you want your time format to be 12 or 24-hour clock – you can easily change it all to your liking. In WordPress, there are 5 different date and 4 time formats to choose from. Here’s how you can customize the date and time format in WordPress.
Step 1
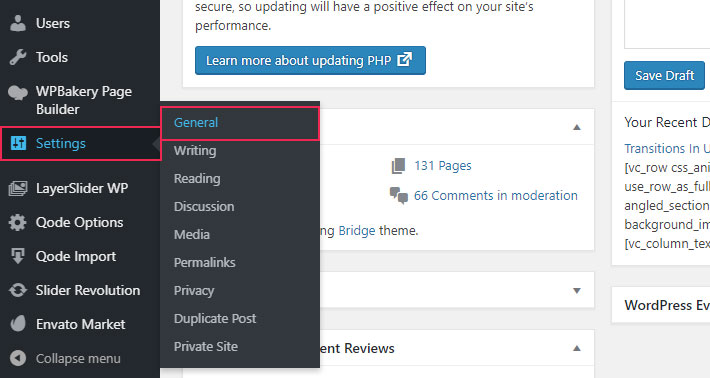
First things first, you need to access Settings > General in your Dashboard.
Step 2
Once there, the first thing that you have to set is your time zone.
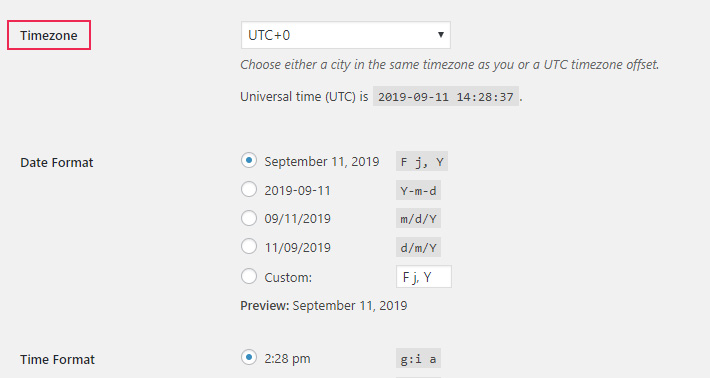
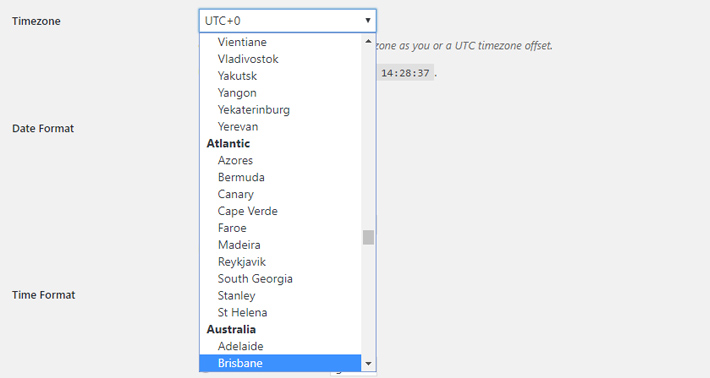
Simply type in the name of your city, and then select it from the dropdown.
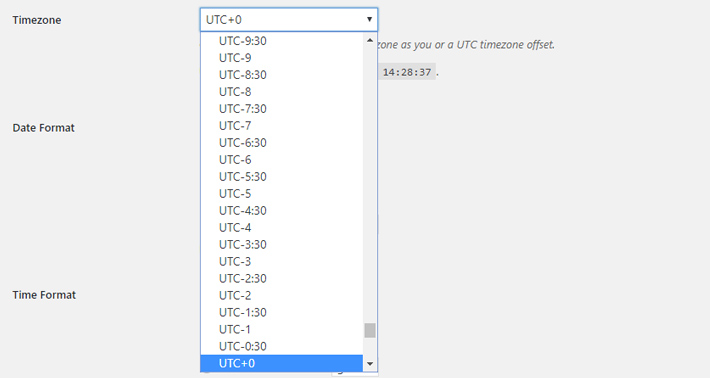
If you know your UTC time zone, you can set that up instead.
Step 3
After you’re done with selecting your time zone, you will notice the date and time format settings right underneath.
Choose one of the suggested date formats or customize your own.
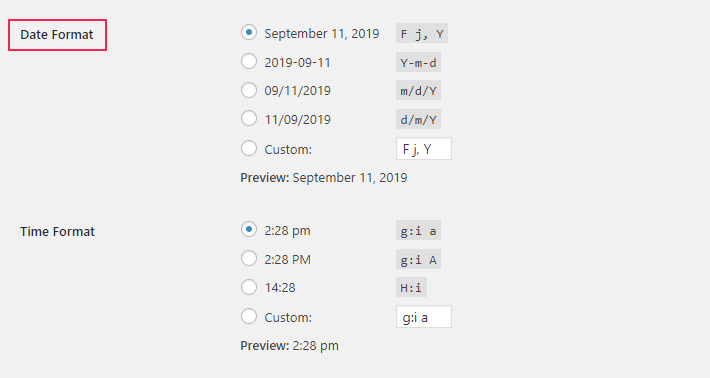
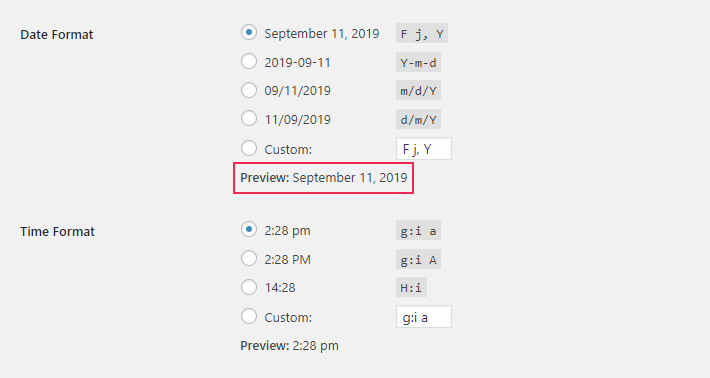
Also, while you’re selecting the desired date format, you will be able to see the previews below.
Step 4
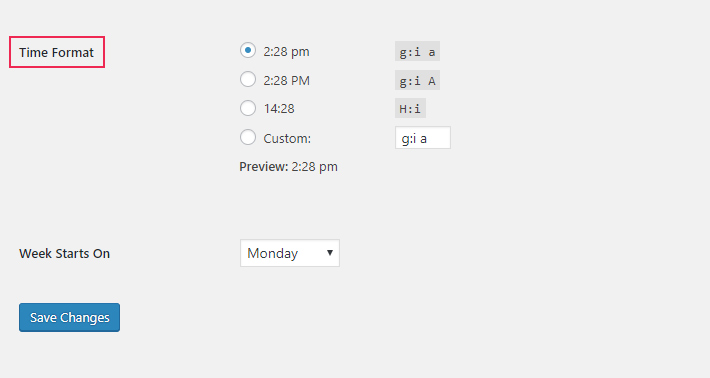
You can set the time format settings next, as they are located right below the date format.
There are 4 predefined time options you can choose from, or you can create a custom one.
Once again, you can immediately preview what you’ve selected.
Step 5
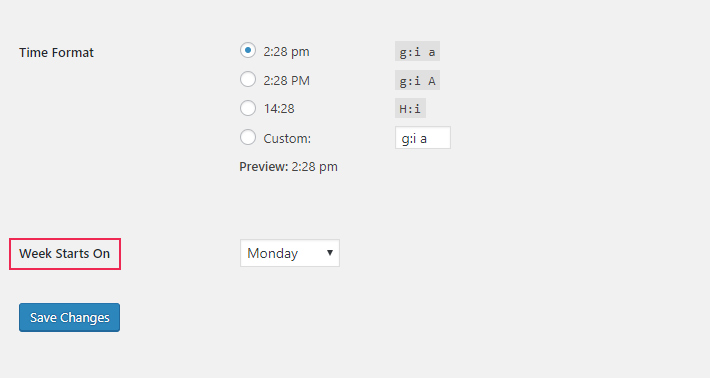
After you customize the date and time format, you can also set the day the week starts on.
Step 6
The only thing that’s left for you to do is to click the Save Changes button.
Conclusion
And that’s it! Customizing the date and time format in WordPress is as easy as it can get. Also, if you ever wish to return to a previous format or simply want to try another one, you can always access General settings and do it all from scratch.


