How to Add Google Adsense to Your WordPress Website
The road from having a website to turning it into an asset to your business is a long and arduous one. It takes planning and hard work, good decision-making, web-savviness, understanding of trends, and more than just a pinch of good luck to create a website that attracts a decent audience.
But when you do things right — choose a good niche, develop a solid content strategy, and find cost-effective ways to promote your WordPress website — you can rightfully expect to start seeing good visitor numbers.
Good visitor metrics are a sign it’s time to set up some type of monetization for your WordPress website. It’s at that point that the words “Google AdSense” should pop into your mind, if for no other reason than because Google and advertising are as inseparable as peanut butter and jelly.
Why Google AdSense?
Adding Google AdSense to your website could be a solid strategy for monetizing it. Google is Google because it excels in many different areas. Coming up with great advertising products and services is one of them, which is why it was able to line its coffers with 31% of all digital ad spending in 2019. Google Ads, the company’s advertising platform, is the leader in its field.
Google AdSense, the advertising network for publishers, is no slouch either. This platform allows eligible online publishers to show Google ads on their website and profit from their viewership. As a publisher, by using AdSense you can benefit from:
-
The network’s seal of approval, because not every website can get approved for AdSense ad placement.
-
Reliable payment system, as AdSense is known for its transparency and general fair treatment of publishers.
-
A user-friendly application process, because Google has gone to great lengths to make the sign-up process easy for everyone.
If you’d ask Google, it would add that the major benefits of using AdSense — apart from the opportunity to earn money — are the network’s propensity to display ads that match your audience and pay you the highest, as well as the control you have over the ads that are displayed on your website.
So if you’ve already done the hard part of choosing the niche for a site with a potentially good AdSense revenue, and you’ve done everything from finding a good host to picking the perfect WordPress forum theme, for example, the rest should be a breeze, right? Let’s see a couple of different ways you can add Google AdSense to your WordPress website.
How To Add Google AdSense to Your WordPress Website with the Site Kit
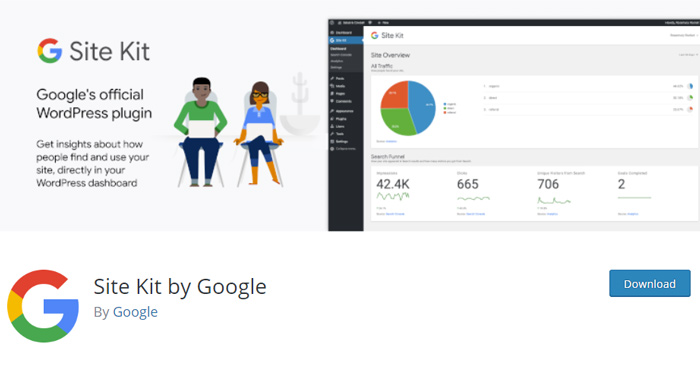
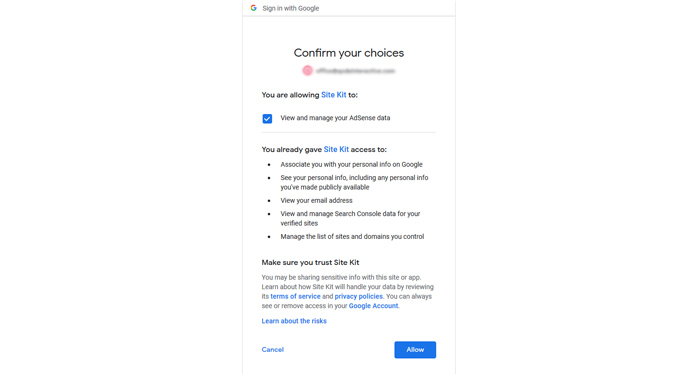
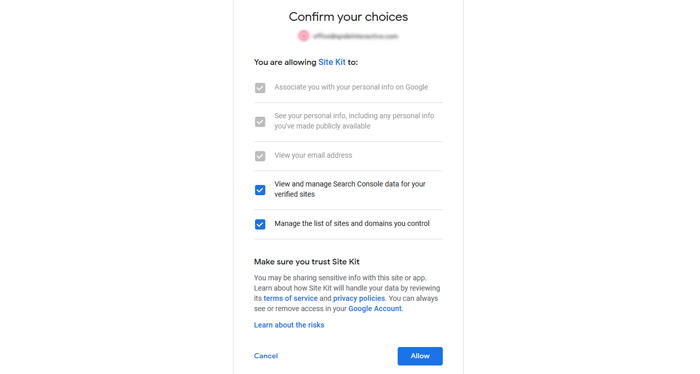
Back in October 2019, Google announced it was releasing its WordPress plugin out of beta. Called Site Kit, this plugin lets WordPress website owners connect their websites with a bunch of Google’s services, including AdSense.
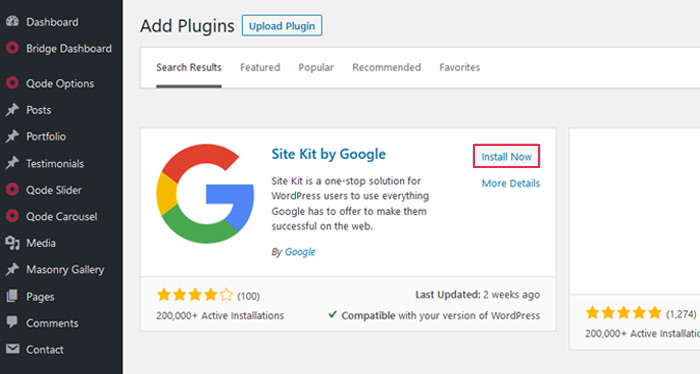
If you’re looking to add Google AdSense to your WordPress website with as little fuss as possible, doing it through the Site Kit might be just the thing for you. On the other hand, it means that you’ll have to give up some control over ad placement to the plugin and AdSense.
If you’re comfortable with this, you need to:
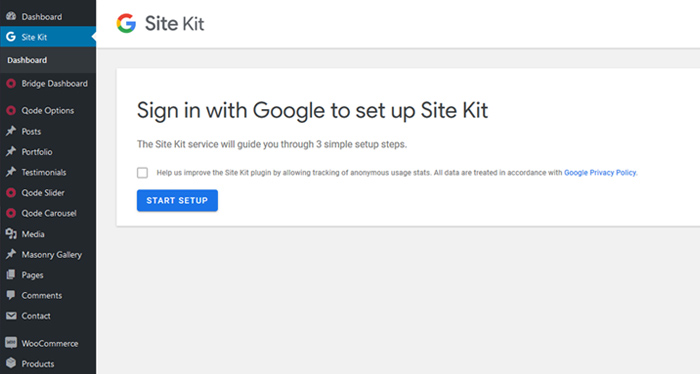
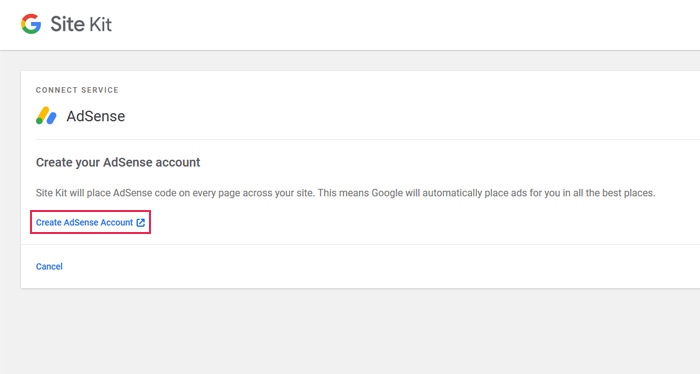
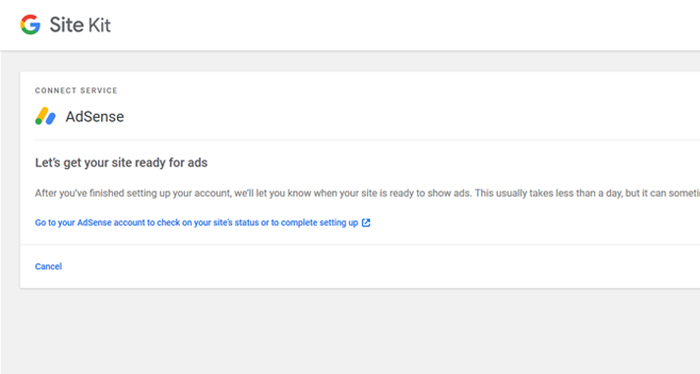
When you’re using Site Kit the way Google recommends you use it, this should be the end of your troubles — the plugin uses auto-ads to determine the size, type, and placement of ads on your website automatically. But it’s okay to want to be more involved with the whole process, so let’s see what other ways you have to connect your website to AdSense and place ads on it.
How to Connect a WordPress Website with AdSense
During the regular registration process, you’ll be asked to provide the address and language of your website. Fast forward a couple of steps where you provide your own information and AdSense will give you a piece of code you’ll use to connect it to your WordPress website.
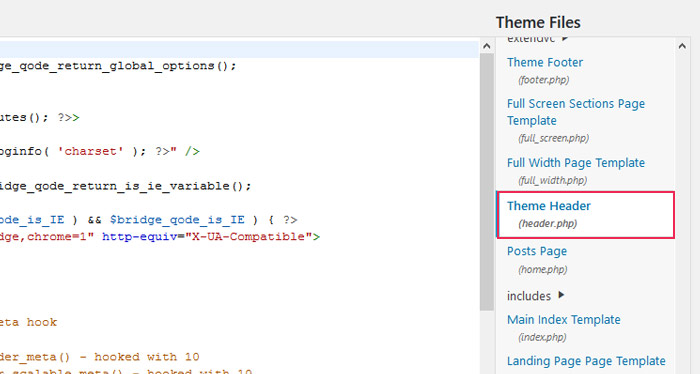
You’ll need to place that piece of code into the Theme Header of your current theme, between <head> and </head> tags.
There are two different ways you can do it: manually and using a plugin.
Connecting AdSense to Your Website Manually
Editing the code of your WordPress website’s theme can be a terrible idea. If the author of the theme releases an update for the theme and you decide to install it, every single change you’ve made to the theme will disappear instantly.
You can imagine how big of a problem this might cause to your website’s ads and, ultimately, your income. That’s why you should only connect AdSense to your WordPress website manually if you know what a child theme is and how to create one, or if you have someone who’ll do it for you.
If that’s the case, you need to:
Your next step is to wait until your website has been reviewed. If any of these steps are confusing to you, or if you can’t create a child theme, don’t worry — there’s an even easier way to add the code to your website.
Connecting AdSense to Your Website Using a Plugin
For the website administrator who wants a way to permanently add code to the theme without having to deal with child themes, a plugin is the best solution. WordPress plugins are easy to install, so we’ll use the Insert Headers and Footers plugin.
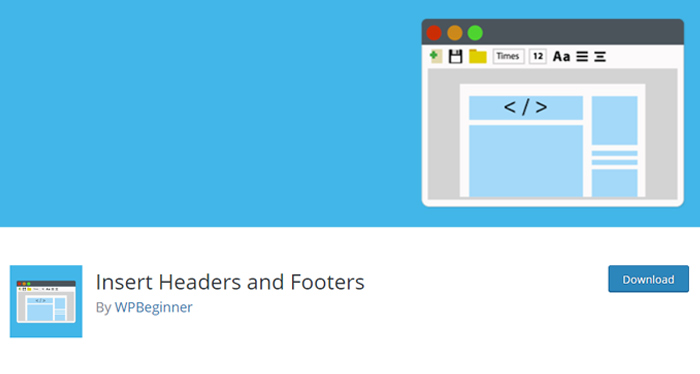
Here’s what you should do to connect AdSense to your website using this plugin:
After that, you’ll have to wait for Google AdSense to approve your website. Websites don’t always get approval. The usual reason this happens is because of a lack of content, for example, or the use of plagiarized content on your website. If this happens to you, don’t despair — you’ll have the chance to make it right and reapply.
Best WordPress Themes for Marketing
View Collection


How To Add Google AdSense Ad Units to WordPress
When you finally get the green light to display ads on your website, it’s time to quickly go from learning about ad units, to making and inserting them. The easiest way is to let AdSense use auto-ads to take care of everything. But that way might not be suitable for everyone.
If you want control over ad size and placement, you’ll have to do all the work on your own. There are two different ways to place ad units on your website. Once again, you can do it either manually, or with the help of a plugin.
Adding Google AdSense Ad Units to Your Website Manually
To be able to place an ad unit into your website and eventually display ads, you’ll need to get a piece of code from AdSense. To get that code, you’ll need to create the ad unit. Head over to the AdSense website, and under “Content” find “Ad units.”
Click on the “New ad unit” button and go through the whole process of creating one. Make sure you pick the responsive ad size — you want people visiting your website via mobile devices to be able to view the ads, too. You’ll also get to choose the type of the ad and its style — text and display ads usually work best.
Once you’ve created the ad unit, AdSense will give you a piece of code to paste to your website. Because you’re doing this manually, you’ll have to paste it by hand on every post where you want to display ads in-text. That can be a lot of work, which is why the manual way of doing it is only recommended if you want to display ads on a limited number of posts.
If you want to have the ad appear in the sidebar, however, you should copy the code from the ad unit and:
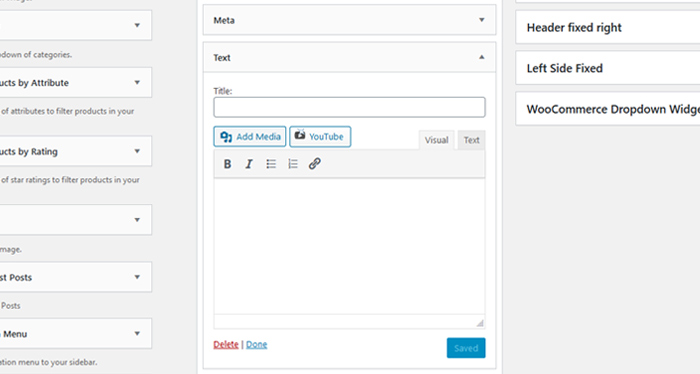
Placing ads inside your blog posts isn’t that difficult, either — you just need to paste the code between two paragraphs of content, for example. Ideally, you’ll run a couple of tests to determine the best possible placement for ads on your website. Closer to the top of the page is usually better.
Adding Google AdSense Ad Units to Your WordPress site Using a Plugin
If you want to automate some of the processes, but not all, using plugins is the middle ground between manual code insertion and using auto-ads. With different plugins, you’ll have different levels of involvement. The Head, Footer, and Post Injections plugin, for example, requires you to manually insert the code into it.
On the other hand, the Advanced Ads plugin will fetch your AdSense code for you. It also has a lot more features than the simple code injection. In this case, you’ll want to choose the plugin that offers you the level of control you want to have — nothing more and nothing less. And when you find one, you know the drill: install it, feed it code or give it permission to feed itself and adjust the options as you go.
Let’s Wrap It Up!
Of all the different methods to monetize your website, Google AdSense is among the most popular ones. It’s easy to set up and use, and with the right website it can quickly become a nice income stream for its owner.
But Google AdSense is also picky, because they won’t let just any website join the network. That’s why you shouldn’t even try doing it until you have plenty of quality content and an established audience. And when the time comes to add the code, remember that you’ll always have the choice between full auto, manual, and plugin-assisted website connection and ad management. Pick the one that fits the best.
