What Is a Do Not Sell Button and How to Add It in WordPress

The saying “if you are not paying for it, you are the merchandise” was originally used to refer to television advertisements, but it’s taken on a new meaning with the advent of the internet. Recently in particular, we have all witnessed rising concerns about personal data security and internet privacy. Things happen faster online than they do in real life, but the authorities have begun responding to user demand for more security and better control on what website operators can do with the data the users provide to them, first with GDPR, and now with CCPA and the Do Not Sell button.
Installing a Do Not Sell button is the main subject of this article. But before we get into the nitty-gritty of the how-to, let us take some time to expand on the what and the why. Here’s what we will be discussing here:
Qode Themes: Top Picks
View Collection


CCPA stands for the California Consumer Protection Act, which is a piece of legislation governing privacy rights and consumer protection in the US State of California. It came into effect January 1st 2020 and was later expanded by the California Privacy Rights Act in November 2020.
Even if your business is not based in California, you should note that it applies to any for-profit entity which does business in California (which means worldwide, including California, not limited to it) and either has annual gross revenue over USD 25 million, has access to the personal information of 50,000+ consumers or households, or earns more than half of its annual revenue from selling of consumers‘ personal information.
But what exactly is “personal information”? The definition provided by the CCPA is that personal data is any “information which identifies, relates to, describes, is reasonably capable of being associated with, or could reasonably be linked (directly or indirectly) with a particular consumer or household such as a real name, alias, postal address, unique personal identifier, online identifier, Internet Protocol address, email address, account name, social security number, driver’s license number, passport number, or other similar identifiers“.
This word salad basically makes names, login names, street addresses, e-mail addresses, and IP addresses, among other things, personal data subject to protection under the CCPA.
Additionally, the selling of personal data is any disclosure of this data by any means in exchange for money or anything else of value.
If CCPA applies to your website, you should probably do a compliance check and implement any and all measures necessary to continue with business as usual. Simply put, any business must provide a way for the users to opt out of businesses selling their personal data.
In more specific terms, a business is required to:
-
have a page on their website titled “Do Not Sell My Personal Information” on which users based in California can opt out of sale of their personal data;
-
clearly outline the right to opt out in the privacy policy and link to the “Do Not Sell My Personal Information” page from the privacy policy and the home page;
-
do not sell user information for a minimum of 12 months after the user‘s having opted out; and
-
have a way to prove they are respecting these user requests.
Violations of the CCPA are subject to per violation fines of USD 2,500 to 7,500, meaning that a business which services thousands of users may face millions in fines.
A Do Not Sell button is a button which a website owner can use to comply with CCPA easily. It is simply a button which a user clicks to opt out of the sale of their personal information as per the CCPA.
You can add this button to any page of your website, not just the required home and privacy policy, in order to make it easy for your users to opt out of data sales.
Of course, you may not need to comply with the CCPA if you are not conducting business with Californian users. However, given that users have come to appreciate the value of their data and their privacy, they might also appreciate your complying with CCPA – they will see it as upholding a higher than required standard for user data safety.
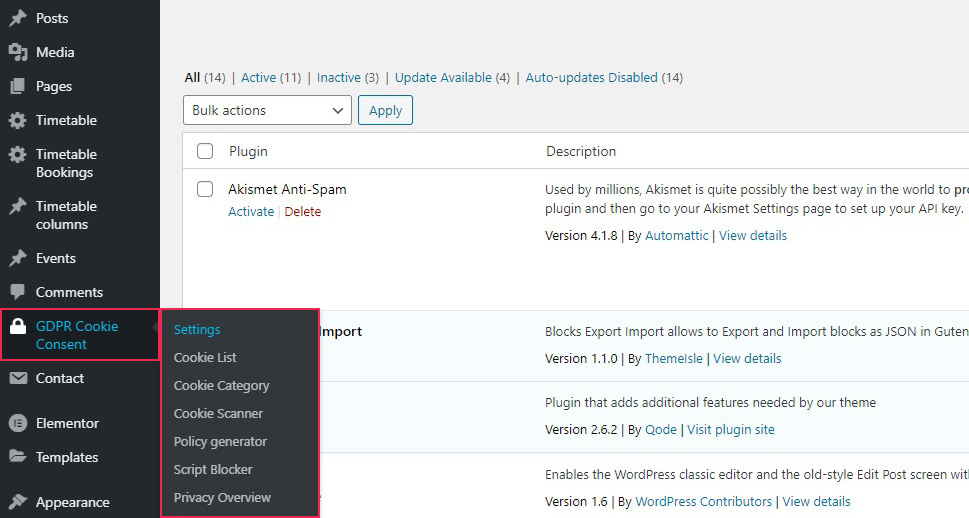
We will show you how to add a CCPA-compliant Do Not Sell button using a plugin. The plugin we will be using is CCPA Opt-Out. You can use this plugin to set up a link, a button, or a floating button. A floating button is an element which appears in the interface over the rest of your website, drawing the users’ attention. As for buttons and links, those are already rather familiar website elements. Once you have installed and activated the plugin, you can find its configuration options in the left-hand side of your WordPress dashboard, under CookiePro CCPA.
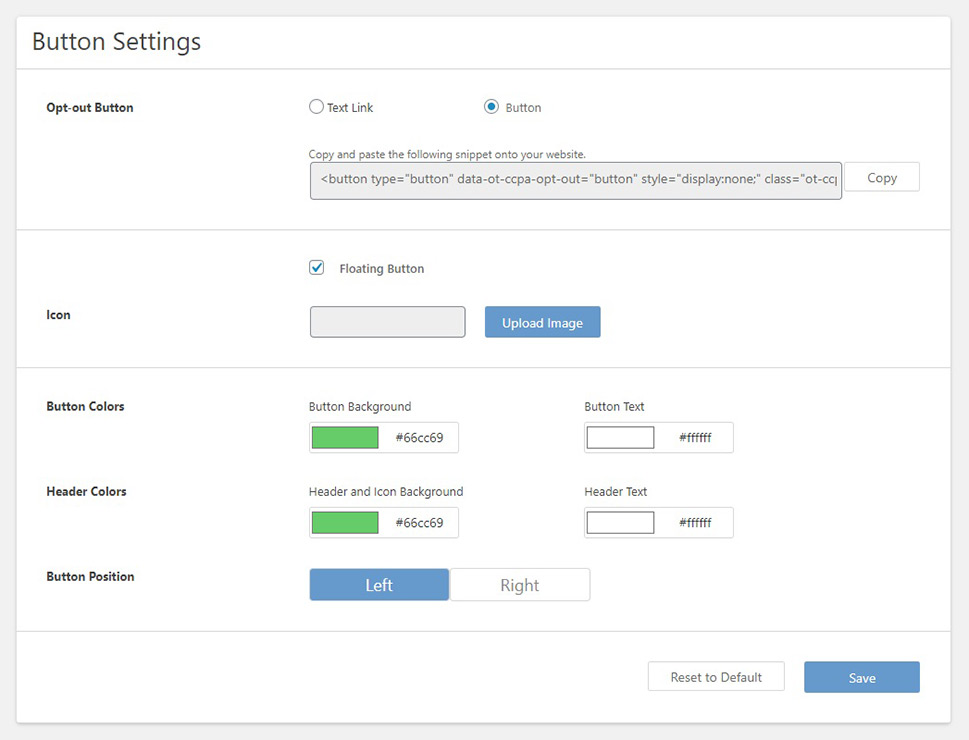
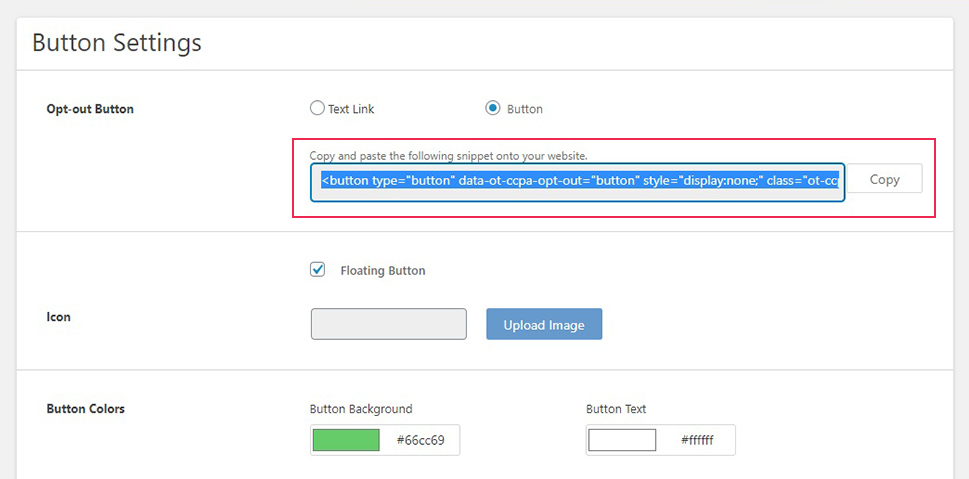
From here, you will be taken to the plugin‘s settings page. The Button Settings section governs the appearance and behaviour of your Do Not Sell Button.We’ll start with the floating button first, and then cover the regular button and the text link too.
Select the Button option for the Opt-out Button and check Floating Button when it appears. You can upload your own icon image. You can then select the background and text colours, as well as the button position (Left or Right at the bottom of the screen). When done, click Save.
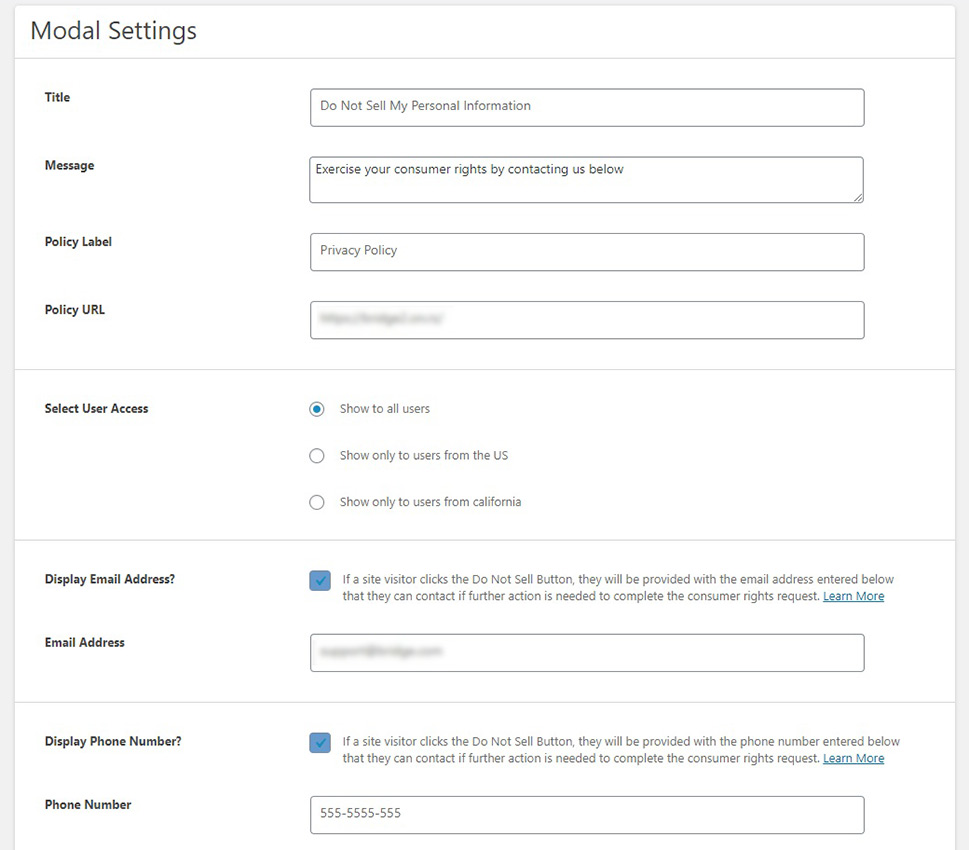
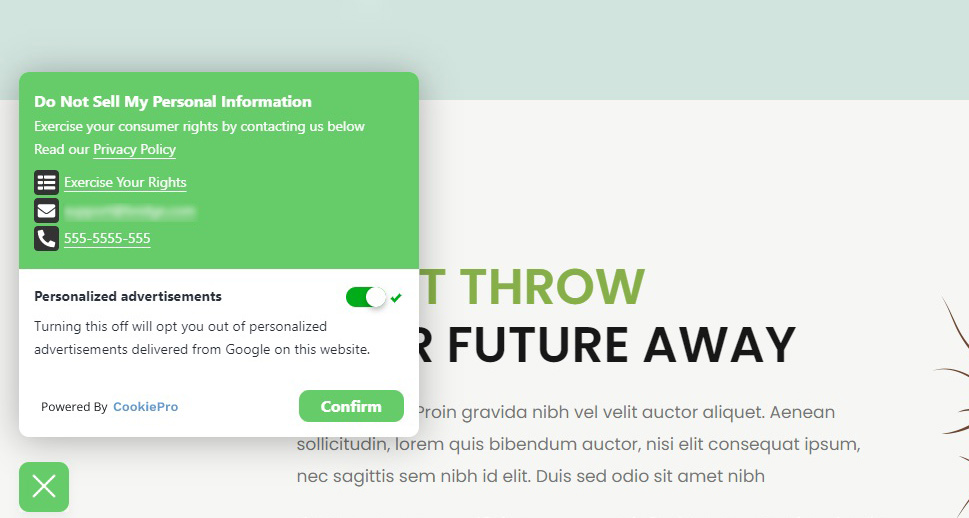
Scrolling down, you will find the Modal Settings. These settings govern the modal element, the window which will appear when the button is clicked. You can choose whether to show the button to all users, US users, or just Californians, as well as set up links to relevant pages, e-mail addresses and phone numbers for user information.
Of course, you will need to set up the Do Not Sell My Personal Information page as per the CCPA before you link to it, to be fully compliant.
Further down, you will find the options for links to consumer rights request form and opting out of personalized advertisements.
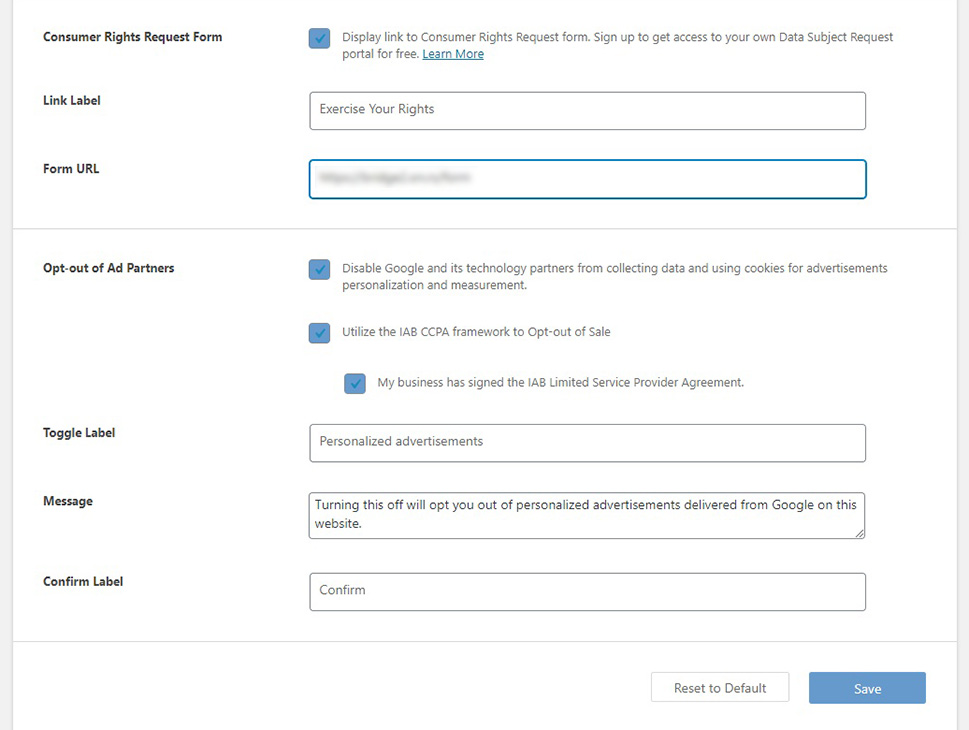
Once you are satisfied with your settings, look to the right-hand side and find the Publish button. Click Save in either section and then click Publish.
The right-hand side also contains the preview screens for all the elements you can generate using this plugin.
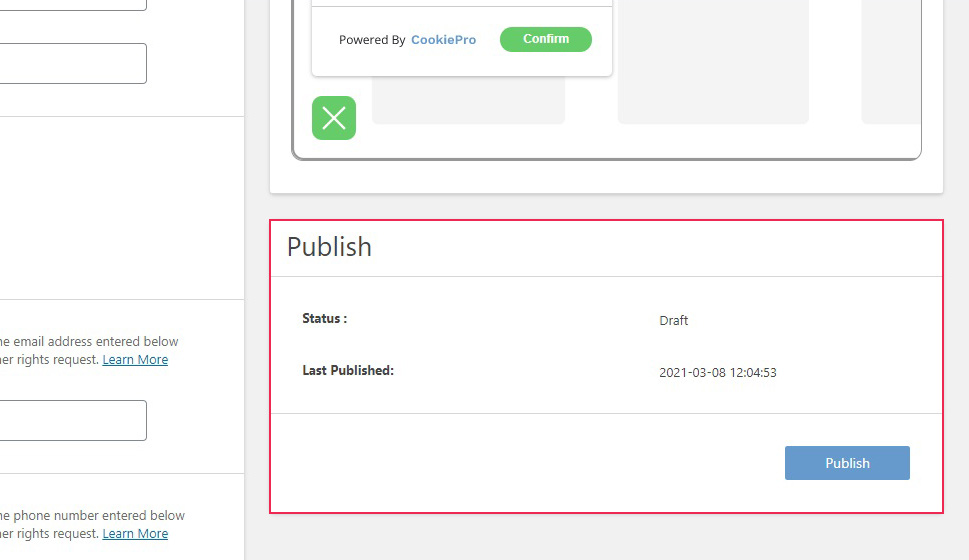
And your floating button will appear for all users, along with whatever contact information you choose to include for your users.
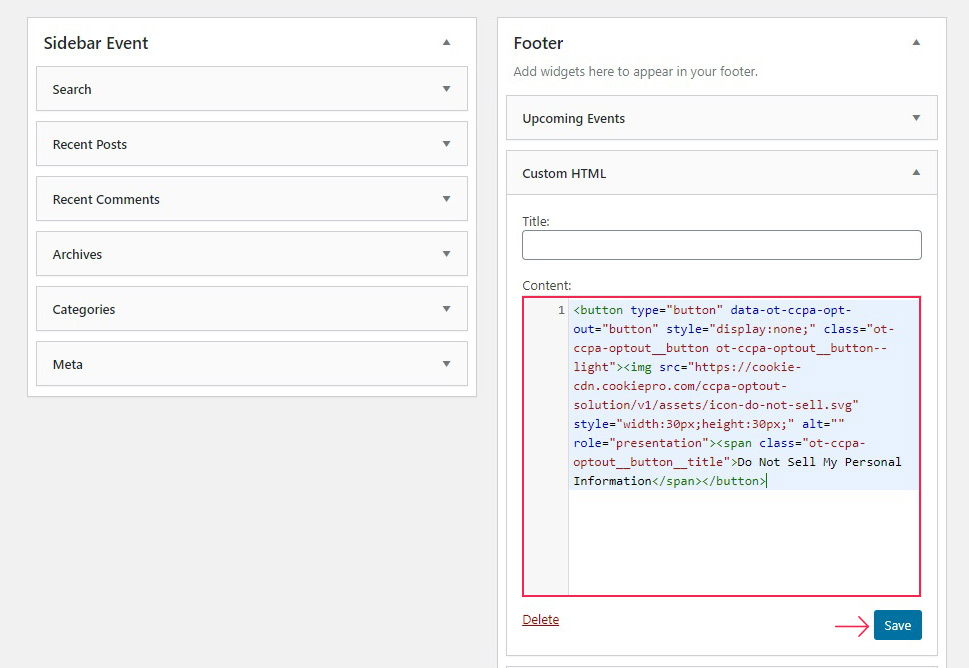
As we’ve discussed above, you can use this plugin to add a regular button or a link for your pages. To do this, you will need a place to put your button or link first, which means creating a widget. You can do this by navigating to your Appearance/Widgets screen from your WordPress dashboard and dragging a widget from the left-hand side to a widget area. For a button, you need a Custom HTML widget. We will place it in the centre of our footer area, but be aware that themes may have different or differently named widget areas.

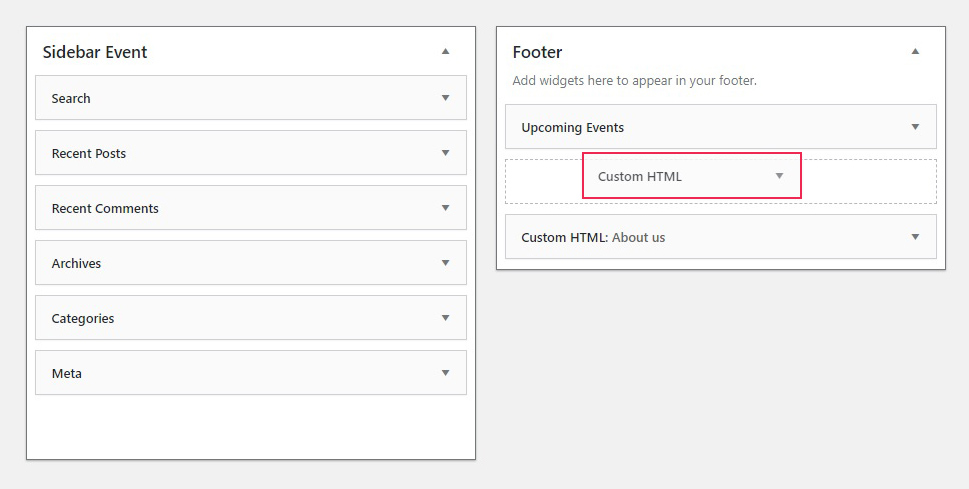
To add a button, simply do not check the Floating Button box and Copy the code generated by the plugin.
Next, paste that code into your widget’s code area and Save it.
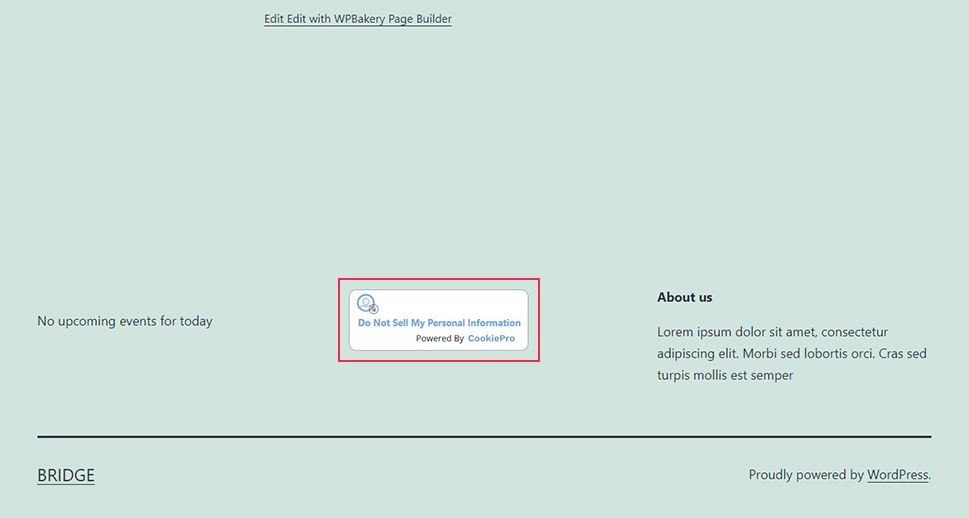
And your button will be right where you put it.
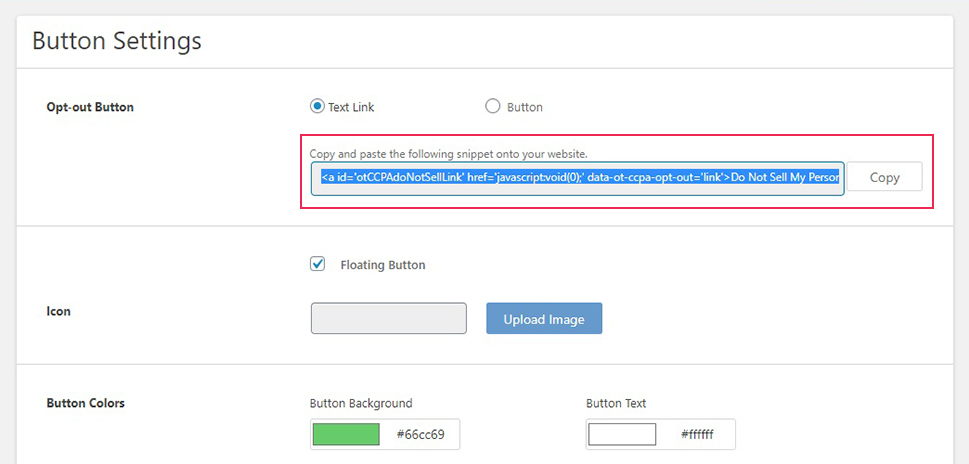
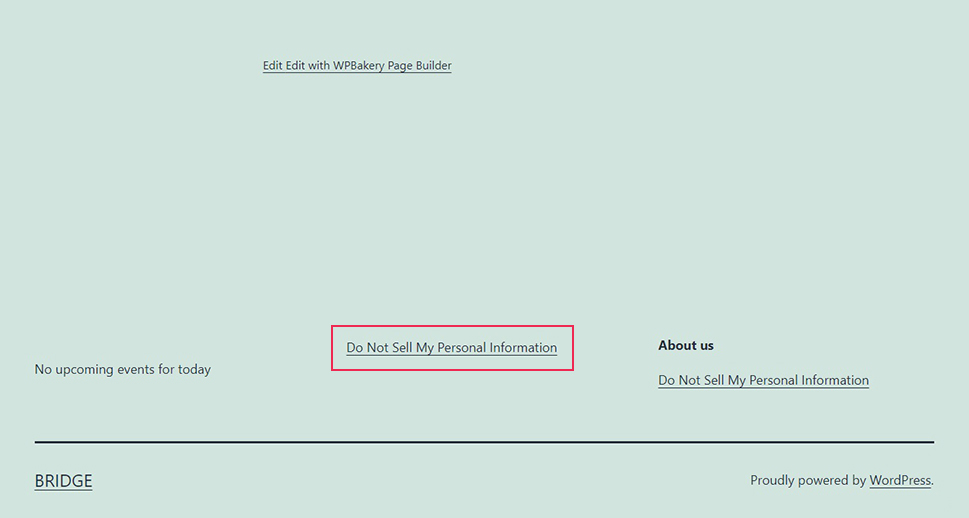
As you can probably tell, the procedure for the link is similar. Select the Text Link in the plugin’s Button Settings section and copy the code.
Next, paste it into a widget. For a text link, you need the Text widget set in the HTML view. After you have pasted the code, click Save.
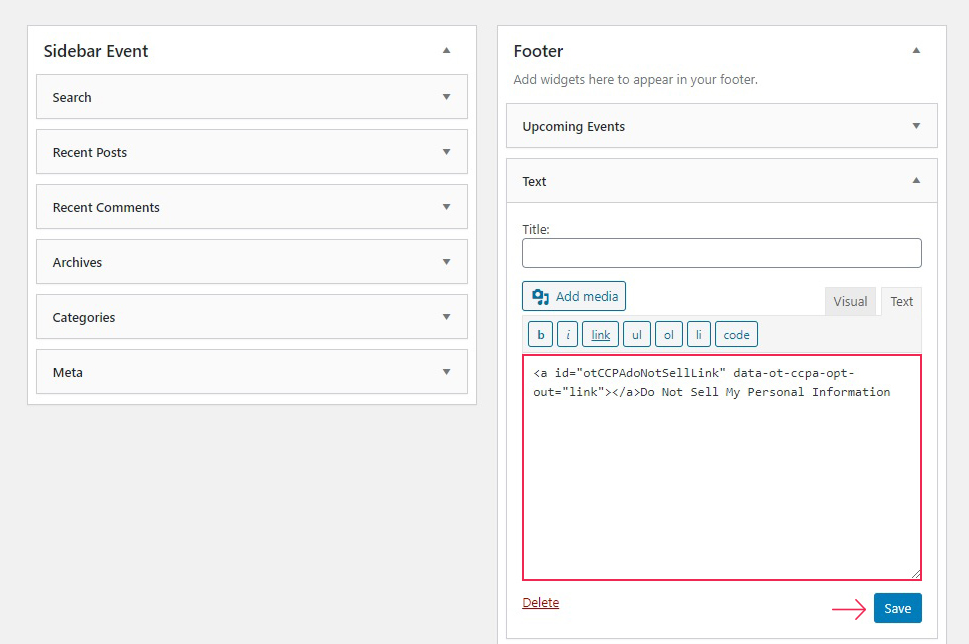
And your link will appear in the footer.
In Conclusion
CCPA is directed at protecting a very small group of potential internet users – those based in California. But internet security, user privacy, and personal data sales are a global issue. If you want to do business in California safely and legally, or if you believe you can take steps towards making your users feel more secure wherever they‘re from, you should at least know about CCPA even if you don’t want to take the steps to comply with it. Bear in mind though, that CCPA compliance only protects your users, and, as we have shown, it is free and takes no time at all to implement.
