How to Install WordPress Locally on Windows Using XAMPP

Creating a local WordPress site is always a good idea. Whether you’re just starting out with WordPress or are ready to create a new website, a local WordPress installation provides the perfect place to play around, try out various themes and plugins, and learn everything about the world’s most popular CMS. So, in this article, we’re going to show you how to install WordPress locally on your Windows operating system using the XAMPP open source development environment.
Before we start, you should know that a local WordPress site will be visible only on the computer you install it to. A local WordPress installation is not public like a live site. Instead, only you will be able to access it, which is exactly why it’s so convenient for learning WordPress and trying out its different features without the fear of making a mistake or creating something less than perfect.
Now that we’ve said that, let’s see exactly how to install XAMPP and set up WordPress locally.
Installing XAMPP on a Windows Computer
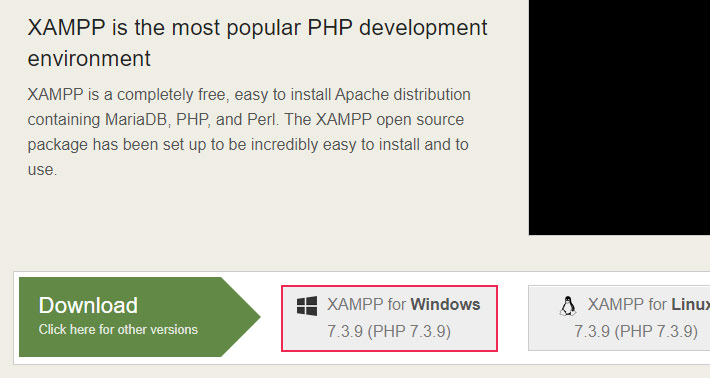
The first step is to download XAMPP and install it on your computer. To do so simply go to the Apache Friends website and click on the “XAMPP for Windows” link.
Once the download is complete, you will have to run the newly downloaded file in order for the XAMPP installer to launch.
If you have an antivirus program running you may receive a pop-up message like this:
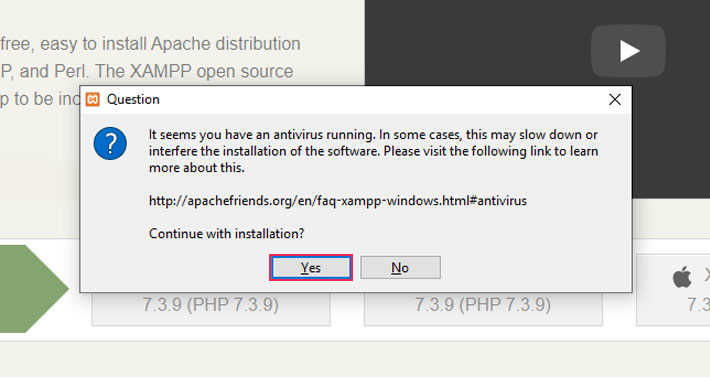
Simply click Yes and continue with the installation.
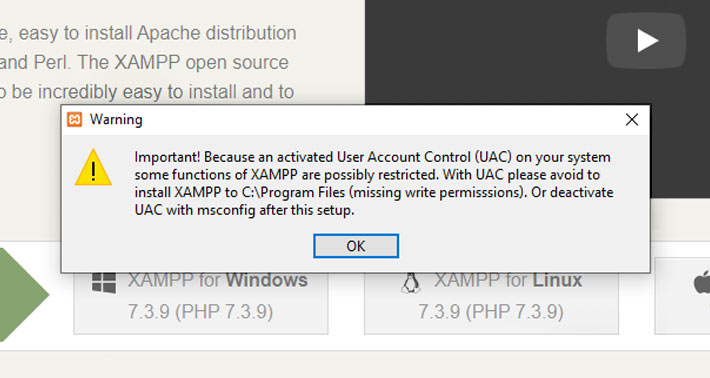
You may receive a User Account Control (UAC) message as well. If you do, click OK to continue.
Once you have gotten through all of the pre-installation messages and warnings, you should see the following prompt to start the installation process:

Click Next.
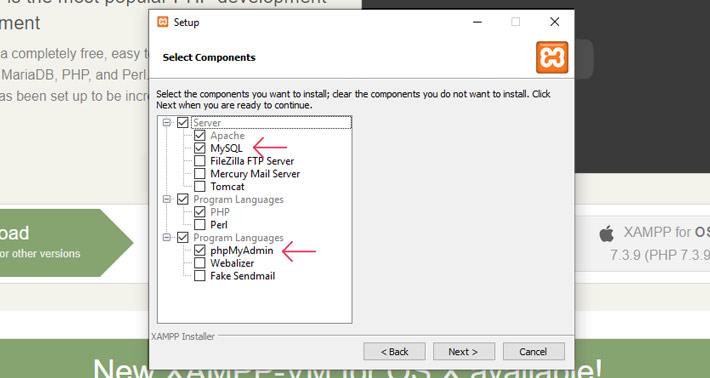
The following screen should provide you with the choice to pick the components to be installed. In order to use WordPress with XAMPP, along with the required components you will have to choose:
-
MySQL and
-
phpMyAdmin
Any other component is optional. After you have selected the desired components, click Next.
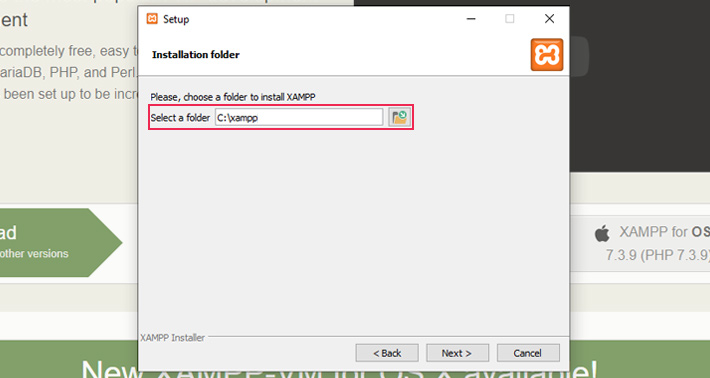
Now, select the folder where you would like to install XAMPP. You could create or use an existing folder within the C:\ directory. We will leave the default path, which we recommend you also do.
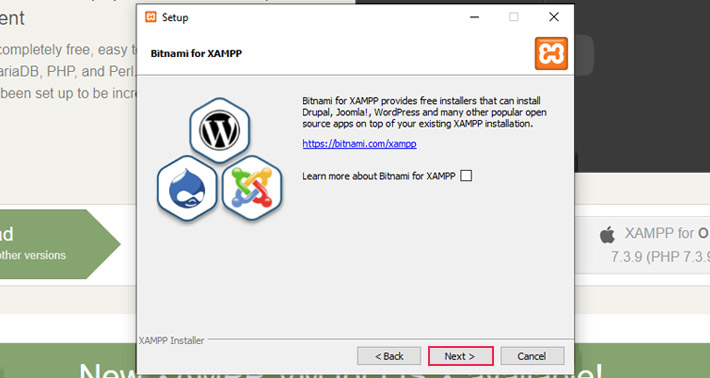
For the purposes of this article, in the next screen, we will uncheck the “Learn more about Bitnami for XAMPP” option since we will be installing WordPress manually and not using the Bitnami program. Once you have unchecked this option click Next.
XAMPP will now be ready to install all of the files you have previously indicated.
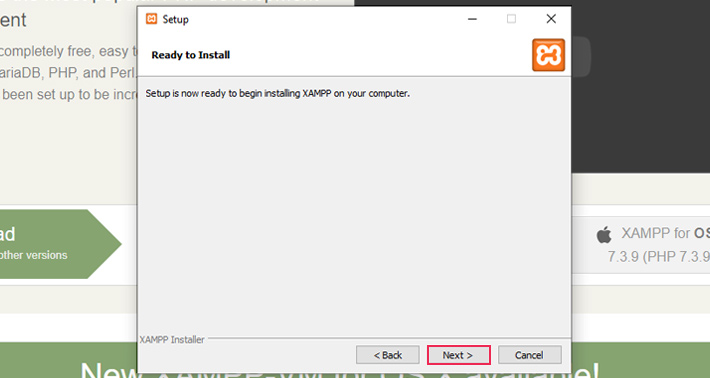
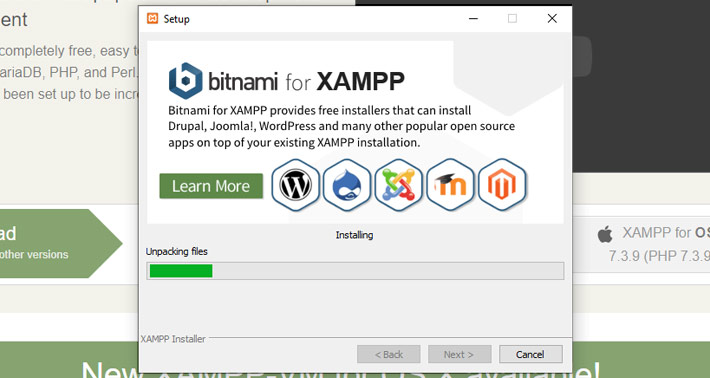
By clicking Next one more time the installation process will start. Please be patient as it may take a couple of minutes to finish depending on the number of packages you chose to install.
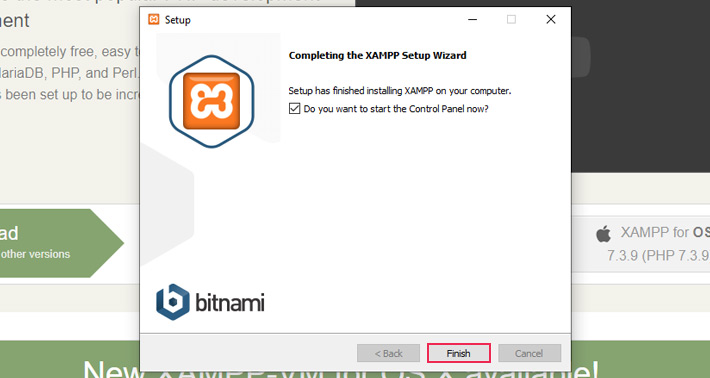
Once the installation is completed, you can start XAMPP’s Control Panel right away by leaving the “Do you want to start the Control Panel now?” checkbox selected and clicking Finish. If you need to start XAMPP differently for any reason, you can go to the XAMPP folder within the chosen installation directory and open the “XAMPP Control Panel” file.
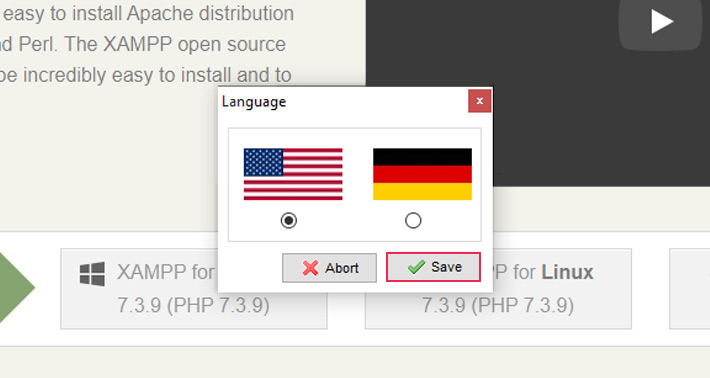
When the Control Panel opens for the first time, it will prompt you to choose your preferred language. You can choose between English and German. Once you have selected your preference, click the Save button.
Now you should see XAMPP’s Control Panel screen.
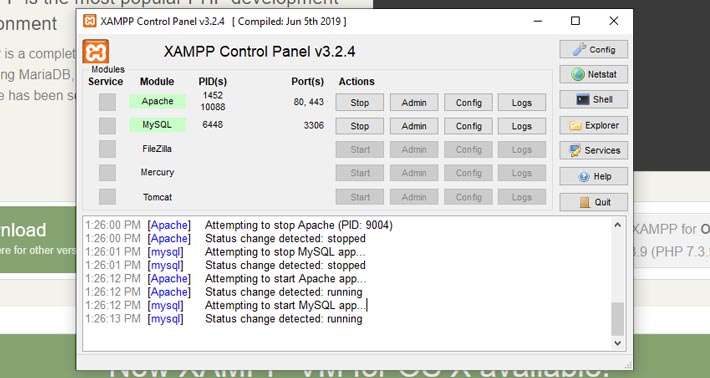
To check if everything is working correctly, you can click the start buttons for Apache and MySQL. If everything is set up properly, both components should run without any issues. However, if they do not start, there may be an issue with a program like Skype or something similar which is using the same ports as the XAMPP modules. In this case you need to close the conflicting applications and restart XAMPP.
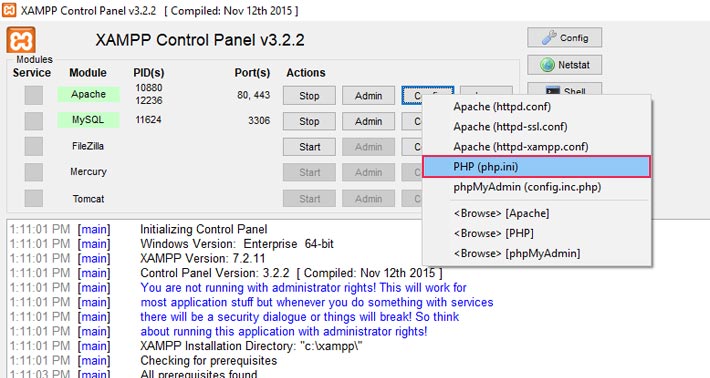
Tip. We can give you very useful advice on how to modify your PHP resources on XAMPP and release more power on your local server. This is necessary especially when you install a premium theme on your local installation. First when you turn on XAMPP you need to click on the Config button for Apache server and choose to open the php.ini file in the dropdown.
After that in your default text editor you will see all relevant settings for PHP resources in that file. All you need to do is to change the following resources to the indicated values:
max_execution_time=300
memory_limit=128M
upload_max_filesize=128M
post_max_size=256M
max_input_vars=5000
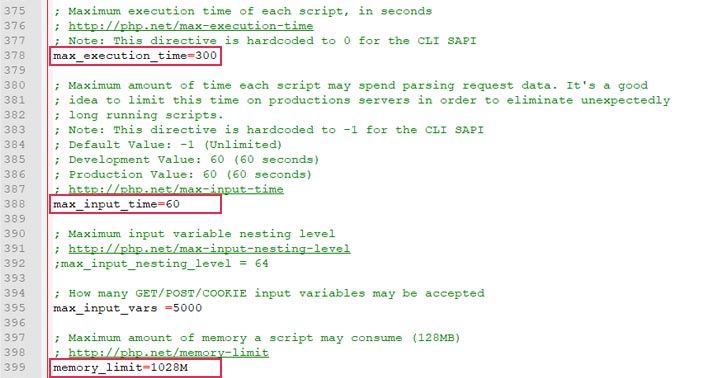
When you add the new values, just save the changes and restart your XAMPP by stopping Apache and MySQL and starting them over again.
Once all the components are working properly, open your preferred browser and visit http://localhost.
Qode WordPress Themes: Top Picks
View Collection


Downloading the WordPress files
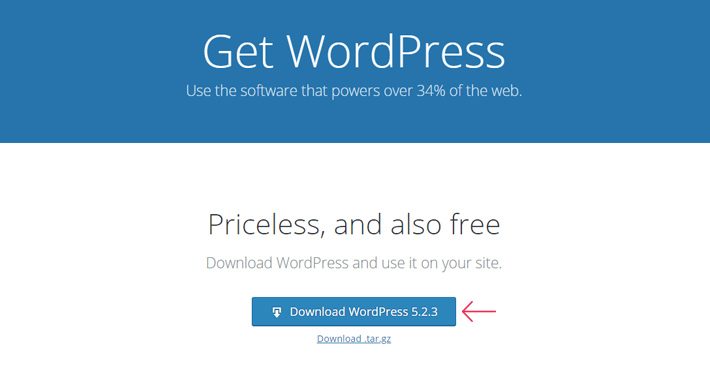
Now it’s time to add WordPress to the localhost website that we have just created. To do so, first you need to download the latest version of WordPress from the official website.
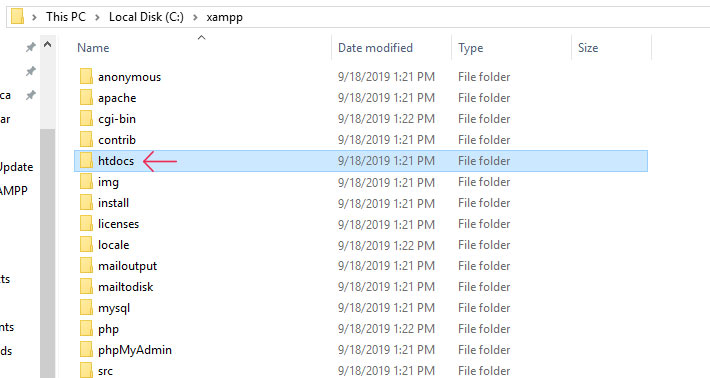
Once the download is complete, you will have to navigate to the folder where you have installed XAMPP (in our case that was the default installation path – C:\xampp). From there, you need to find and open the htdocs folder:
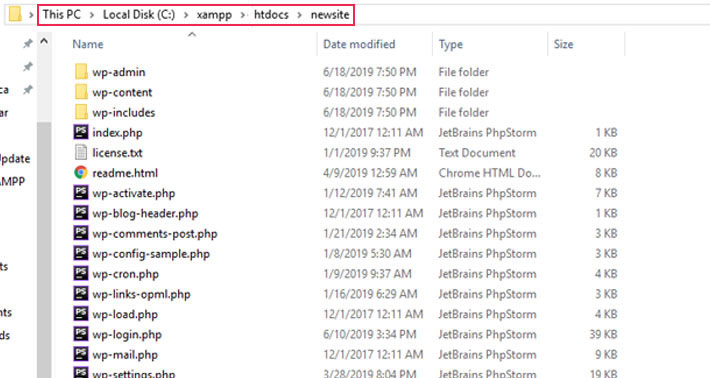
In htdocs, create a WordPress folder for your site. This folder’s name will become the sub-name used to access your WordPress site. For example, if you name the folder newsite, you’ll access your site by going to http://localhost/newsite within your preferred browser.
Once you have created the folder, open it and within it extract the WordPress.zip file you downloaded earlier.
Creating a Database for WordPress
Next, you need to create a MySQL database for your local WordPress site. To do that, launch phpMyAdmin from your XAMPP control panel by clicking on the Admin button for the MySQL component:
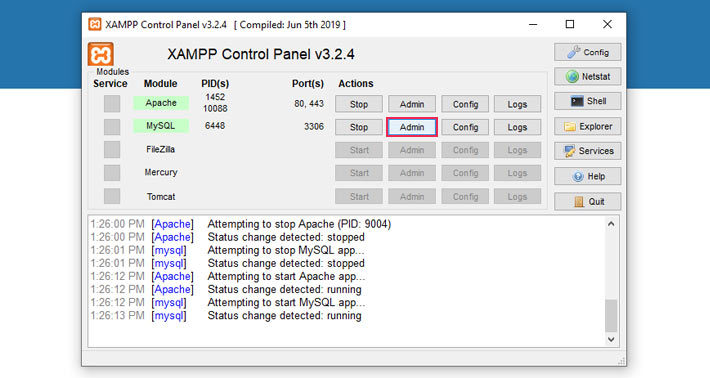
The phpMyAdmin browser page will open in your default browser. Here, simply click the New link to create a database for your WordPress site.
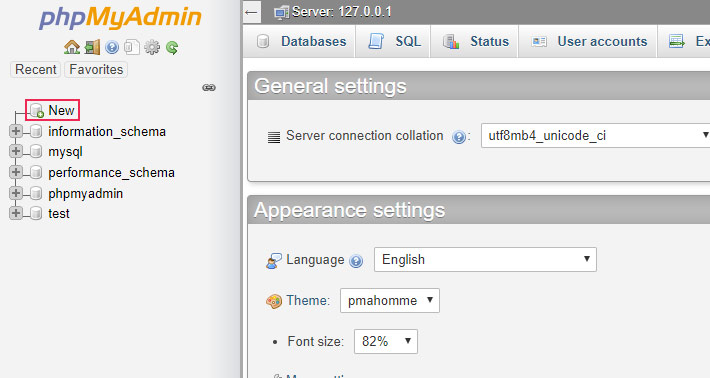
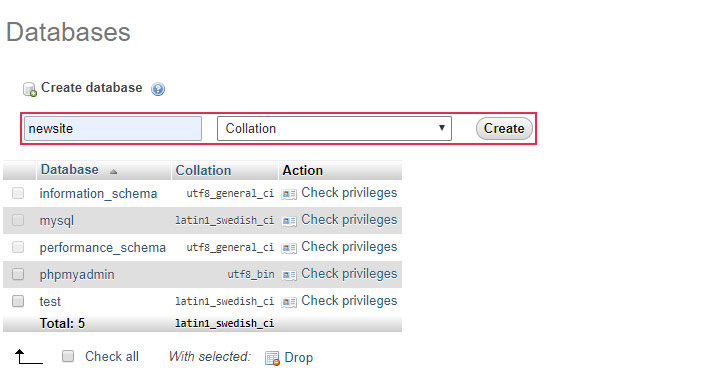
Enter a name for your database and in the second field choose the Collation option. Now click Create. You can name your database whatever you please – just remember the name you chose, because you’ll need it in future steps.
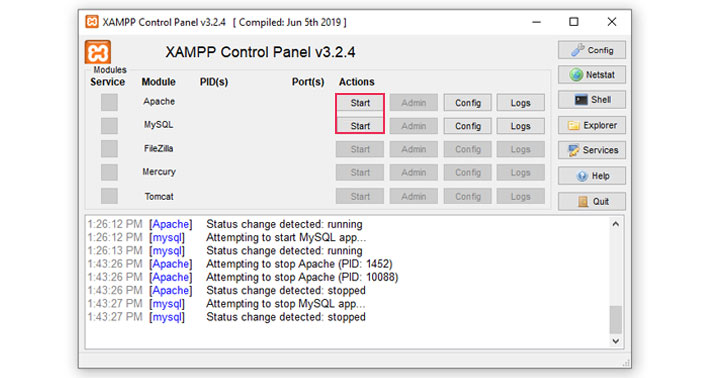
Once all this is done, you have to restart the simulated web server. To do this, navigate to the XAMPP Control Panel and press the Stop button for both Apache and MySQL. Then, press the Start button again in order for the changes to take effect.
Installing WordPress Locally
Now that you’ve installed XAMPP, copied the WordPress files, and created a database, navigating to http://localhost/newsite within your preferred browser should display the WordPress installation wizard.
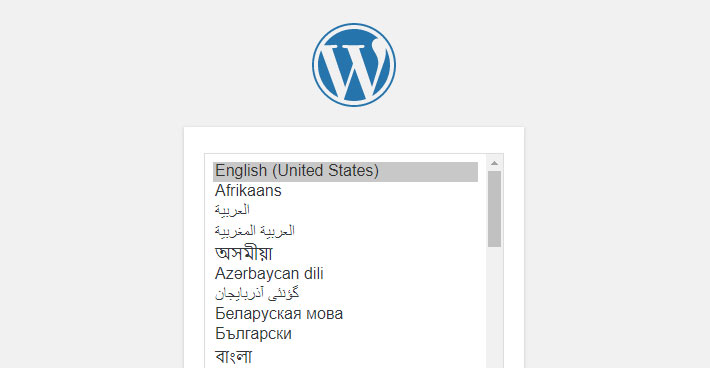
Chose the language that you’d like to use and press Continue.
The next screen will prompt you to recall the information on the database you previously created. You can continue to the next part of the setup by clicking the Let’s go! button.

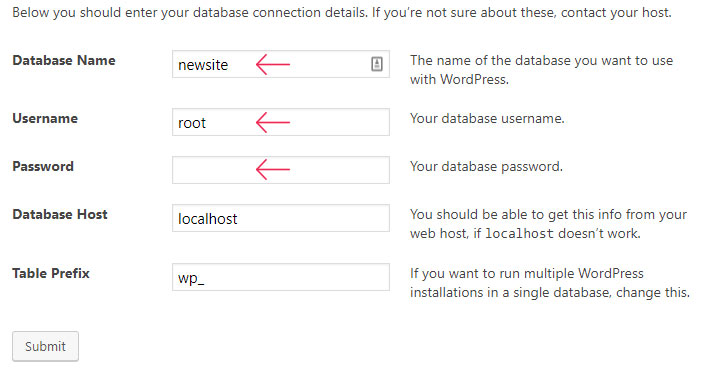
Here you need to enter the following information precisely, and then click Submit:
-
Database Name = Name of the database you created in phpMyAdmin
-
Username = “root”
-
Password = leave blank
After this you should see the welcome screen for the famous five minute WordPress installation process.
Fill in the fields with your site details, such as your site title, email address, and so on. When you’re done click “Install WordPress.”
Congratulations! You are now ready to work with XAMPP and WordPress locally to develop your site. We hope this tutorial will prove helpful if you need to install WordPress on XAMPP in the future, as well.
