When and How to Install WordPress in a Subdirectory

A website owner might, for various reasons, decide to create additional sites in the same domain. Usually, it is either to segment a subsection of a site (e.g. blog or a shop) or to make a testing environment. The former is done to improve the site’s structure and readability or to target a specific audience. The latter is done to allow for making or testing any site changes safely. To create those additional sites, subdomains or subdirectories should be used. In this article we’ll cover the following topics:
Subdomain vs Subdirectory
Both a subdomain and a subdirectory are file locations nested inside your root directory often called public_html. The first major difference between the two is the URL path. The URL indicator of a subdomain is to the left of the main site name (e.g. blog.my-site-name.com), while for the subdirectory it is to the right (e.g. my-site-name.com/blog). Another major difference is how those URLs are treated. Subdomains are considered separate websites, while subdirectories are a part of the main site. We will explain further regarding both in the sections below.
Subdomain
Since subdomains are considered unique sites, they are great for partitioning smaller website parts that have little or no relation to the content on the main domain. As such, subdomains are best suited for bigger websites, in order to target a specific group of users. Examples being foreign language subdomains or dedicated support subdomains. Additionally, more subdomains mean more content and, if properly managed, better SERP ranking. If the subdomains and the main domain have content with little to no connection in between them, you can integrate separate keywords to boost the search rankings even further. However, if there is content overlap, it can lead to keyword dilution.
Subdirectory
Since subdirectories are considered part of a single website, they are much easier to optimize and they maintain the same SEO benefits as the main domain. The site as a whole is more intuitive for users to navigate, as well. Additionally, editing or moving files containing custom code to a subdirectory is much easier. And any analytics data (e.g. data gathered with Google Analytics) will relate to the whole site.
Knowing all of this, one might ask which of the two is better. However, there’s no clear answer to this; it’s something decided on a case-by-case basis. It’s up to individual users to choose which of the two they need to implement, subdomain or subdirectory. On the other hand, using subdirectories is very popular and preferred for smaller sites that are aiming for a more SEO-friendly strategy.
How to Install WordPress in a Subdirectory
Now that we’ve taken a look at subdirectories and their benefits, we can proceed to set one up. We’ve broken the process down into five steps. Some of them can be done both via FTP or via cPanel, so you can pick whichever you prefer to work with. In any case, we advise that you carefully read and follow the instructions.
Furthermore, it is important that you think carefully about the subdirectory name beforehand. It will be a part of your URL and, as such, it should represent that part of your site properly while staying user-friendly. If your subdirectory name consists of two or more words, we advise you to use hyphens (-) between them.
The main purpose of subdirectories is to divide the website content into several closely related parts, all of which inherit the SEO benefits of the main domain.
-
Creating a new subdirectory via cPanel
Log in to cPanel using your credentials and click on the File Manager option in the Files section.

Navigate to your root WordPress directory (often called public_html) and click on the Folder button in the top-left section of the screen. Insert the name of the new folder—this will be the name of your subdirectory—in the popup window and press the Create New Folder button afterward.

-
Creating a new subdirectory via FTP
The same can be done via FTP if you prefer using it. Start by connecting to your server using an FTP client. Navigate to your root WordPress directory (often called public_html) and right-click on it. Then choose the Create directory option in the dropdown. Add the directory name afterward, keeping in mind the naming guidelines given above.

-
Importing WordPress files via cPanel
Your newly created folder will be empty, so first, you need to upload the latest WordPress version to it.
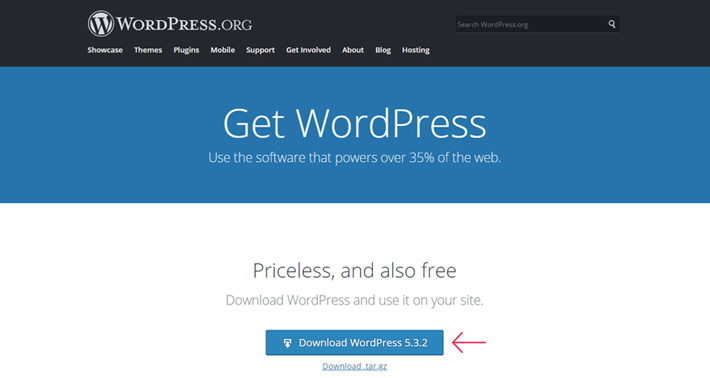
When you press the button, a zipped file with the name wordpress-version_number.zip will be downloaded. Find the downloaded file (most likely located in your Downloads folder).
Navigate to your subdirectory folder and click on Upload, in the top-left section of your screen.

Upload the zipped file and wait until you see that the upload is complete.

Navigate to the subdirectory folder once more, click on the uploaded .zip file, and then press the Extract button in the top section of your page.

Confirm the action by clicking on the Extract File(s) button in the popup window. Resultantly, your subdirectory now contains an unzipped folder called wordpress and the uploaded .zip file. We’re going to change that by removing the now unneeded .zip file.
Click on the .zip file, press the Delete button and then confirm the action by pressing the button in the popup window.

Afterward, navigate to the nested wordpress folder (the path should be your-site-name/your-subdirectory-name/wordpress) and click on the Select All button near the top. Then, right-click on the selected files and press the Move option. When asked to select the file path for the move, eliminate the /wordpress part from the URL and click on the Move File(s) button.

This will move all the files you selected directly to your-site-name/new-subdirectory-name. Afterward, delete the unnecessary wordpress folder by clicking on it and then selecting the Delete option followed by the Confirm button.

-
Importing WordPress files via FTP
Importing WordPress files can be done via FTP, as well. Start by downloading the latest WordPress version.
Find the downloaded .zip file (most likely located in your Downloads folder) and extract it to your Desktop. Then, open the extracted wordpress folder and select all the files that it contains; you can do that by pressing Ctrl + A for Windows or Command + A for Macs on your keyboard.

Afterward, navigate to your subdirectory folder via FTP and simply drag-and-drop the files to upload them. Wait until the process is completed.


After uploading the WordPress files to your server, the next step toward making a complete WordPress website is creating a database.
-
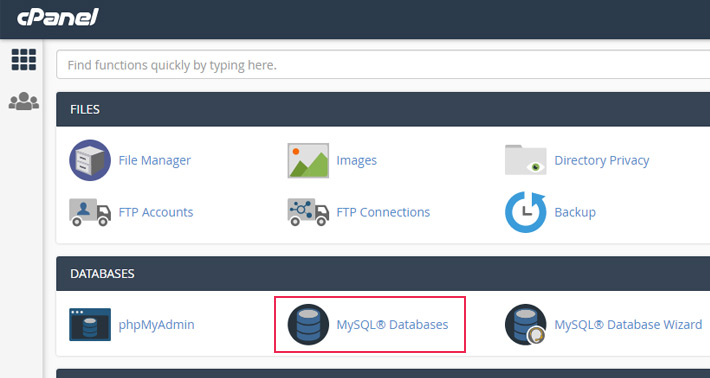
Creating a database via cPanel
You can do this by navigating to cPanel’s main screen once more and clicking on the MySQL Databases option, located in the Databases section.
Near the top portion of the screen, you will have to insert the name for your new database and press the Create Database button.

Then scroll down the page to the MySQL Users section and fill in the information (all fields are required) in order to add a new user. Make sure that you remember or save the username and password you have just entered, as you will need them in the upcoming steps and for future usage, too.

After that, select both the newly created database and the user in the Add User To Database subsection.

You will now need to assign the necessary user privileges to the newly added user. These settings regulate the actions a user can perform on the database in question. We suggest ticking all boxes and pressing the Make Changes button when you’re done.

These privileges, once set, can be altered at a later time to suit the changing roles of users.
-
Creating a database via phpMyAdmin
Another way to create a database is by using phpMyAdmin. This method is more suitable for users working in a local environment using a local server. The database created with this method would later need to be relocated to a live server.
To use this method, connect to your local phpMyAdmin and click on the Databases tab. Within the Create database section insert the name of your database and choose Collation as the type. Next, click on the Create button.

Once you have created the database you will need to create a user for it. To do so navigate to the User accounts tab and click on Add new account.

Next, set your new username, put localhost as the host name, and assign a password, as shown in the screenshot below.

When you’re done, scroll to the bottom-right part of your screen and click on the Go button.
Make sure to leave the permissions as they are since the default setting will allow the newly created user to perform any task on all of the databases. If you’d like to change this, follow along with the remaining step.
In order to assign different user privileges, open the User accounts tab once again, locate the row containing the new user, and press Edit privileges.

In the top-left part of the screen click on the Database tab, select the database you want to work on, and click on Go.

Finally, assign the database-specific privileges and click on the Go button.

Now that you’ve created a database you can continue to set up your website locally or simply export the new database and import it within your cPanel’s phpMyAdmin.
You can export the database by opening the Export tab while in phpMyAdmin. If the database you’re transferring is blank, you can use the Quick export method. Leave the format as SQL and click the Go button.

This will start the download of the database file, which will have the .sql extension. Save it to your computer. You will be able to use the import function with this file to transfer the database to your live server.
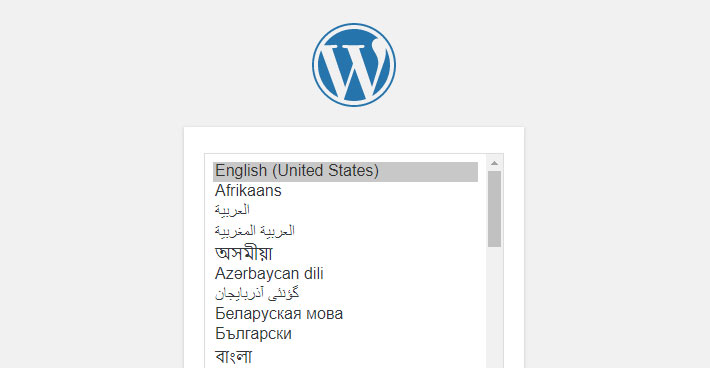
After finalizing the previous step, open a new browser tab with the URL path your-site-name/your-subdirectory-name. From the dropdown that appears, choose a language then click on the Continue button below.
A new window will appear asking you for basic login information. The database name, username, and password need to be the same ones you used for creating your database. If the default localhost entry isn’t valid, you should consult your hosting provider. When you have the information you need, press the Let’s go! button.

Insert your database information in the appropriate fields and click on Submit.

When you’ve successfully finished this step, simply click on the Run the installation button.

As the final part of this process, the WordPress installation window will appear. Insert the information needed and press the Install WordPress button below. Make sure that you enter the same username and password you used when creating a new user.

When you’ve completed the WordPress installation process, you will see the Success! screen.

Click on the Log In button, which will lead you to the login page. Log in with the previously created username and password.


If you intend to run WordPress in both the main domain and the subdirectory, there’s one more thing you need to do. In order for the two .htaccess files (the one from the main domain and the one from the subdirectory) not to be conflicted and cause 404 errors, the .htaccess file from the subdirectory must be changed.
-
Solving permalink issues with cPanel
In case you can’t see your subdirectory .htaccess file, make sure to enable showing hidden files.
You can do so in cPanel by pressing the Settings button in the top-right corner of the screen, then tick the Show Hidden Files(.dotfiles) option and press the Save button.

To avoid permalink issues, you need to add the following code to the .htaccess file for the subdirectory. Make sure to replace your-subdirectory with the actual name of your subdirectory where the .htaccess file is located.
# BEGIN WordPress
<IfModule mod_rewrite.c>
RewriteEngine On
RewriteBase /your-subdirectory/
RewriteRule ^index\.php$ - [L]
RewriteCond %{REQUEST_FILENAME} !-f
RewriteCond %{REQUEST_FILENAME} !-d
RewriteRule . /your-subdirectory/index.php [L]
</IfModule>
# END WordPress
To make these changes, navigate to your subdirectory, locate the .htaccess file, then right-click on it and select Edit.

Insert the code shown above with appropriate adjustments that reflect your subdirectory’s information and press on the Save Changes button in the top-right corner.

-
Solving permalink issues with FTP
You can do the same via FTP. Connect to your server with your FTP credentials, navigate to your subdirectory, and locate the .htaccess file. If you can’t see it, make sure that hidden files are shown.
Right-click on the file and select the View/Edit option.

Open the file with a text editor, insert the following code (identical to the one above), and save the changes.
# BEGIN WordPress
<IfModule mod_rewrite.c>
RewriteEngine On
RewriteBase /your-subdirectory/
RewriteRule ^index\.php$ - [L]
RewriteCond %{REQUEST_FILENAME} !-f
RewriteCond %{REQUEST_FILENAME} !-d
RewriteRule . /your-subdirectory/index.php [L]
</IfModule>
# END WordPress

Make sure to replace your-subdirectory with the actual name of your subdirectory.
Then simply upload the edited .htaccess file to override the existing one in your subdirectory on the server.
Final Thoughts
Now that you’ve seen the differences between subdomains and subdirectories, and learned how to make subdirectories, you can weigh the pros and cons of using them. Consider what your aim is, what kind of content you’ll be presenting, and what your SEO targets are. We hope you’ll use the information provided in this guide to choose the best solution for your site and, if you opt to make a subdirectory (or several), we suggest keeping this article close to hand and referring closely to the work steps described.
