How to Set Up a Private Message System in WordPress

Good communication is one of the key success factors in relationships regardless of their nature. In business, engaging with users, encouraging them to leave feedback, and replying to their inquiries is critical for creating a loyal following and excellent user experience.
In WordPress though, the only way of communicating with the audience is through comments. However, comment sections are public. This means that anyone can read users’ replies even if they are not registered on a website.
If you would like to establish a private communication with particular users and allow your audience to communicate with each other privately, you need to set up a private message system on your WordPress website. In this tutorial, we will show you how to do it in just a few steps by using the Front End PM plugin. But first, let’s see what are some of the benefits of enabling private messages on your site.
Qode Themes: Top Picks
View Collection


Why Should You Add Private Messaging to WordPress
Implementing a private message system into your WordPress website allows both you and your users to talk about things that are not meant to be read by everyone. This is especially important when it comes to sharing sensitive details and talking about deeply personal experiences. For instance, you could be a therapist running a mental health blog and someone might want to discuss private matters with you and ask you for help. They perhaps wouldn’t feel comfortable sharing any personal information in the comments, for everyone to see. Instead, they’d want to discuss it only with you or with some other user on your site.
Most social media juggernauts, including Facebook and Instagram, incorporate private messaging into the platforms. The goal of communication in private is to ensure and facilitate safe and secure communication between users, so why not make it possible on your WordPress site as well? If you or the members of your team are ready to check private messages on the regular and commit to regularly replying to them, then follow these steps and add a private message system to your site the easy way.
How to Create a Private Message System in WordPress Using a Plugin
The best tool on the market for implementing a private message system on a WordPress site is the lightweight Front End PM plugin. As its name suggests, it allows logged-in users to send and receive messages from the front-end. This means that, once you add it to a page or post, users won’t have to access the backend of your site, i.e., your dashboard to send messages to each other. Instead, they can message others and reply to messages on the page itself. The plugin is free to download, but there’s also a pro version, currently available for $39.
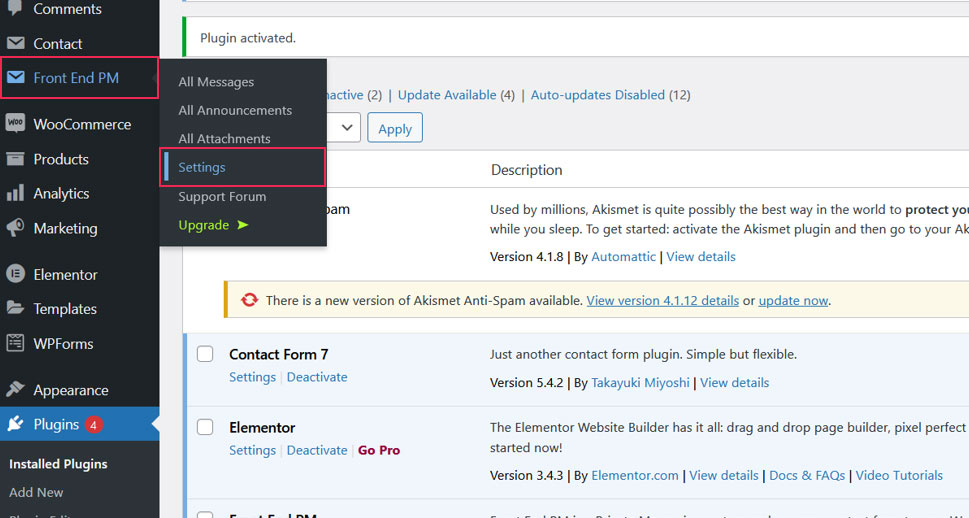
After you install and activate the Front End PM plugin on your site, you should first navigate to Front End PM > Settings.
You’ll see that even the free version of the plugin offers a lot of room for customization, enabling you to tweak settings according to your requirements.
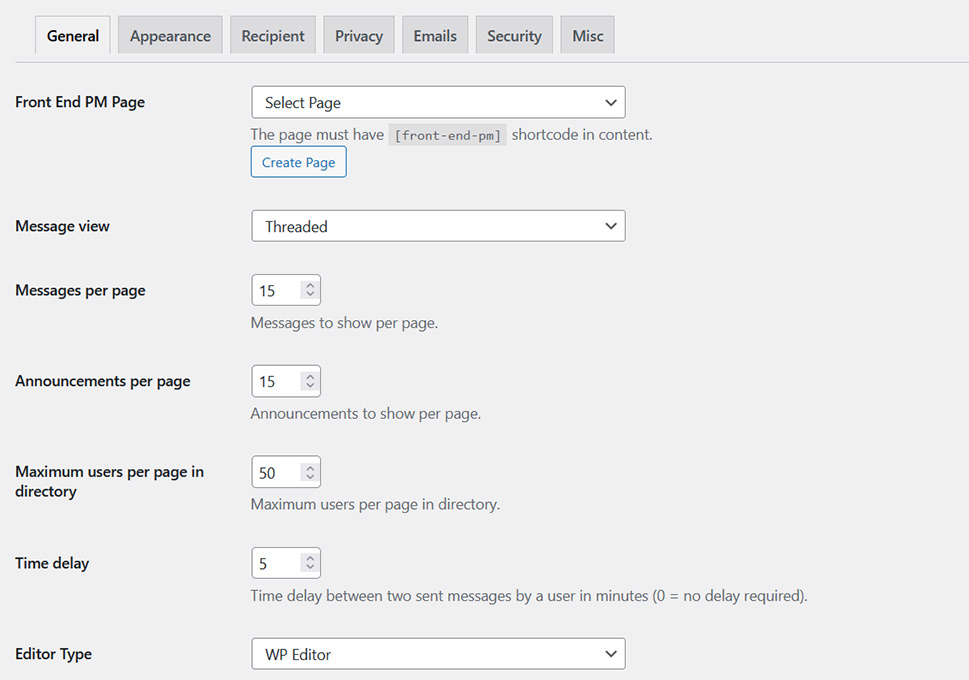
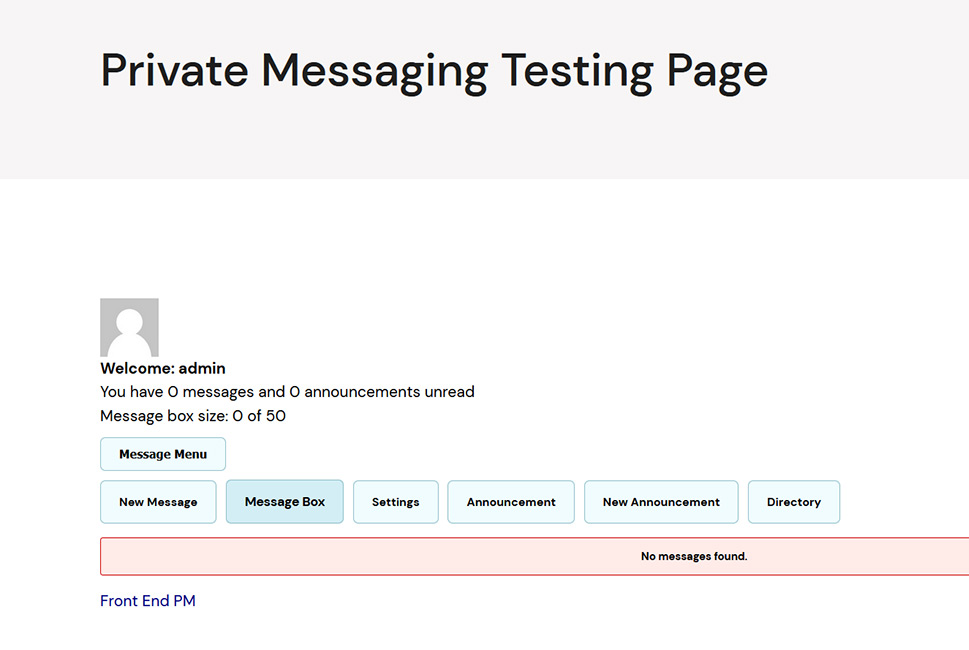
Under the General tab, you should first select a page on your site to which you will then add the plugin’s shortcode [front-end-pm] in the content area. Alternatively, you can also create a new page and automatically add the plugin to it by clicking on the Create New Page button. The new page is by default named “Front End PM”, but you can immediately change its title according to your needs. For testing purposes, we chose to create a new page which we renamed to Private Message Test page. This is what it looked like by default:
The plugin allows you to specify how many messages should be displayed on the page, specify if there should be any delay between two messages, decide if users can add attachments, and if so, what the maximum attachment size should be, and much more.
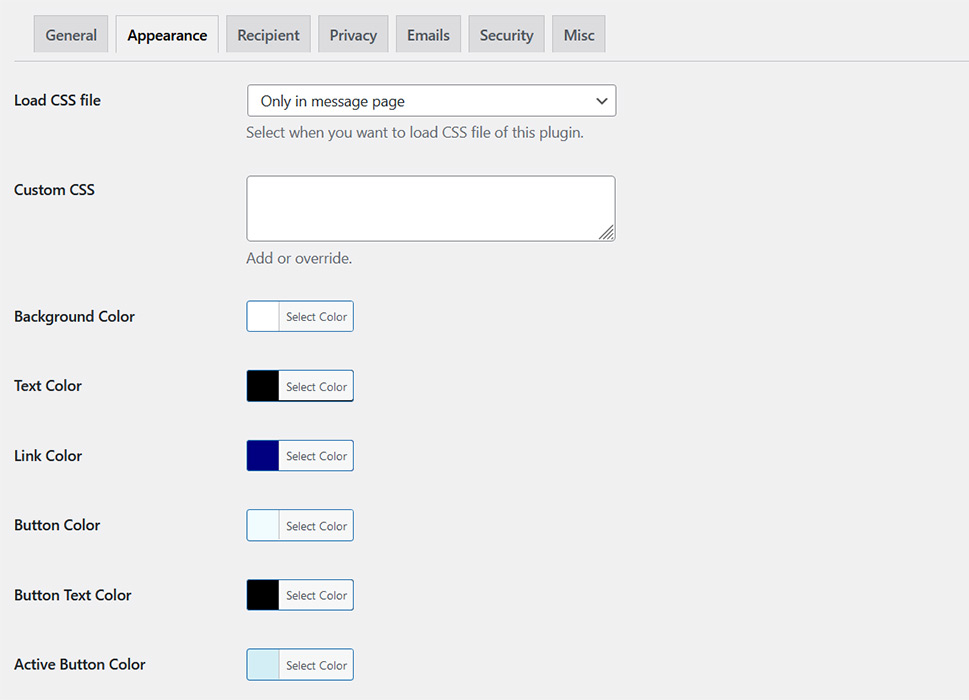
The Appearance tab enables you to experiment with colors and change the hue used for the background, text, button, and link colors, etc.
The Recipients settings are available to pro users only, allowing them to determine the maximum number of users to receive a private message, decide if users should be able to message the admin as well as send messages to groups.
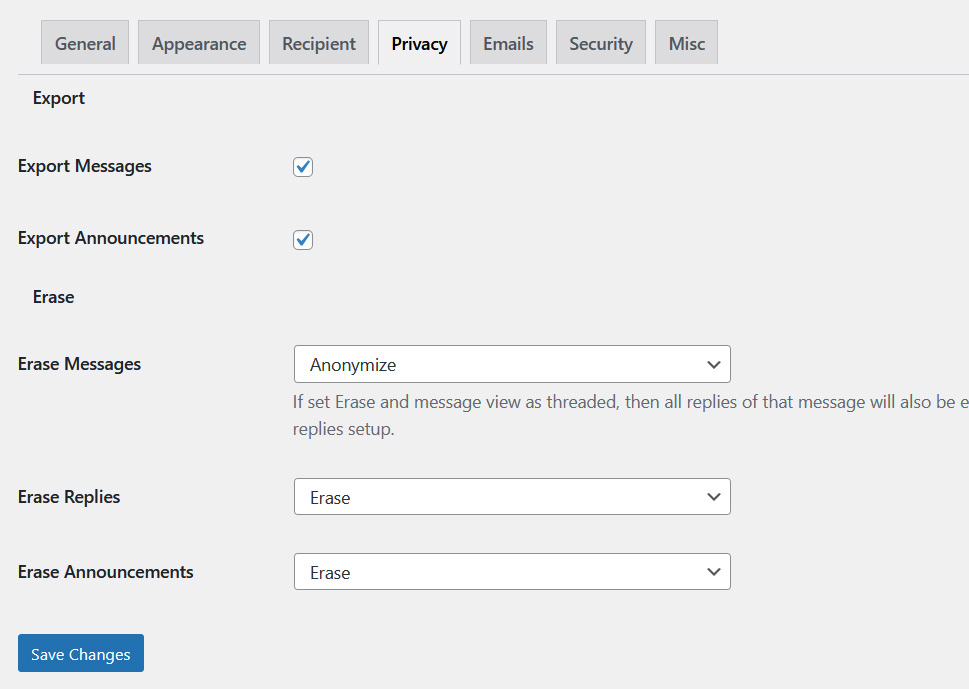
The Privacy tab allows you to decide whether or not you wish to export messages and announcements, but also erase them along with the replies.
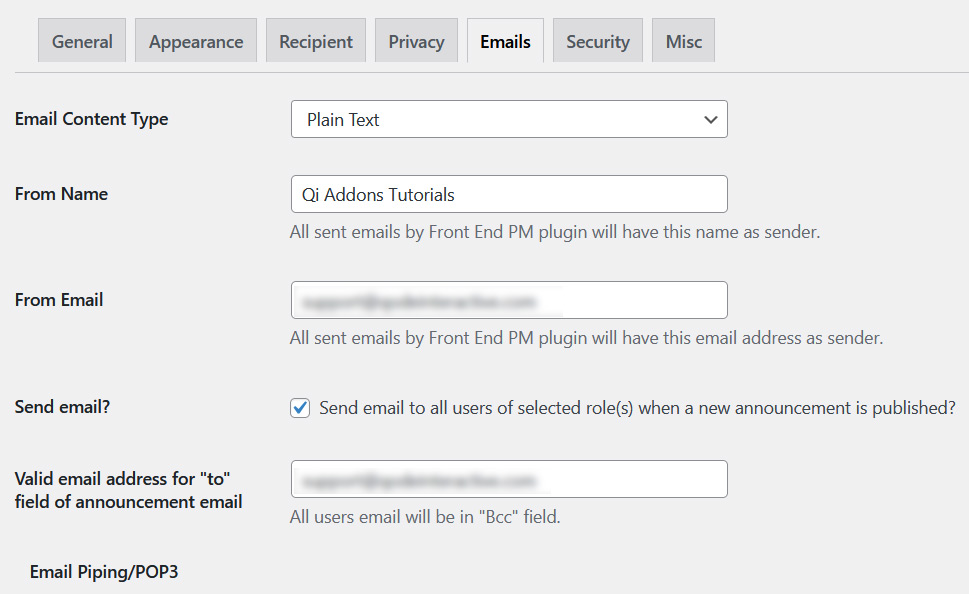
You can also use the Front End PM plugin to send emails to selected users as well as enable email piping (available to pro users).
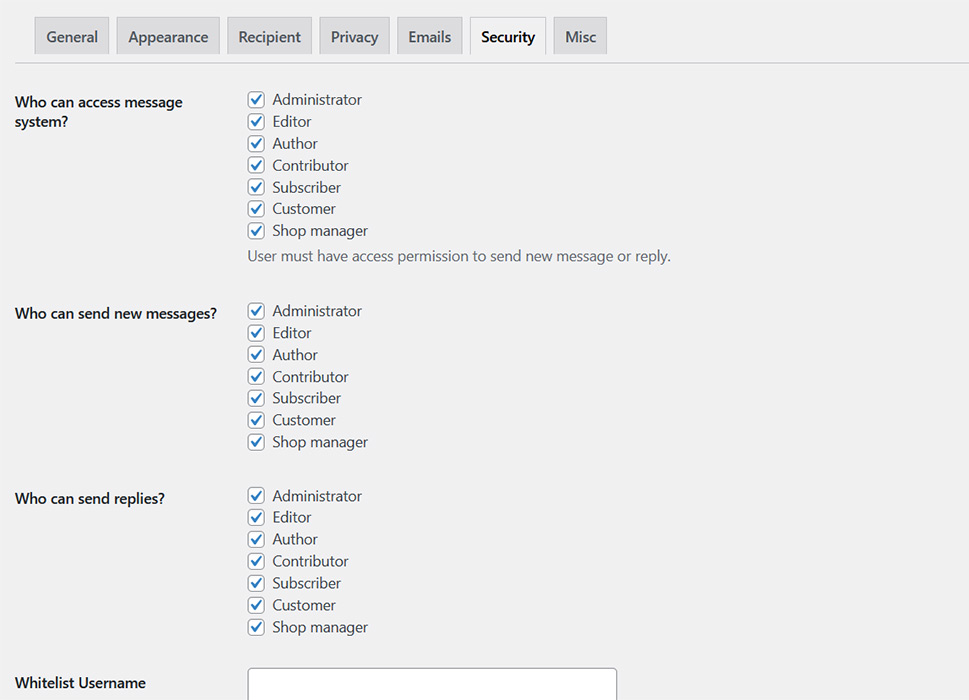
Within the Security tab, you can select the user roles that can access the message system, select those that can send messages and replies, as well as whitelist or blacklist specific users.
And lastly, the Misc option lets you adjust notification settings and decide whether or not to display notifications in the header, show the count of unread messages, receive desktop notifications for new messages and announcements, play notification sounds, specify the number of private messages each user can have in their inbox depending on their role, and more.
Closing Words
A private messaging system has become a standard on the majority of apps and social networks. Users appreciate it if they can share their opinions in public and post comments on a site, but they also like having the possibility of privately messaging other people on the site or the admin. And even though WordPress doesn’t include private messaging out of the box, as you could see, the simple yet powerful Front End PM plugin enables you to add that functionality to your site. The plugin also includes a plethora of customization options, allowing you to tweak its settings according to your requirements and preferences.
