How to Limit Authors to Their Own Posts in WordPress

Although WordPress first gained its popularity as a personal blogging platform, it wasn’t long before it became popular among large websites that employ multiple authors and contributors to create content. Managing a website with many contributors is often exciting and rewarding, but it can also be quite a challenge. And while WordPress does have a refined system of roles and permissions that define what each user can do, it does not come with the option to control what each user can see. In fact, by default, every user, regardless of their role, can see all the posts on a WordPress website. Letting all the authors see all the posts can backfire in many different ways, so coming up with a solution that allows you to control what each contributor/author can and can’t see makes everything a lot more simple.
To start, you may want to ensure each one of them has access only to their own posts. In this article, we’ll show you how to do that using the PublishPress Permissions plugin.
In this tutorial you’ll learn about:
Qode Themes: Top Picks
View Collection


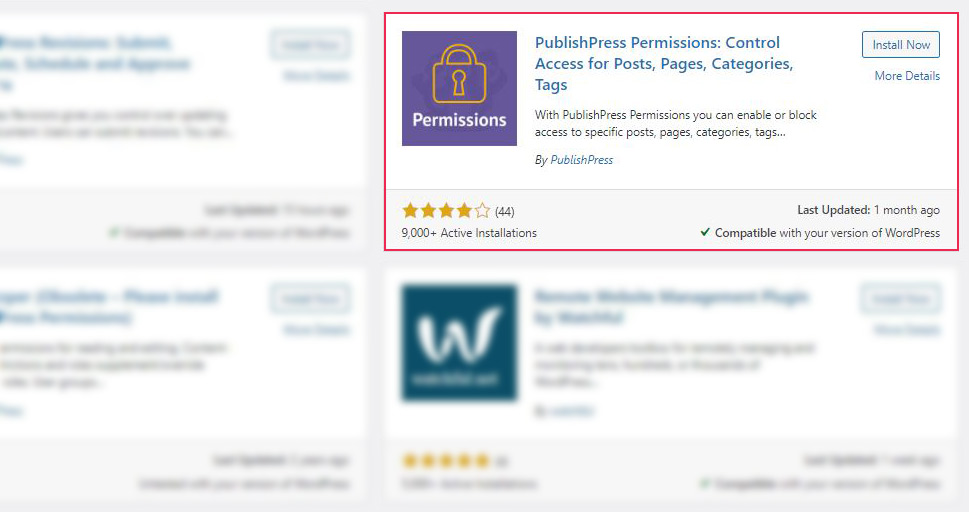
The PublishPress Permissions plugin is a user-friendly solution that lets you smoothly control access to your website’s content. You can allow or block access for individual users, roles, and even custom groups to specific pages, posts, categories, and other content on your website. The free version of this plugin provides you with all the essential features needed for limiting authors to their own posts in WordPress.
PublishPress Permissions is installed just like any other WordPress plugin so we’re not going to go through this part of the process step by step. In case you need some assistance, make sure to check out our tutorial on how to install a WordPress plugin.
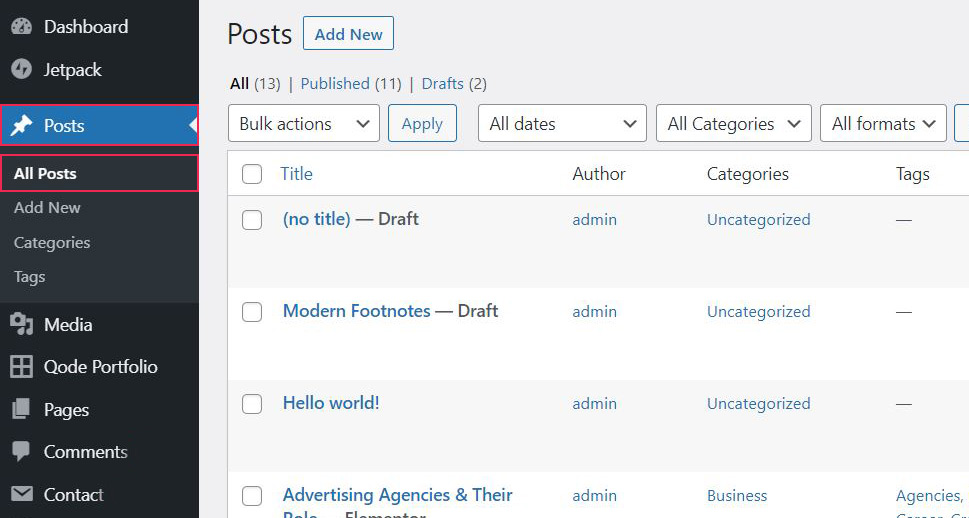
The plugin works out of the box. As soon as it is installed, access to posts is already limited to their authors only. Access to all posts is allowed only for the website administrator. To see all posts, log in as admin and go to Posts > All Posts from your admin dashboard.
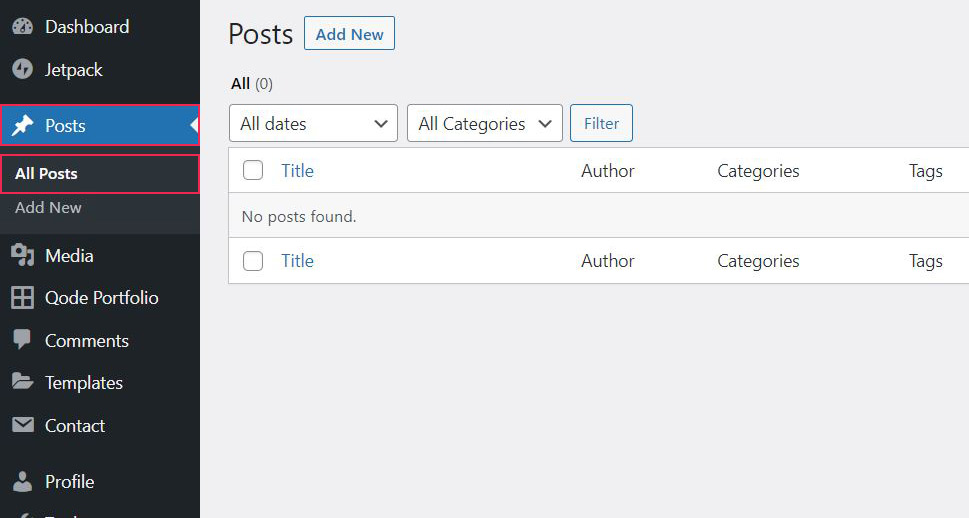
If an author logs in from their account, they will only see the posts they created. You don’t need to configure any settings to enable this feature, it works automatically as soon as the plugin is installed.
You may want to allow authors to see and/or edit specific posts on your website. The PublishPress Permissions plugin offers you the option to allow authors, editors, and contributors to edit and delete specific posts and pages.
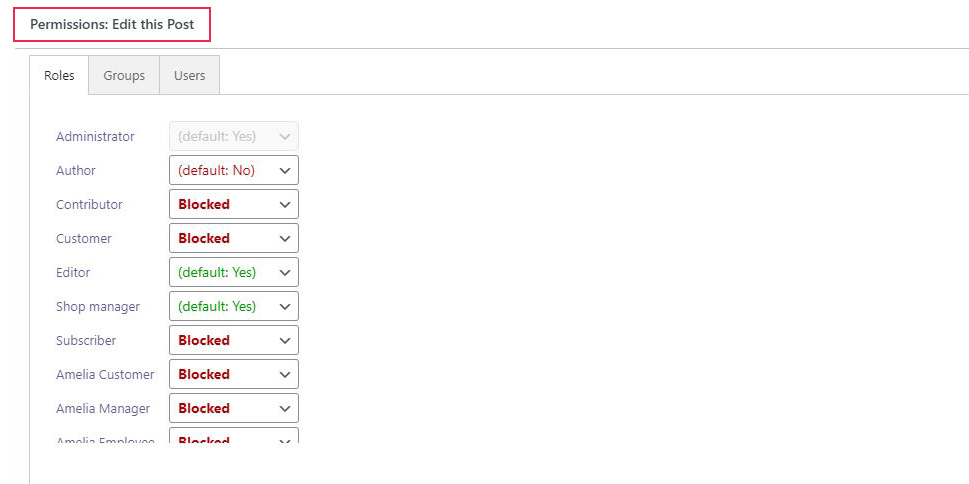
Let’s say you want a certain article on your website to be edited or read by the website’s editor or some other role only. That can easily be done. Just open the selected post in the WordPress Block editor and scroll down to the bottom of the page where you will see the Permissions meta box with options for all the user roles listed in a column. You can choose to block or enable specific user roles depending on whether you want to allow or prevent them from editing the post. Remember to update the post after you are done with the permissions settings.
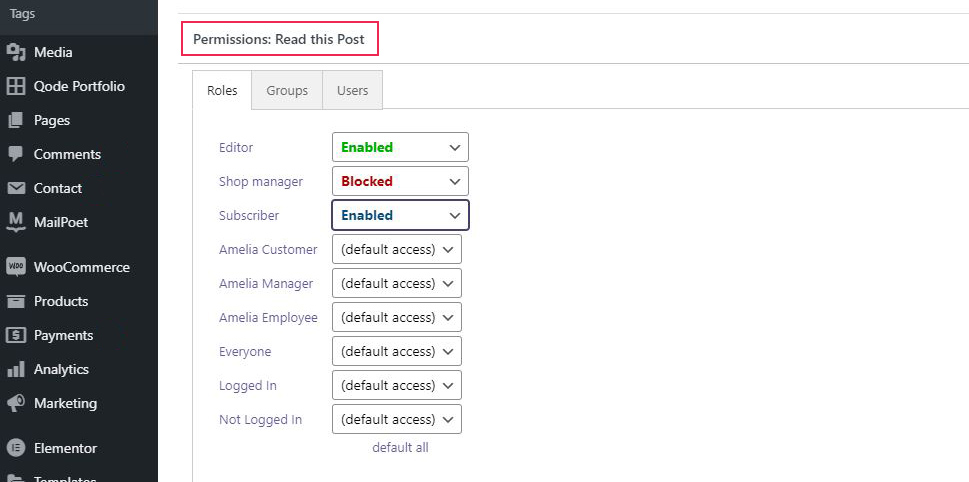
You also have the option to control who can read a specific post, without allowing them to edit it. The meta box Permissions: Read this post is also at the bottom of the page, and you can select which user roles can read the post. If you leave the By Default option selected, only the post author and the admin will be able to read the post. You can choose which user roles additionally are allowed to read the post or block some roles if necessary.
If you want a specific group of users, that consists of different user roles, to have the same type of permission, you don’t have to adjust the permission settings for each user individually. You can set a custom group of users who are allowed to edit and read a specific post. Just choose the Group tab in the selected Permissions meta box, and then click the Create group button.

After clicking the Create group button, you will be taken to the page where you are required to add the group name and description.
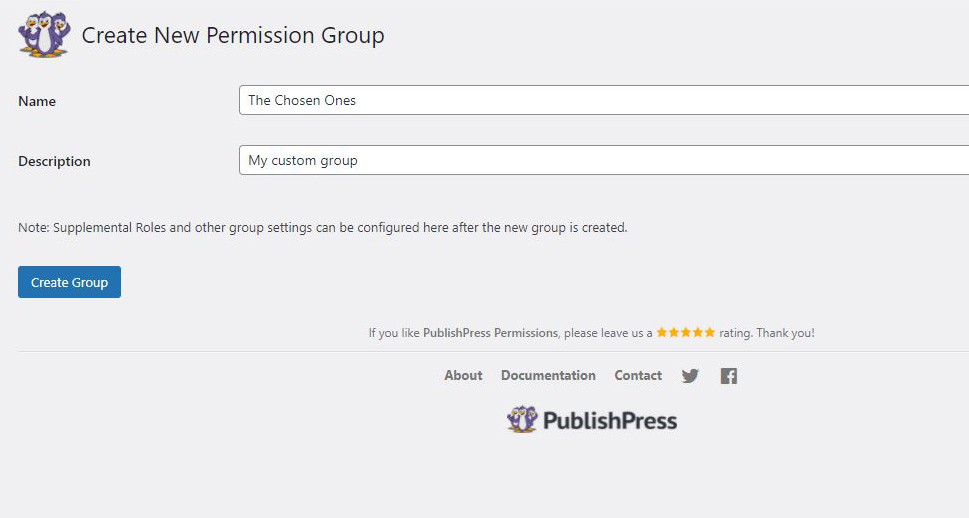
When you enter the name and description click the Create Group button to open the group settings. In the group settings, you will see a search field to find the users you want to add to the group. After you add all the members to the group, click the Update Group button to finish.
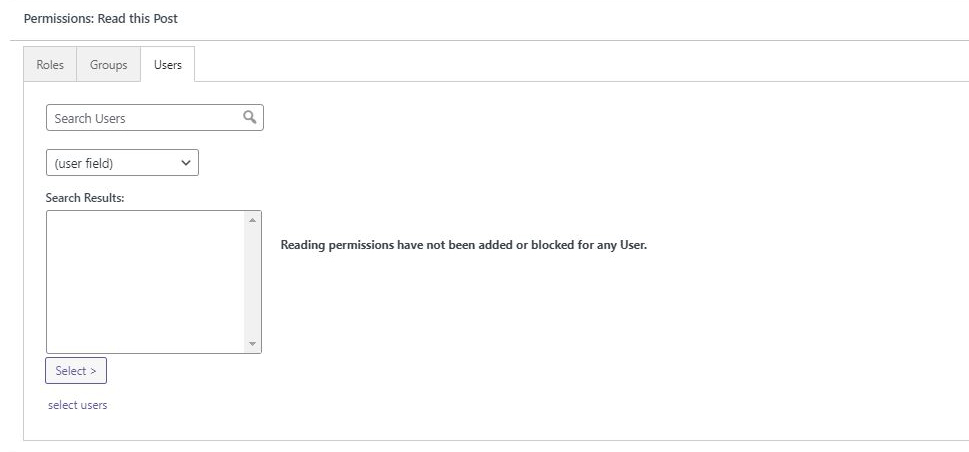
In case you want to customize permissions for individual users, that’s also possible. Click on the Users tab in the selected Permissions meta box and find the user you want to customize the permission for by entering the user’s name or surname in the search box. After you find the user, choose whether you want to block or enable them to read/edit the specific post.
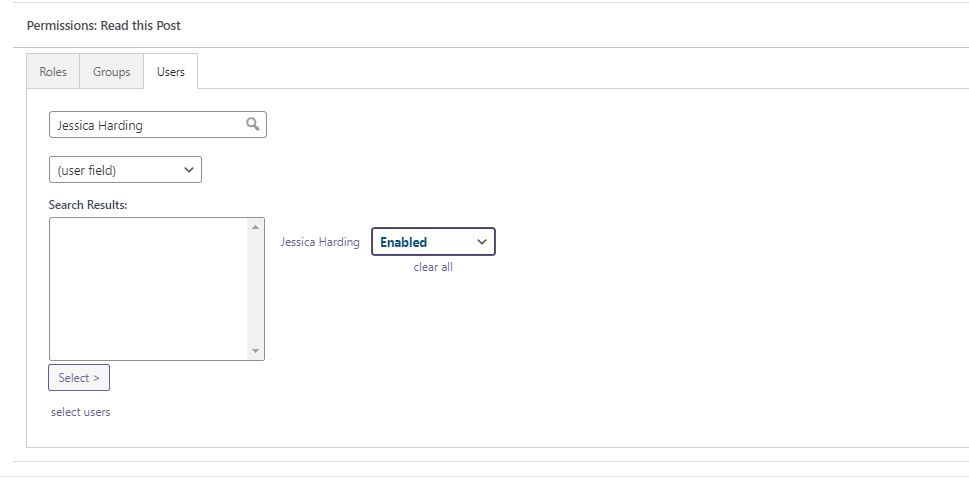
Don’t forget to update the post after you finish setting the permissions.
In Conclusion
Limiting authors to their own posts is especially useful if you frequently outsource writers or often collaborate with guest writers and other contributors that are not a part of your organization or team. It allows you to protect your website’s content as well as your authors and makes managing both the team and the content a lot more simple. And with this plugin, it can be done in literally just a couple of clicks. We hope this article helps you run your WordPress website neatly and efficiently.
