What is Autoblogging and How to Do It Using WordPress

Content – you can’t live without it, and you can’t throw enough resources into making it. Content is incredibly important, to the point when you’ll have premium WordPress themes for business websites equipped with everything you need to start blogging as soon as the site is up. All of that would be great if the content wouldn’t come at the cost of time, money, or both.
One of the ways you can get (most of) the benefits of having content while not having to invest significantly in its creation is through autoblogging. WordPress, being such a big content management system that it is, can help you kick things off.
If you’re not sure what autoblogging is, whether you need it or not, and how to set it up on WordPress, don’t worry. In this article we’ll show you:

Autoblogging is the practice of taking other publishers’ content and displaying it on your website. It’s similar to content curation, where you would choose specific articles from sources and share them on your website. Autoblogging is, however, far less demanding of your involvement than curation.
WordPress autoblogging, when you automate it as much as possible, will use RSS feeds to gather content from sources. Often, a basic setup will allow you to take the content from the feed, images included, and publish some parts of it as posts. You’ll rely on WordPress plugins to do all this work for you.
When you want to step up your autoblogging game, you’ll likely have to use a premium version of a plugin to enable advanced features such as keyword filtering and article scrapping. Some plugins will also offer to help you monetize autoblogging with affiliate link insertions. So there are lots of possibilities that open up with autoblogging, but in its core, it’s a way to post other publisher’s content on your website.
Blog & Magazine Themes
View Collection


In some cases, autoblogging can border on plagiarism. There is a sketchier side to it, where people would take the content developed by someone else, re-publish it as if it were theirs, and reap all the benefits. Although still present, this type of autoblogging already had its heyday and is in decline.
The “proper” way to autoblog — the way that wouldn’t have you step on anyone’s toes — would include adding best practices such as:
-
Publishing only titles and excerpts,
-
Avoiding scrapping of whole articles or pieces of content,
-
Providing proper attribution and/or links,
-
Avoiding publishing images due to copyright issues.
It would help if you also considered using autoblogged content in addition to the content you create. For example, you can create articles that focus on a specific niche but use autoblogging to publish the news that relates to that niche.
Most importantly, however, you should ensure that your autoblog doesn’t violate anyone’s copyright or uses their content contrary to their wishes. The BBC will, for example, encourage you to use their news feeds on your website. But their RSS page contains guidelines on proper attribution, and you should observe them if you decide to use their feeds for autoblogging.
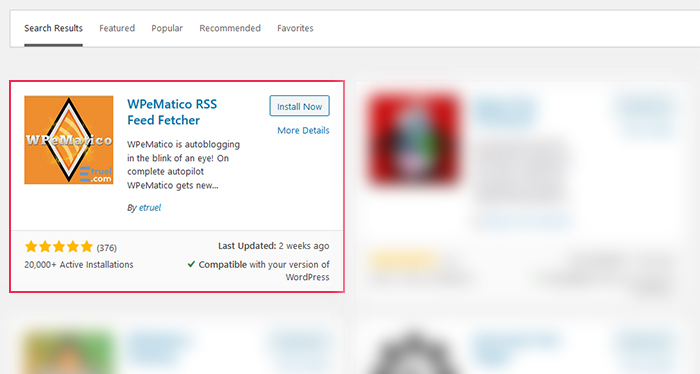
When you’ve figured out how autoblogging can fit with your overall content strategy, the next step would be to install and set up an autoblogging plugin. We’ll use the free version of the WPeMatico RSS Feed Fetcher to show you how you can get started. So head over to your WordPress website, navigate to Plugins > Add New One, search for WPeMatico, and install and activate the plugin.
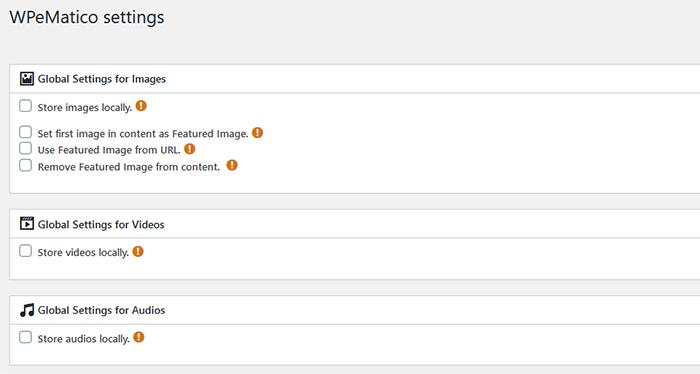
After activating it, you’ll notice a new item – WPeMatico – appear in the website’s dashboard menu. Click on it, and you’ll see four different options you can explore – Extensions, Settings, Add New, and All Campaigns. Unless you plan to purchase addons for the plugin, you don’t have to visit the Extensions options. In Settings, however, you’ll be able to set global rules for media content storage, which might come in handy.
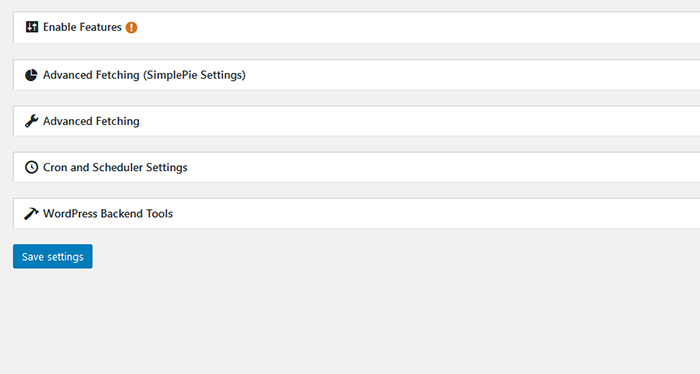
The plugin does a great job of explaining what each of the settings does. Those exclamation points in red circles bring up tooltips when you hover over them. They’ll help you navigate easily through the rest of the options. There are a couple of features in there you could turn on, some advanced fetching options, as well as the scheduler and backend settings.
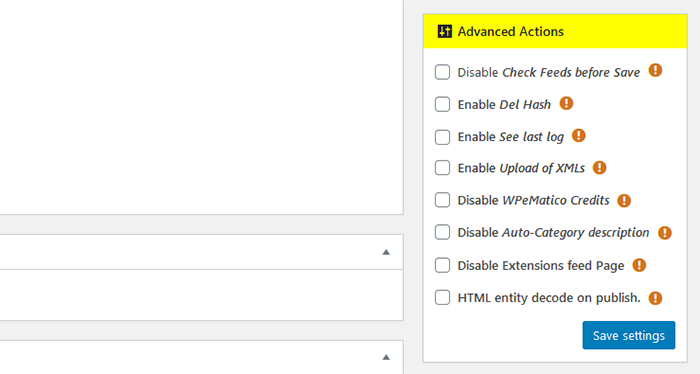
It would be best if you didn’t forget the right-hand side menus, either. One of the menu cards you’ll find here is the Advanced Action card.
If you want to skip fine-tuning the settings and get on with autoblogging, navigate to the Add New option. The Add New Campaign Wizard will help you set up your new campaign easily – you’ll see the red button at the top of the page.
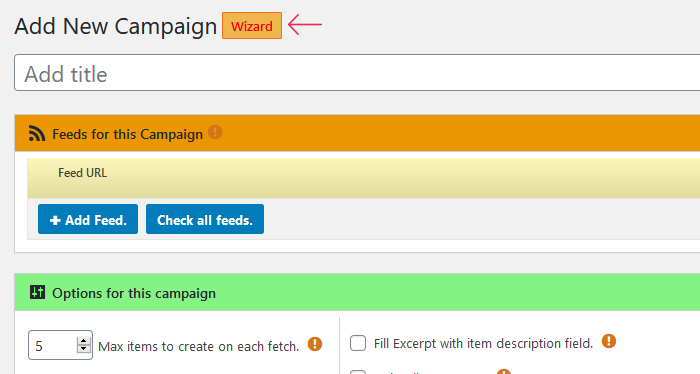
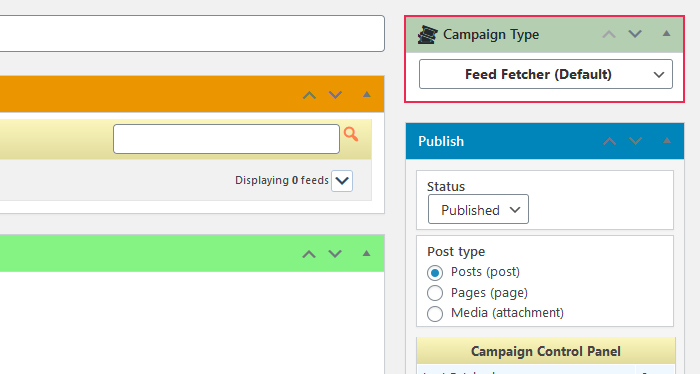
But let’s go through the campaign setup process on foot. You start by naming your campaign and selecting the right campaign type under the Campaign Type options card, the first card on the right-hand side of the screen.
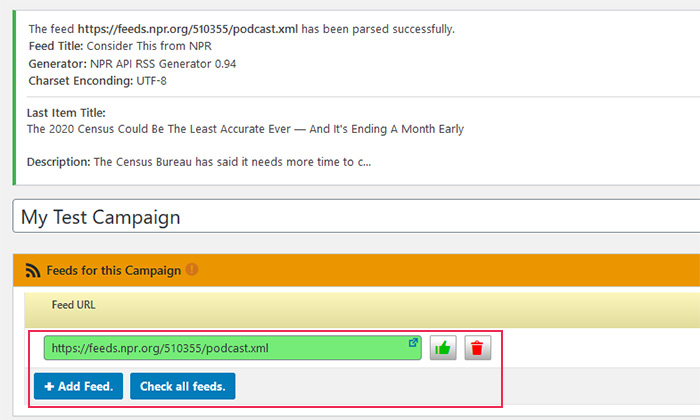
Next, you should add the link to the feed you want to use for autoblogging. Under the Feeds for this Campaign options, click on the blue button that says “+Add Feed.” Paste a link to the feed in the field that appears, press the little checkmark button to check whether the feed works. If it does, the plugin will parse it, and you’ll be able to add other feeds, too.
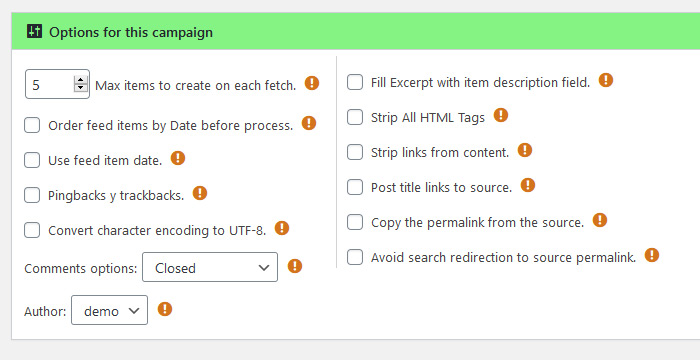
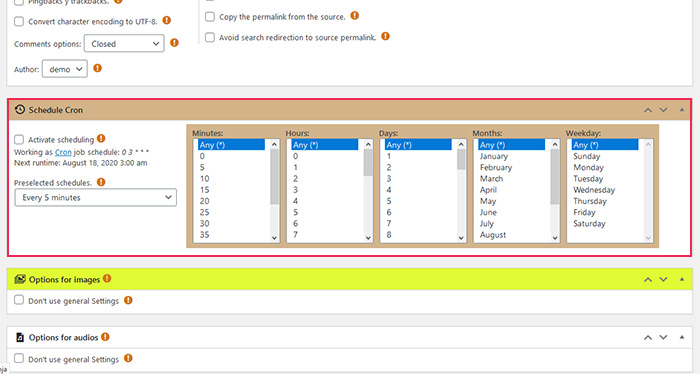
Before you update the campaign to see the changes, give the options window a look. You’ll see that you can, for example, set the maximum number of items that will be created on a single fetch. You’ll also notice that you can choose to use the feed’s date and time, enable pingbacks and trackbacks, and strip all HTML tags from content, among other things.
The scheduling options are next. You can choose how often the plugin fetches the feeds, from once every five minutes, to once a month. The plugin offers some preselected schedules that can come in extremely handy for figuring out how the scheduler works. The ubiquitous exclamation marks and the tooltips they bring out will also be there to guide you.
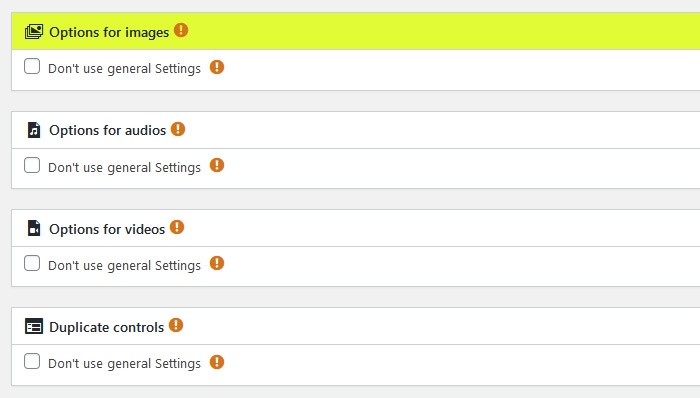
The following options will allow you to overwrite the general settings for images, audio, video, as well as duplicate controls. You can have a different configuration of media settings for each campaign.
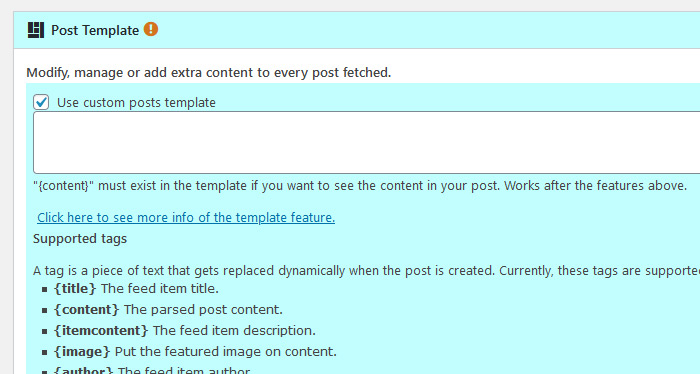
The last menu will let you use post templates to change the content you fetch from the RSS feeds. Here, you can, for example, add URLs to the original content if it doesn’t contain them by default.
Finally, you’ll notice several options and settings on the right-hand side of the page. You can use them to add excerpts, set up a log you can send to yourself via email, generate tags, and choose categories. Most importantly, this is where you choose the publishing options — which types of posts do you want, as well as the status of your posts after publishing.
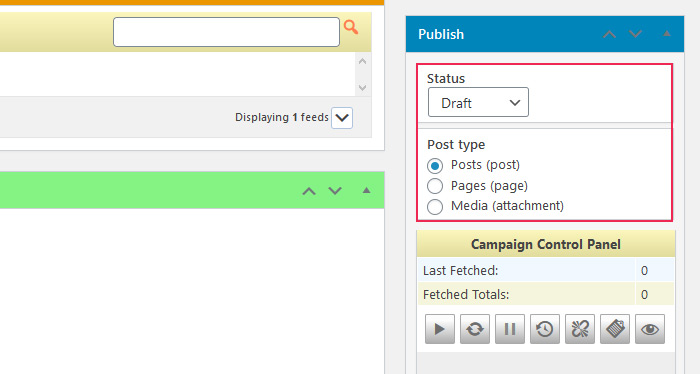
Once you press the Publish button, your campaign will be saved and ready for deployment. Head over to the All Campaigns item in the WPeMatico dashboard menu and use the control to either set the campaign to run once or let the scheduler do its job.
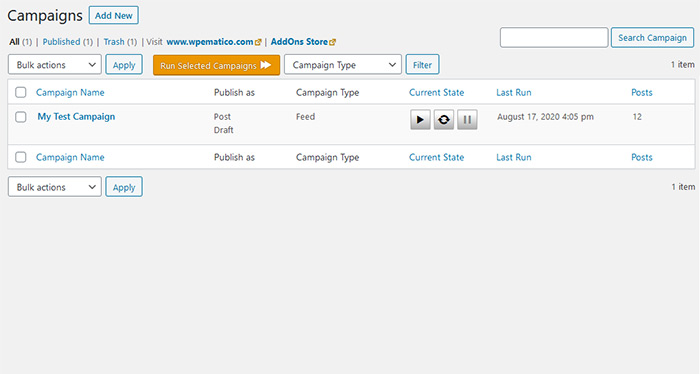
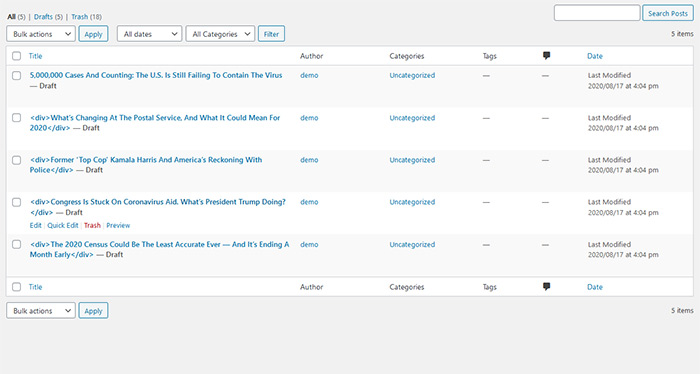
When the plugin fetches the content from the feed, you’ll be able to see it on the post list. Keep in mind, however, that some of your titles might appear wrapped in <div> tags — you’ll need to get a paid extension to remove HTML tags from the title automatically. If you don’t, you’ll have to remove them manually.
With that, you’ll start pulling content for your website. You’re more than welcome to explore the plugin in more depth and find the options that allow you to make the most out of autoblogging — while still keeping it fair and transparent.
Conclusion
Autoblogging is a content production method that can easily skip into the murky territory of plagiarism. If you manage to do it well, however, you can easily add tons of content to your website and send some traffic to the original content creators.
As is often the case with WordPress, autoblogging can be very time-effective thanks to the use of plugins. The market is full of freemium plugins that offer limited functionalities with the free version. You should, however, try to use one for a while, until you see whether autoblogging works for your website or not.
