How to Add Shopify to WordPress
The eCommerce platform market is dynamic and prone to changes, but one thing’s for sure – when you look at the top two or three platforms in the world, you’ll find Shopify there. Its main competitor is WooCommerce, and in some markets – the US market, for example – Shopify even has a lead over it.
Even though WooCommerce is often seen as WordPress’ horse in the race, seeing how it’s built on WordPress and all, you’re not under an obligation to use it. If you’d like, you can give its major competitor a spin, too – you can add Shopify to WordPress.
In this article, we’ll show you how you can do it. You’ll read:
eCommerce WordPress Themes
View Collection


The choice to add Shopify to a WordPress website has its pros and cons, and it might be best you’re aware of both before you proceed. Among the pros, the one that stands out the most is the fact that Shopify is a managed platform. You won’t have to worry about updates, security, and the like – that will be taken care of for you. This means that you can have a simpler type of WordPress website, like a blog, and have less hustle around it.
As most hosted eCommerce platforms, you might also find Shopify incredibly easy to use. Not that WooCommerce is exceedingly difficult to use, but it has a learning curve that’s steeper than that of Shopify.
On the other hand, Shopify is the more expensive option of the two. Using Shopify with WordPress doesn’t remove the costs of web hosting, and it adds cost because Shopify’s not free to use. Using WooCommerce also opens the door to all the great plugins and extensions you can use with it. Shopify has its app store, too, with apps to match WooCommerce’s. If you plan to use a Shopify store and a WordPress website, you might easily find yourself paying for two apps that do the same thing, just on different websites.
Still, if your mind is set to try and use the best of Shopify and WordPress, there’s a pretty easy way you can do it. There’s also a way that involves the use of plugins. We’ll show you both, and we’ll start with creating a Shopify store.
Signing up for Shopify is simple. After you visit Shopify.com, starting a free trial will prompt you to enter your email address, password, and name for your store. In the next step, Shopify will ask you to leave some information about yourself, including the reasons you’re opening a store, your current revenue, your industry, and whether you’re opening the store for a client.

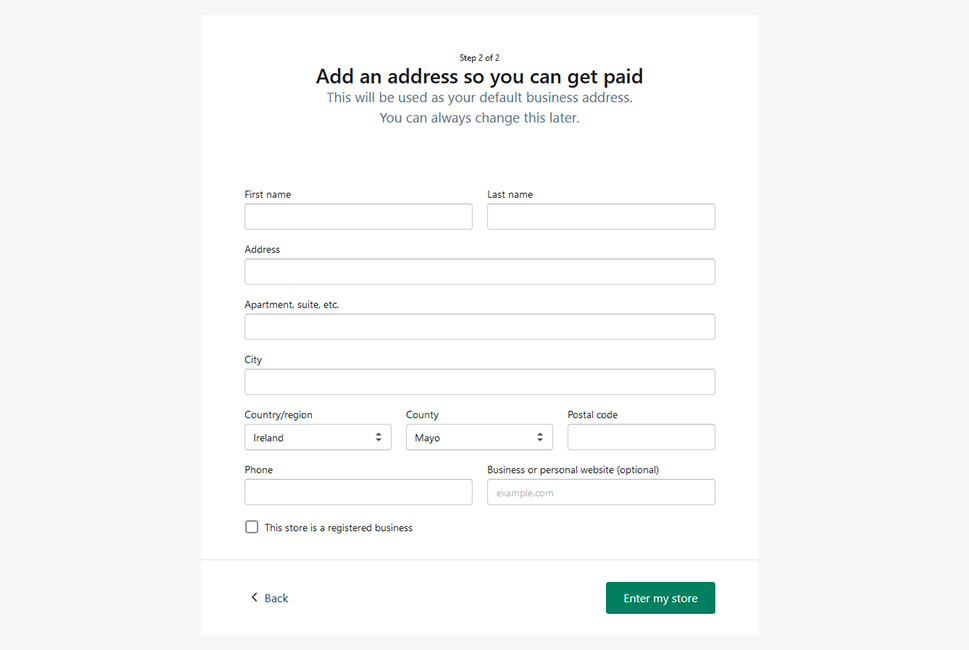
Your next step would include providing information about yourself, including your name, address, and contact information.
With that, you’ll get access to your store’s backend. Your next task would be to confirm your email address, after which you can take care of the things that Shopify advises you to do – add products, customize the theme of your store, add a domain, or set up payments. You might also consider adding some apps to your store, but you should probably get familiar with the shop a bit first.
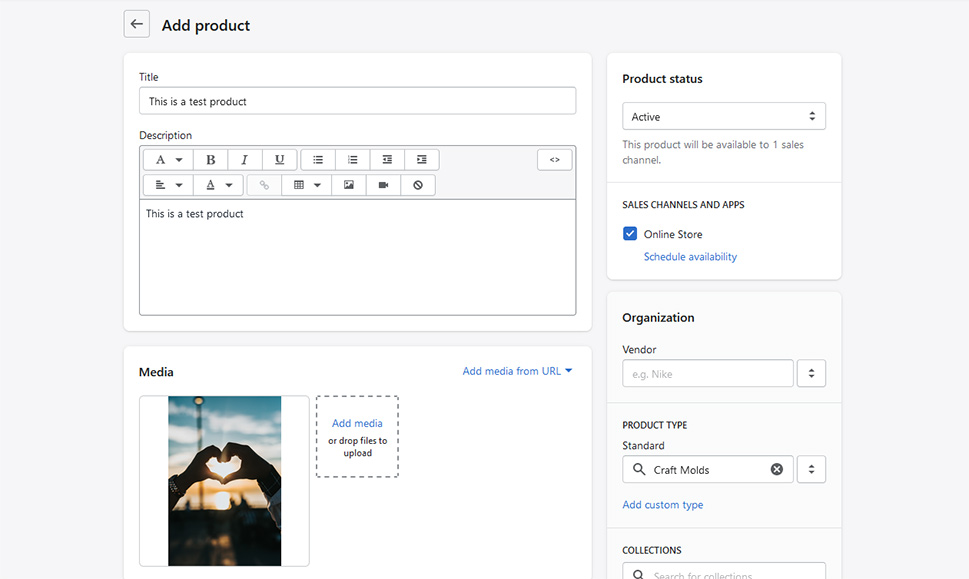
To connect your WordPress website and Shopify using the Buy Button, you’ll need to have at least one product. It might be best to start with that first, especially if you’re just trying out Shopify and don’t want to commit to anything yet.
To add a product, simply press the Add Product button you see in the admin screen, and fill out the necessary details – title, description, picture, pricing, and inventory. Look around for product type and set the status to Active.
Now that you have at least one product, we can move on and show you how to add Shopify to WordPress using the Buy Button. Keep in mind, however, that before making any sales, you should set up payments first.
The Buy Button is a Shopify sales channel that allows you to add your Shopify products to a website or blog outside of Shopify. When you add a Buy Button to a page or a post on your website, your website visitors will see the product, its description, and image, and they’ll be able to make the purchase right there, from your website.
The Buy Button is great because you can use it without a Shopify online store and drastically reduce the costs of Shopify. If you choose to have a Shopify store and sell through your WordPress website, any Shopify plan you choose will allow you to use the Buy Button.
How to Create a Buy Button
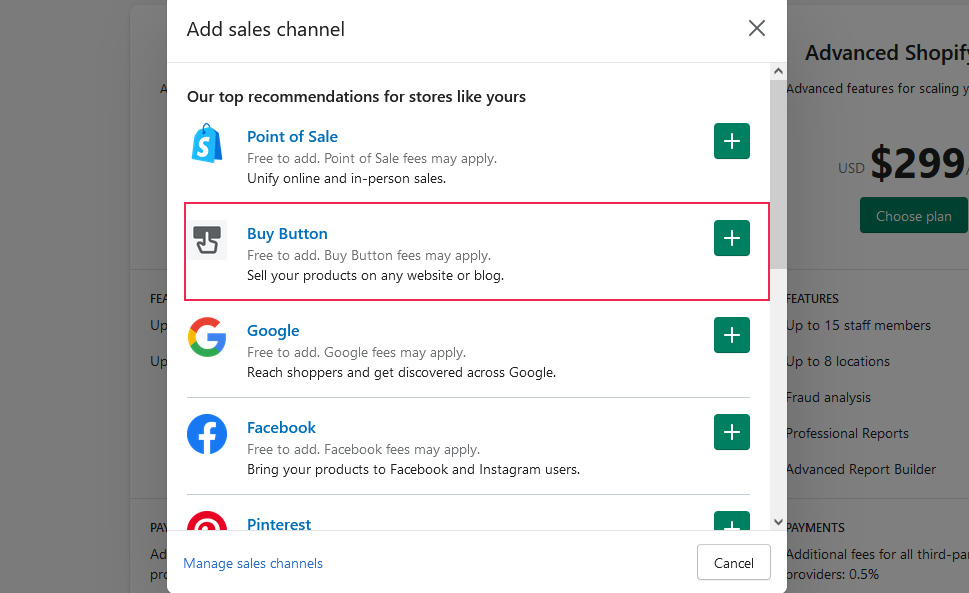
In your store’s admin dashboard, find the Sales Channel section, and click on the “+” button. This will bring up a menu to include additional sales channels to your store – you’ll notice the Buy Button is there. Press the “+” sign beside it.
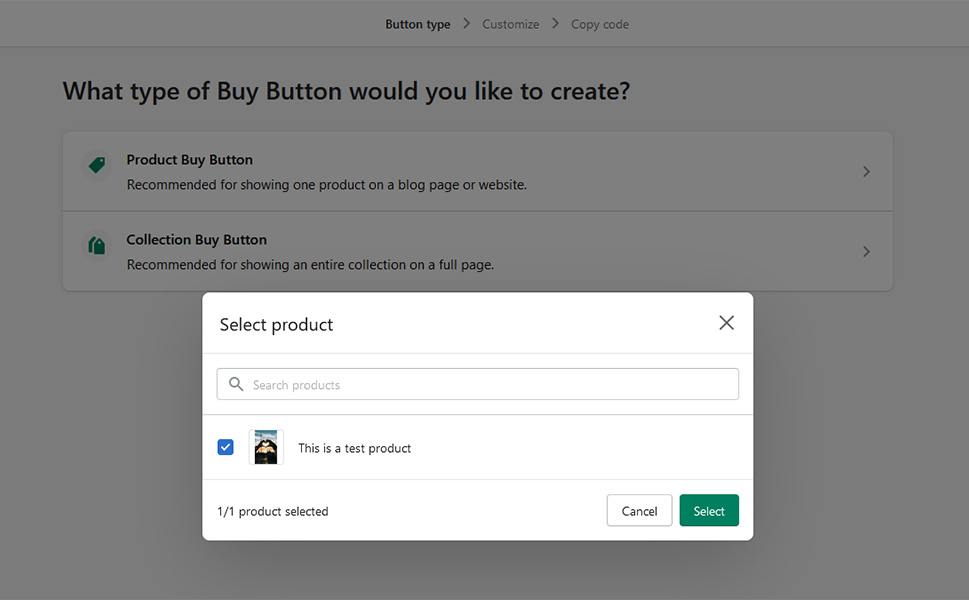
The next step will be to choose whether you want a product Buy Button, for a single product, or a collection Buy Button, for an entire collection. Keep in mind that collections usually require full pages, while single products fit well after, or in the middle of, an article. The next step would be to choose the product or collection for which you want to create the Button.
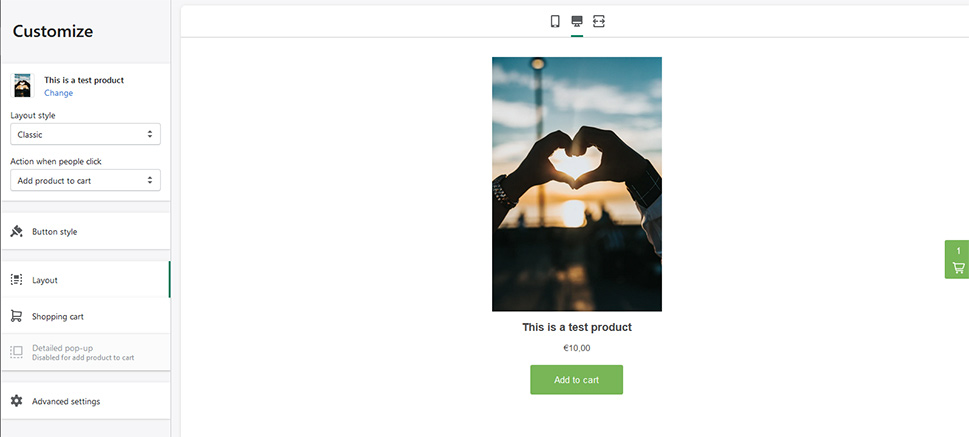
After that, you’ll be able to customize how your product appears. You’ll be able to choose the layout style, what happens when people click the button, what the button looks like, as well as the additional layout and checkout styling options. Finally, you’ll be able to pick between pop-up and new window checkout behavior.
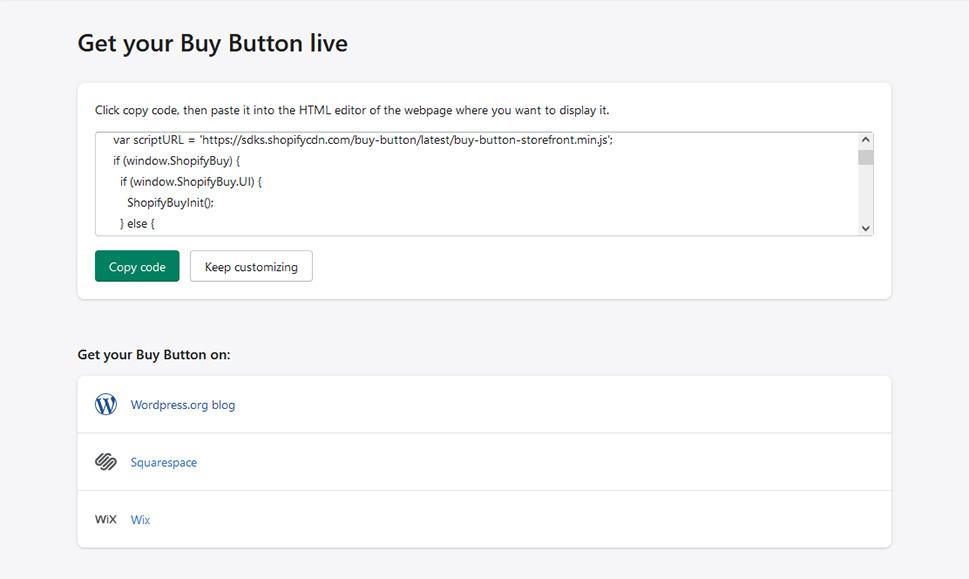
In the final step, you’ll have access to some code. Copy that code, and we can move on to the next step – adding the Buy Button to your website.
How to Add a Buy Button to Your Website
To add a Buy Button to your WordPress website, navigate to a page or post where you want to add it. If you’ve created posts that are related to the products you’re selling, pairing the post and the product is a sound sales strategy. To test this integration out, however, you can open a new test post, too.
Because we’ll be adding HTML, select a custom HTML block. Paste the Buy Button code you’ve copied from Shopify into it.
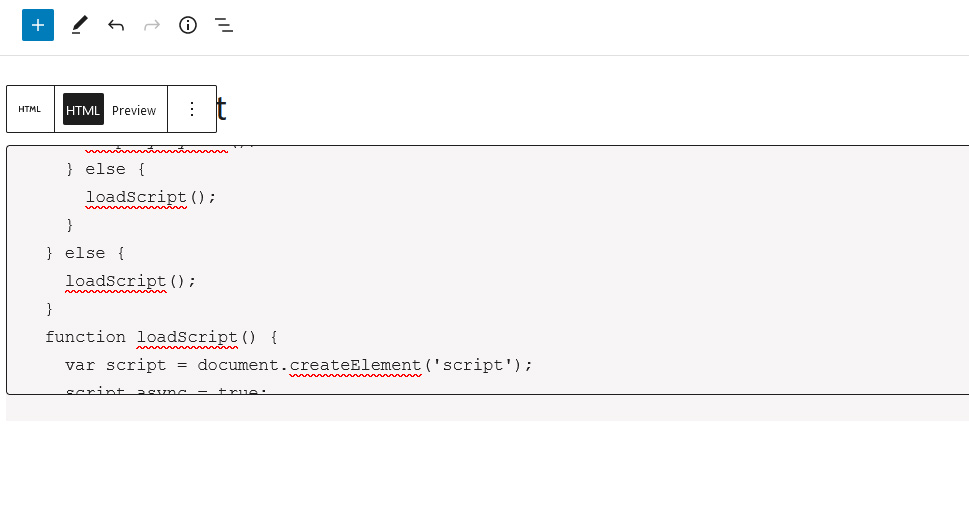
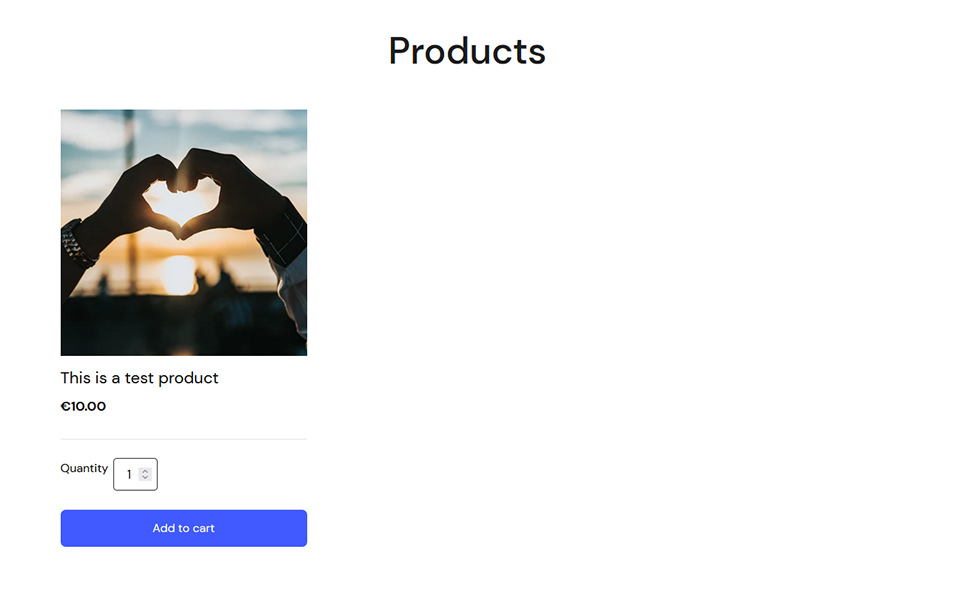
With that, you’ve added your Shopify product to your WordPress website. After you save the page, maybe add some text to it, this is what it will look like.
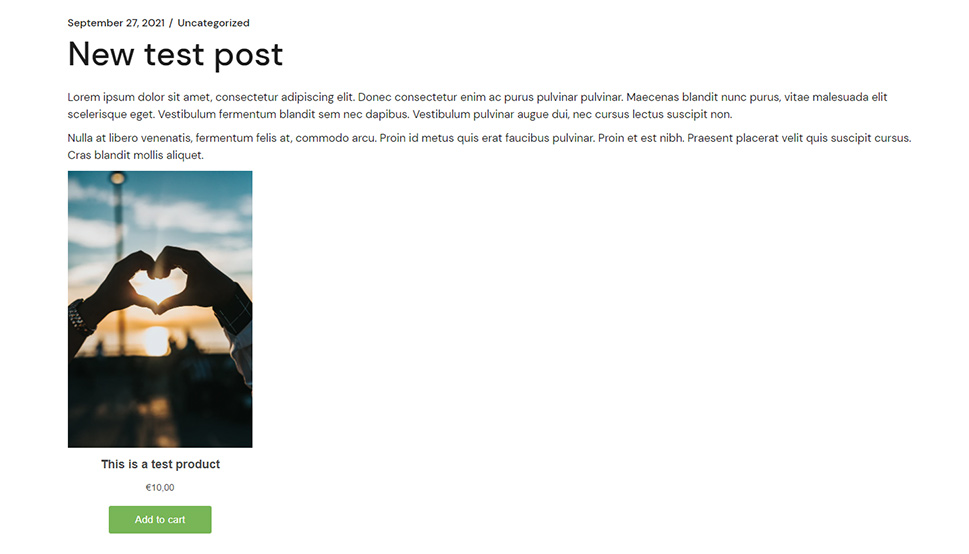
Of course, you’re more than welcome to play around with different layouts, both for the Shopify button and your blog posts, to create a more visually appealing composition. After you’ve set up payments in Shopify, people will be able to go through the whole purchasing process without going back to your Shopify store.
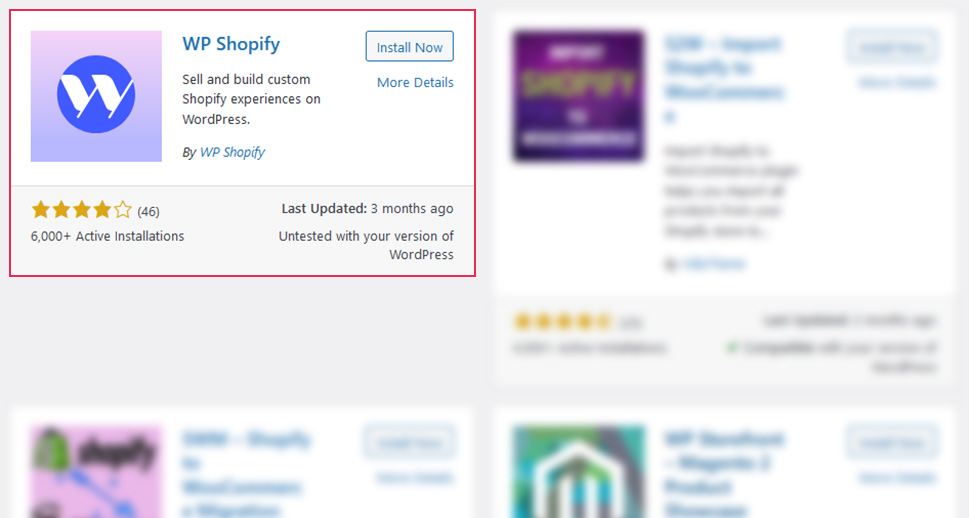
If you’re a fan of solving WordPress problems with WordPress plugins – and who isn’t?! – you can use a plugin to connect Shopify and a WordPress website. The plugin we’ll use is called WP Shopify, and you can install and activate it by navigating to Plugins > Add New and searching for WP Shopify.
This plugin relies on the Buy Button for the front-end look, but at least it allows you to sync products more easily – after you’ve set everything up. And to set everything up, you need to connect the plugin to your store.
Connecting the Plugin and the Store
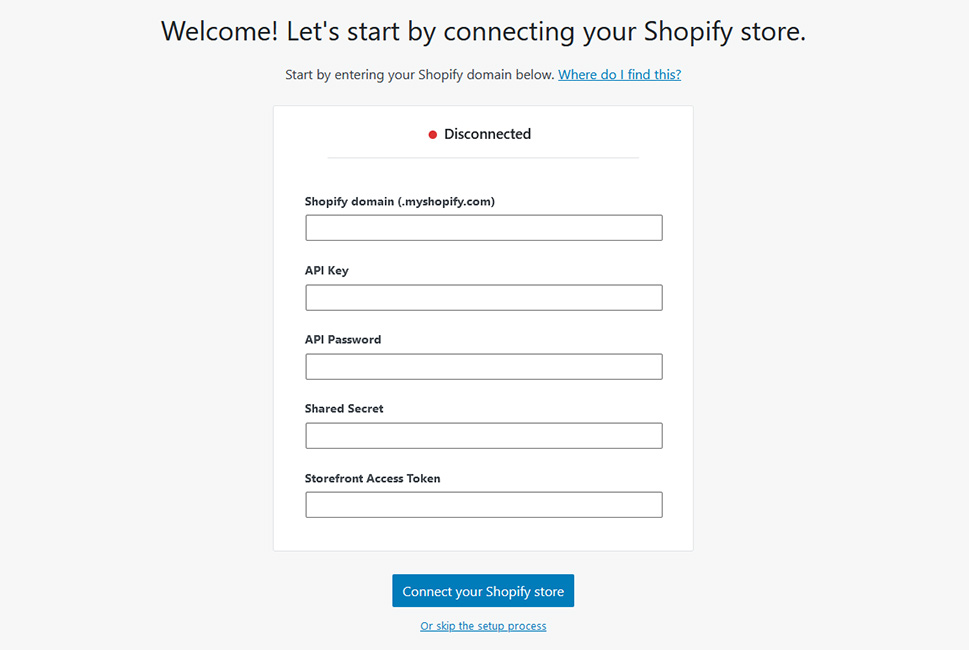
Navigate to WP Shopify > Connect and press the “Begin the Connection” button. The window you see is where you’ll have to provide information that includes your Shopify domain, API key, API Password, Shared Secret, and Storefront Access Token.
To get all of these, you need to navigate to your Shopify admin dashboard, go to Apps, and scroll down until you see a “Manage private apps” hyperlink. You’ll have to enable private apps, but make sure you read every bit of text cautioning you about each next step – the decision to go through with this method is completely up to you. After enabling private apps, you can press the button to create one.
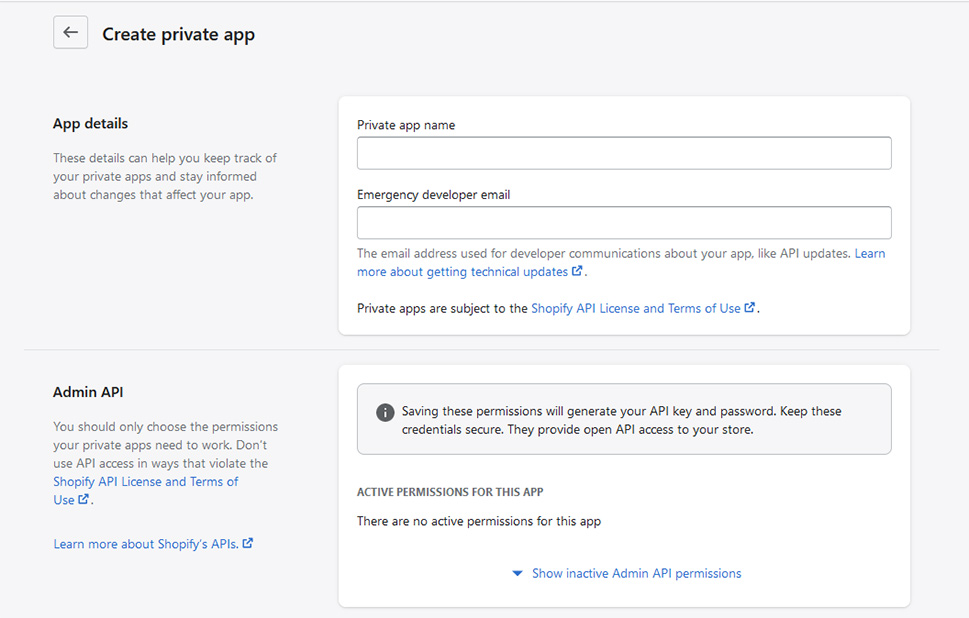
Enter the name of your app, your email address, and move on to Admin API options. The plugin developer recommends setting every option on the max level of access allowed except the four that start with “Shopify” and deal with payments.

Your next step would be to check the box beside “Allow this app to access your storefront data using the Storefront API,” and then make sure that all the options under Storefront API Permissions are also checked.

With that, you’ve created a private app – all you need to do is save all the settings, and you’ll see the API key, password, and the shared secret. Scroll down to the bottom of the page, and you’ll see the storefront access token, too. The next step is to copy all of those to their respective fields in the plugin. Do that, and you’ll be able to connect the plugin and the store.
Setting Up the Plugin
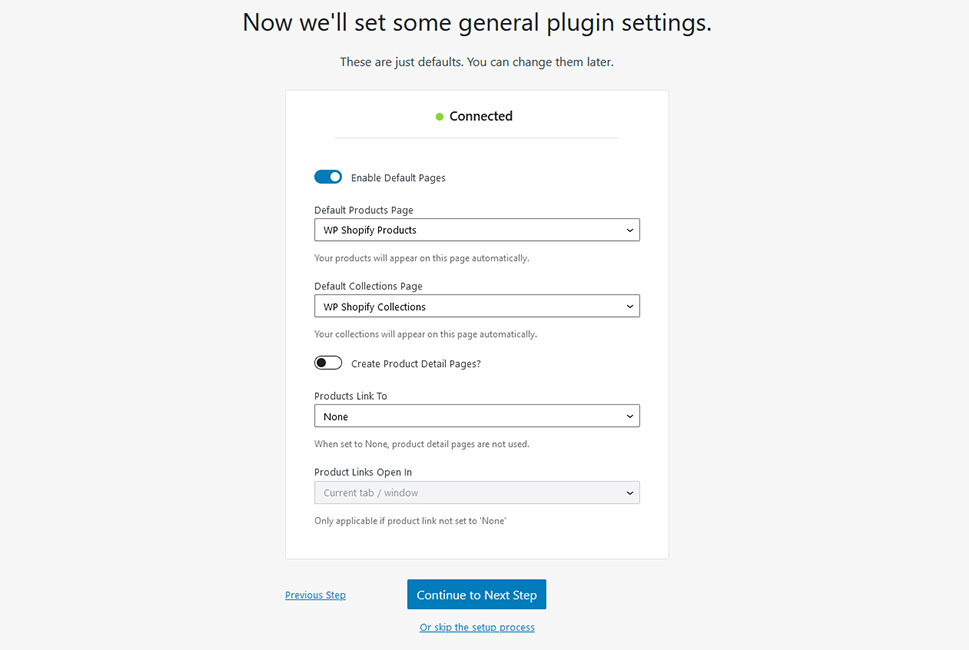
Once you’ve connected the plugin and your Shopify store, you’ll get access to some of the plugin’s options. The first batch will allow you to enable and choose default pages for your products and collections. You can also enable the creation of product detail pages, choose where the products link to and how that page opens.
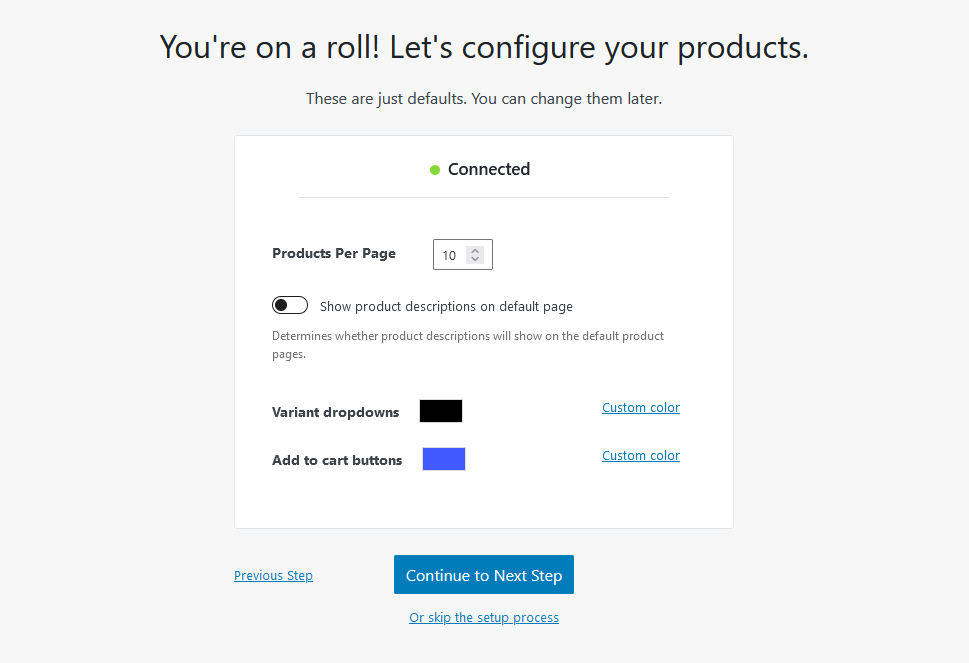
In the next step, you’ll be able to choose some of the product settings. You’ll choose how many products you want to appear per page, whether or not to show product descriptions on the default page, and colors for variants dropdowns and add to cart buttons.
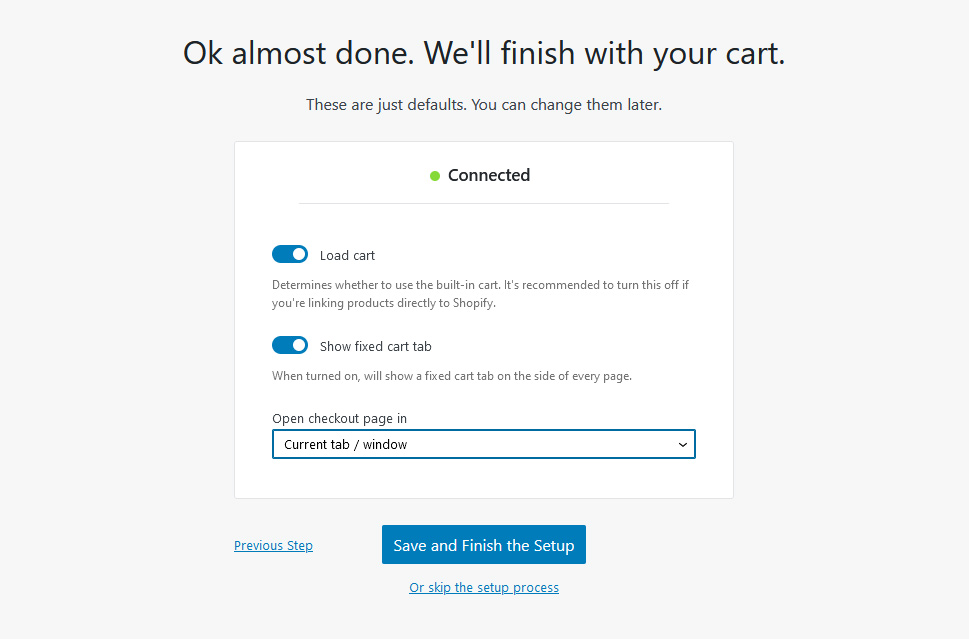
The final set of settings are the cart settings. You can choose whether to load the cart or not, whether to show the fixed cart tab or not and how to open the checkout page.
The plugin will automatically create product and collection pages and populate them with your products and collections. To check them out, navigate to Pages > All Pages, and then to either WP Shopify Collections or WP Shopify Products.
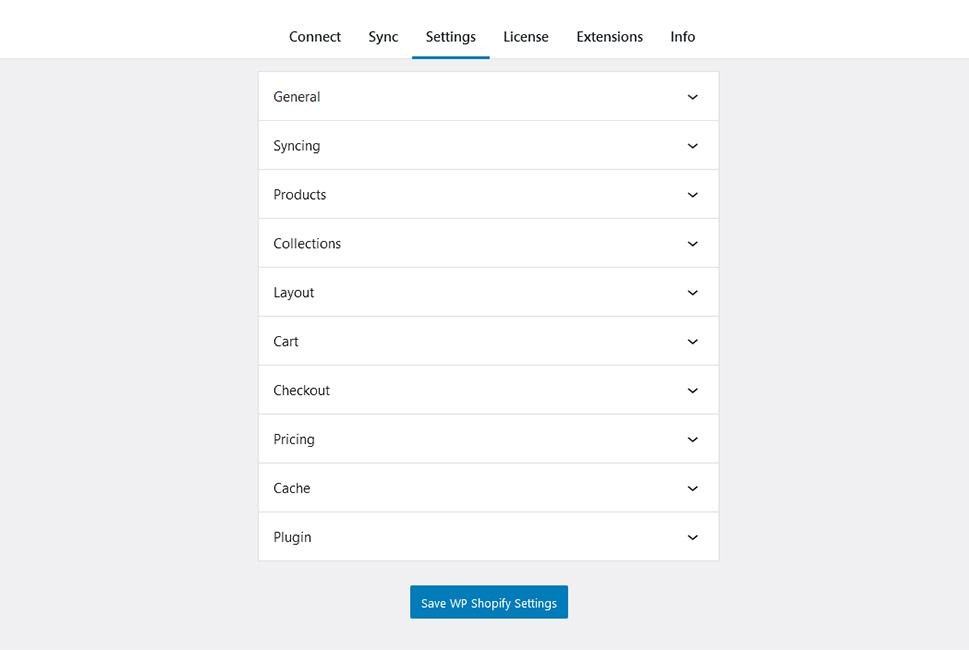
Under WP Shopify > Settings, you’ll be able to access some of the settings you’ve already made, plus a whole lot more. This is where you can fine-tune how the products and collections look on your pages, and how the pages behave.
Finally, under WP Shopify > Sync, you’ll see all the options for syncing your store with your website.

As you can see, this second method might not be easier, but it’s well suited for a big Shopify store. Mass syncing beats manual adding of products one at a time.
Let’s Wrap This Up!
Using Shopify together with WordPress might be a way to get the best of both worlds – the benefits of an awesome eCommerce platform coupled with the benefits of the best CMS there is. There are a couple of ways you can connect the two, and in this case, the manual method might be the easier one – as long as you don’t have too many products to sell. If you do, you’ll have at least one great plugin to help you out.
