How to Add a Navigation Menu in WordPress

When we visit a website, we expect to find what we need with ease. If the navigation system is designed well, we won’t have trouble getting to the section or page we’re interested in.
Simple and intuitive menu navigation is one of the key elements of good UX. In this guide, we’ll show you how to add a navigation menu in WordPress so your users can easily find their way around your website.
In WordPress, you can add pages, posts, as well as custom links and categories to the menu. We’ve made a video tutorial on how to create a menu using our bestselling theme Bridge. The same steps can be applied to other Qode Interactive WordPress themes, so make sure to check it out:
In case you’re not using one of our themes, or if you prefer a written tutorial, continue reading to learn all about creating and setting up a navigation menu in WordPress.
How to Create a Navigation Menu in WordPress
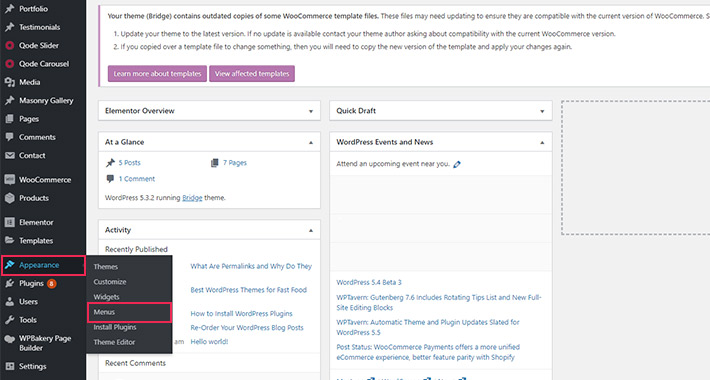
From your admin dashboard, go to Appearance > Menus. The Edit Menus page will open.
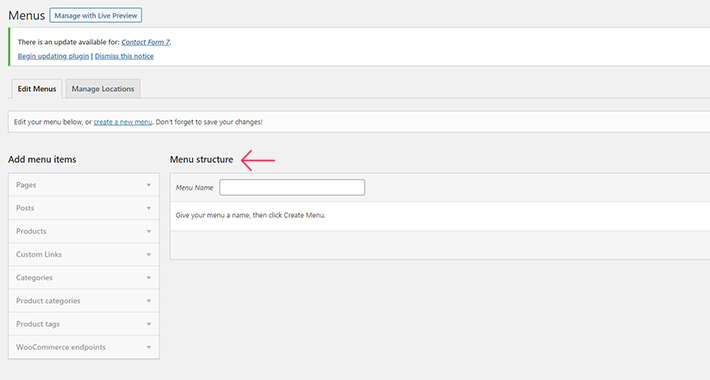
The Edit Menus page is divided into two parts. On the left, under Add Menu Items, there are several options: Pages, Posts, Custom Links, and Categories. To create a new menu, we’ll stick to the right column – Menu Structure.
First, let’s input the Menu Name.
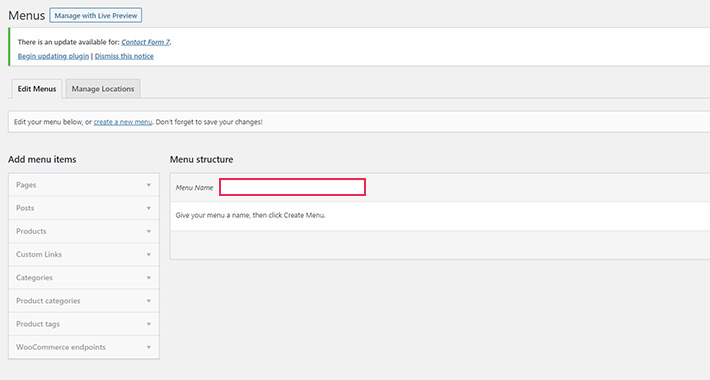
Once you’ve given your menu a name, press the Create Menu button.
There is no limit in WordPress as to how many menus you can create, so you can add as many as you need.
How to Add Menu Elements
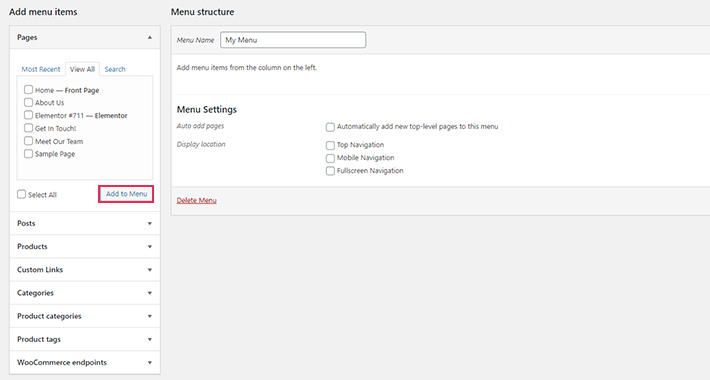
The next thing to do is to choose the pages, posts, custom links, and categories you wish to add to the menu from the Menu Items column. Select the elements according to your needs and press the Add to Menu button.
Adding categories to your WordPress menu is particularly handy if you run a blog. Categories allow you to group related posts, so users can easily navigate to a subject of their interest and find all the related posts in one place.
To add categories to your menu, click on the Categories tab in the Menu Items column. From the dropdown menu, select the category you wish to add to your navigation menu. When you’re done, press Add to Menu.
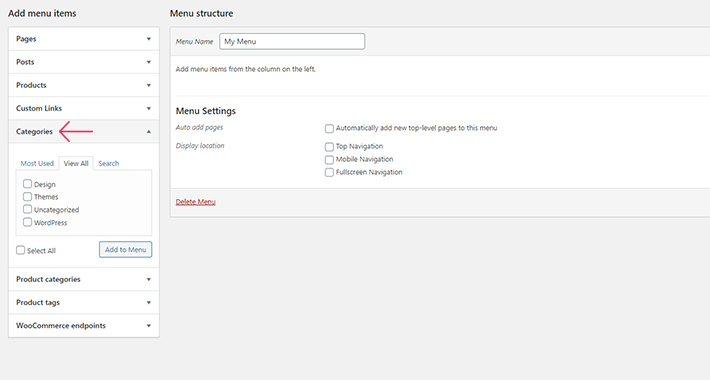
The categories you’ve selected will now appear within the Menu Structure. Drag and drop them to arrange them the way you like it best.
If you’d like to add custom links to your menu, under Add Menu Items select Custom Links. In the URL field, paste the link of the page you want the menu item to lead to, and in the Link Text field enter a name for the menu item.
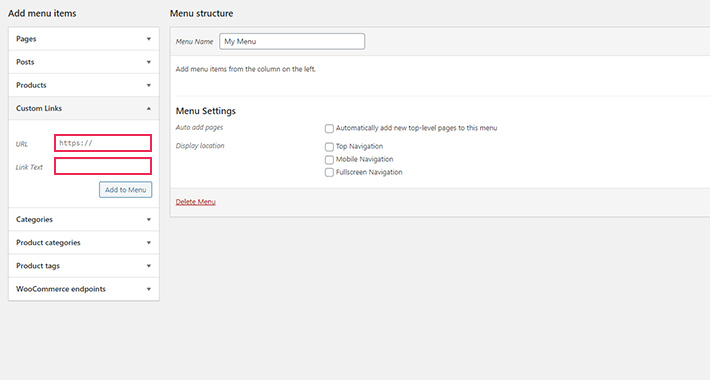
Once you’re done, click the Add to Menu button, and your menu item will appear in the Menu Structure section.
How to Set the Menu Location
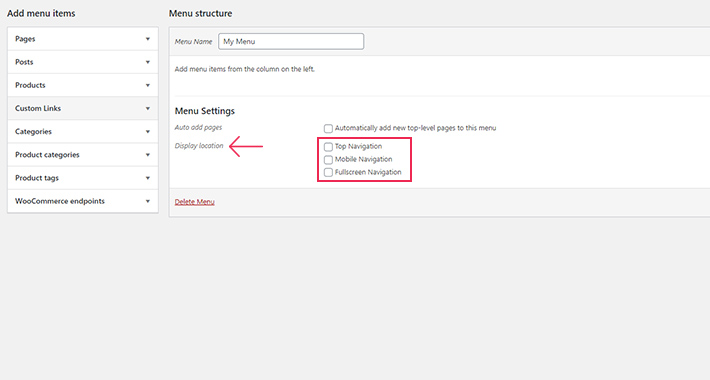
Now it’s time to set the Display Location for the menu. This determines where your menu will appear on your website. The available locations depend on the theme you’ve got installed. For instance, some themes may include a footer menu, horizontal menu, etc. but all come with at least one display location.
Qode WordPress Themes: Top Picks
View Collection


In Qode Interactive themes you can usually choose between at least these three menu locations: Top Navigation, Mobile Navigation, and Fullscreen Navigation. Depending on the theme you’re using, you might have other menu locations available.
Simply tick the box (or boxes) next to the menu location you’d like to display your menu in. Note that you can add one menu to multiple locations if you wish.
Once you’ve added your menu to a menu location, don’t forget to press the Save Menu button.
How to Arrange Menu Items
The elements you’ve previously added to your menu will appear under Menu Structure, on the right side of the editor. To rearrange the menu items the way you want, simply drag and drop them into the desired order.
How to Create a Dropdown Menu in WordPress
If you have a lot of pages on your site, you can make navigation easier and clearer by setting up dropdown menus, aka submenus or nested menus. This lets you create a hierarchical organization that will make it more intuitive for your user to navigate your site.
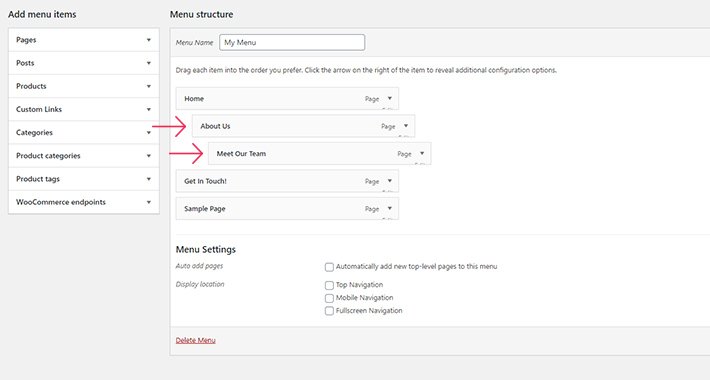
To create a nested menu in WordPress, all you need to do is move a menu item to the right within the Menu Structure.
The menu items you move to the right will appear as second level menu items in your menu, i.e. they will only be visible once the user hovers over the first level menu item (Home in the example above).
You can also create multi-layered nested menus if you wish, but it’s best not to create more than 2 layers.
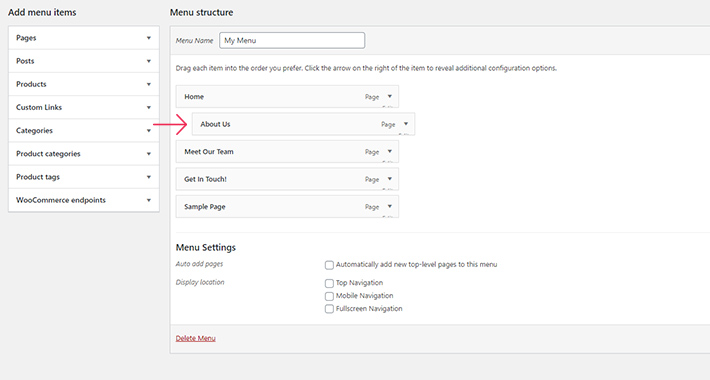
How to Customize a WordPress Menu Item
You can customize certain options for each menu item you add to your menu. To do so, just click the small downward arrow located to the right of the menu item’s name. This will open an options panel which will allow you to edit the navigation label, add attributes, etc.
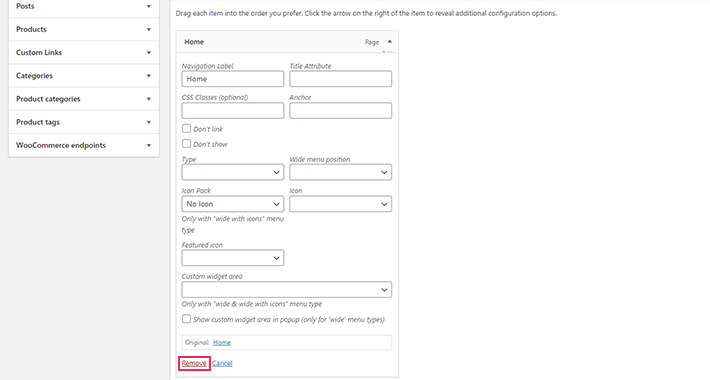
How to Remove Menu Items in WordPress
If you’d like to remove an element from your navigation menu, once again, click the downward arrow next to the menu item’s name. At the bottom of the panel, below all the options, you’ll see the Remove link. Press it and the selected menu item will be deleted from the menu.
How to Add a WordPress Menu to Sidebars and Widget Areas
WordPress lets you display your navigation menu not only in the available display locations, but also in sidebars. This can be useful if, for instance, you’re running a blog and would like certain pages, posts, or categories to be easily accessible from each of your blog posts.
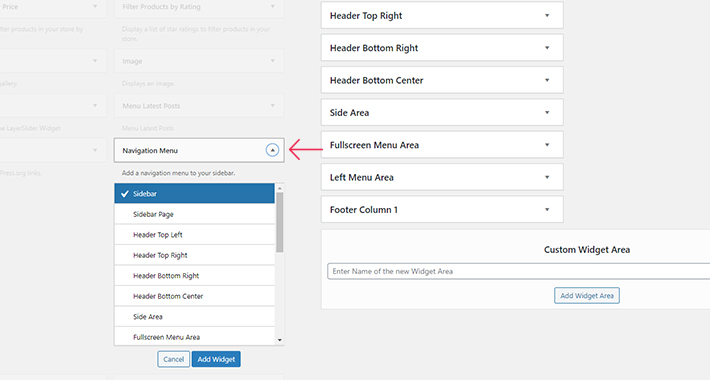
To add a menu to your sidebar (or any other widget area), navigate to Appearance > Widgets. The widget we’re interested in is called Navigation Menu. Simply drag and drop this widget to the widget area you’d like to display it in.
Or, alternatively, you can click on the widget and choose the widget area from the dropdown menu that appears. then click the Add Widget button, and the widget will appear on the right-hand side of the screen, under the selected location.
Set a title for the navigation menu in the widget area, select the menu you wish to display, and click Save.
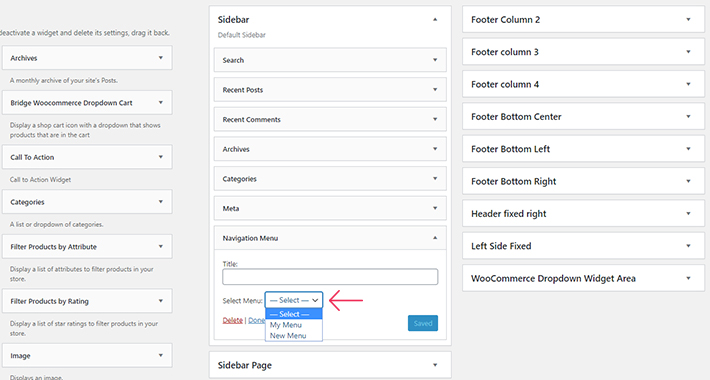
And that’s it, you’ve added a menu to your website’s sidebar.
Conclusion
Menu navigation is one of the crucial elements of any website. In fact, users are more inclined to use direct navigation rather than rely on the website’s Search option. Make sure your menu is well structured, logical, and clear, so users are always aware of where they are and how to get to where they want to go next.
Menu navigation is something that can make or break a website. If done well, it’ll encourage people to stay on your site. That’s why it’s important to test it on the regular, especially when adding new content. Make sure it all works just fine and that all your links are functional, so your users don’t run into any stutters or stops.
