How to Add a Client Feedback Form in WordPress

Feeling the pulse of your audience and paying attention to what they have to say about your products and services are major prerequisites for business success. By asking for your clients’ feedback, listening to it, and then acting on it, you will establish and maintain a strong relationship with your customers. They will keep coming back to you and trusting you more than competitors as long as you are attentive to their needs, providing them with a superior customer experience. At the same time, their loyalty to your brand will grow, allowing you to stay in the business for a long time. In this article, we’re explaining the importance of feedback and showing you how to add a client feedback form in WordPress.
Here’s what we’ll cover:
Customer feedback refers to the opinions, comments, and suggestions provided by customers regarding their experiences with a product, service, or brand. This feedback provides valuable insights for businesses to understand customer satisfaction levels, identify areas for improvement, and enhance their offerings.
There are several types of feedback. Constructive feedback provides useful and/or actionable suggestions for improvement. Positive feedback highlights what customers appreciate about the product or service, while negative feedback points out areas of dissatisfaction or disappointment. By actively soliciting and attentively analyzing customer feedback, businesses can foster stronger relationships with their customers and continually refine their offerings to better meet customer needs and expectations.
Some of the most popular and most efficient ways to gather feedback include surveys, customer interviews, customer ratings and reviews, user testing, Net Promoter Score (NPS) surveys, focus groups, social media listening and more. But for businesses with websites, the absolutely easiest, most common and convenient way to hear what your clients have to say are feedback forms. And that’s precisely what we’re going to focus on in this article. Before we show you how to do about it the easy way (which in WordPress usually means – with a plugin) using two user-friendly solutions – WPForms and Contact Form 7.
When you encourage customers to share their thoughts, likes, dislikes, wants, and expectations with you, you’re sending them a message that their voice matters. They feel important because you value their opinion. By addressing their feedback and showing them you are committed to improving your business, you gain their trust. They will keep coming back to you because you make them feel heard and you genuinely care about customer satisfaction.
On the other hand, client feedback helps you understand how others perceive your brand. You discover what your strengths are and whether you can somehow further augment their power. At the same time, you also learn what the pain points of your business are. That gives you an opportunity to take action, strategize, become better at what you do, as well as meet or even exceed customers’ expectations.
Now, let’s see how you can add a client feedback form to your site using plugins.
Qode Themes: Top Picks
View Collection


WPForms is one of the most popular contact form plugins. It includes a myriad of features and a practical drag & drop form builder that facilitates the process of form creation.
To add a client feedback form to your site, you don’t have to purchase a premium plan. Instead, you can use WPForms lite i.e. the free version of the plugin.
Creating the Feedback Form With the WPForms Lite Plugin
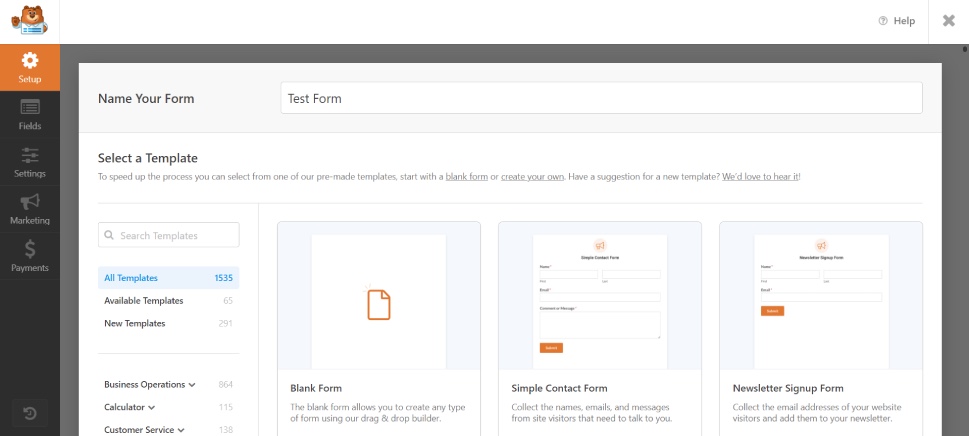
After installing and activating the plugin, you will find a new item in your dashboard menu, called WPForms. Navigate to that item and select Add New. This will open a screen where you can name your form and select a template. You will note that the plugin offers two sets of feedback form templates – Customer Feedback and HR Feedback. However, most of them (except for the Feature Request template) are pro templates, so we’re going to head back to the initial panel and select the Simple Contact Form.
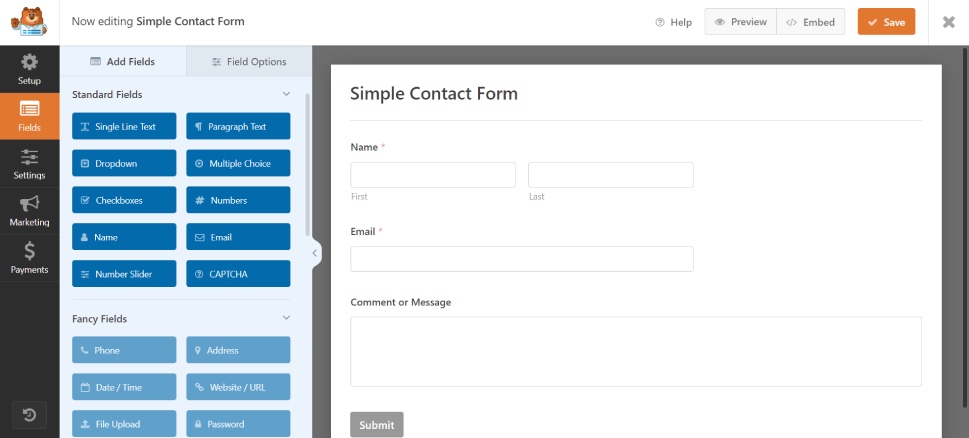
Clicking on the template will open the template editing screen. Here you’ll find some fields already inserted, and in the left-hand side menu you can pick among the standard fields to add. For instance, you can add checkboxes or multiple-choice fields, as well as CAPTCHA. The “Fancy Fields” are, obviously, available on the pro plans only. There’s also a selection of payment option fields.
We’re going to add a Multiple Choice field to our form. If you want one too, simply drag and drop the field where you wish.
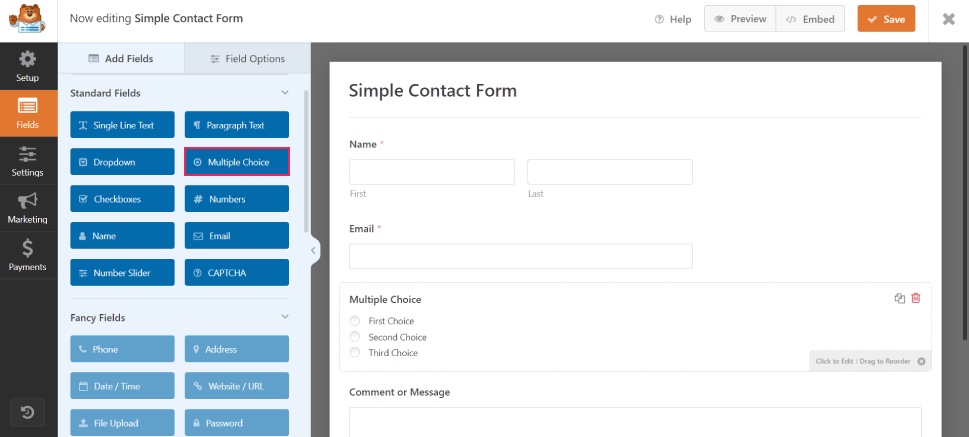
Click on the field in the right-side panel. This will open a set of options.
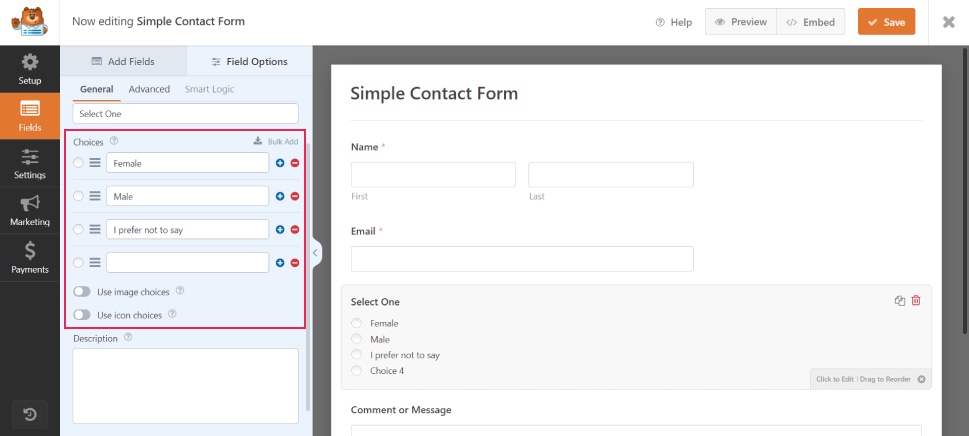
Enter the text (the “title” for your options) and name the options. You can add and remove options by clicking on the plus or minus signs next to each field. Click on Save to apply your changes but don’t click on Submit just yet.
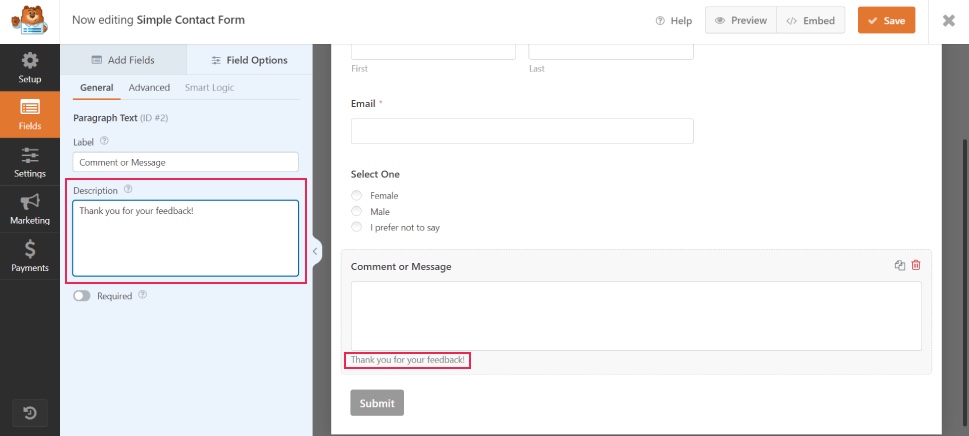
We’re going to add a little thank-you message below the comment field. Click on the Comment or Message field and, in the options, write your note in the Description field. It will appear underneat the message box.
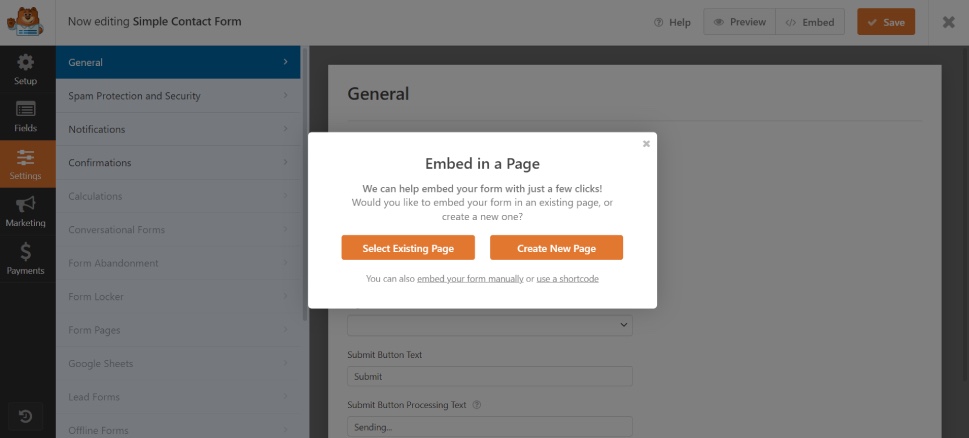
When you’re done, click on Save and then on Embed button at the top of the screen.n But before we show you how to display your form, we’re going to show you how you can customize it using Qi Addons for Elementor.
Customizing the Feedback Form With Qi Addons for Elementor
If Elementor is your preferred page builder and you would like to tweak the feedback form some more, we’d suggest you install Qi Addons for Elementor on your site. It’s free and it packs a collection of 60 free widgets that enable you to enhance the power of your website, including the WPForms custom widget that allows for further form customization.
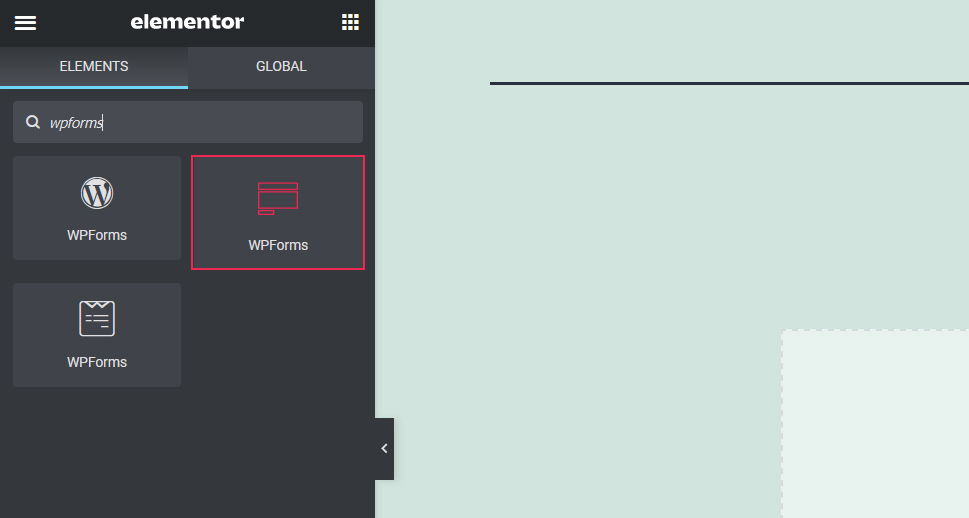
Once you save the feedback form you’ve previously made with WPForms lite, you can install the Qi Addon for Elementor widget pack. Then, open the page where you would like to display the form and add the WPForms widget to it.
The widget will automatically display the feedback form on the page. Currently, our form looks like this:

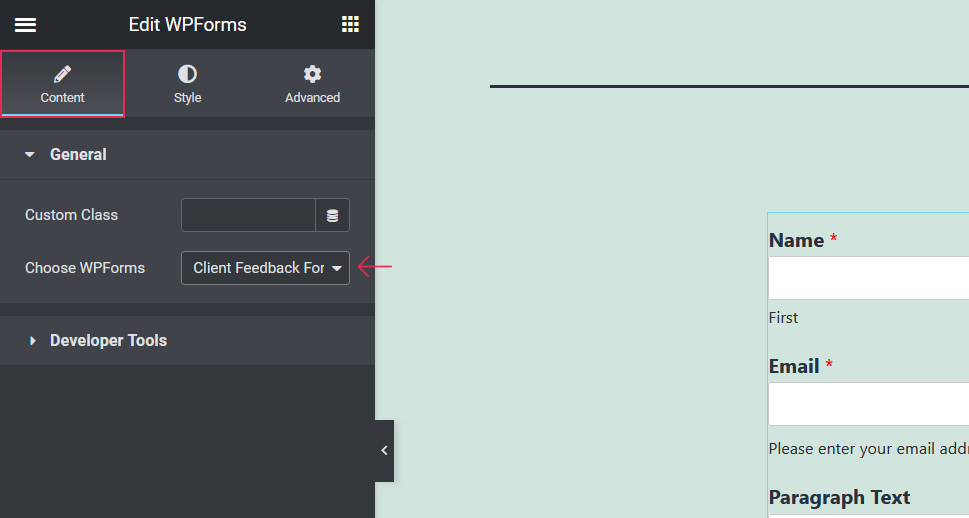
When you click on your form, the WPForms’ customization options will appear on the left-hand side of the screen. You can modify the content and the style of the form to further improve its appearance.
The Content section allows you to enter a custom class as well as to choose the feedback form you wish to edit (in case you’ve made several of them).
The Style tab lets you make changes to the label text and color, choose a style of the input text, add background colors to all fields, set spacing and padding values, alter the appearance of the form button, play with numerous typography settings, and much more.
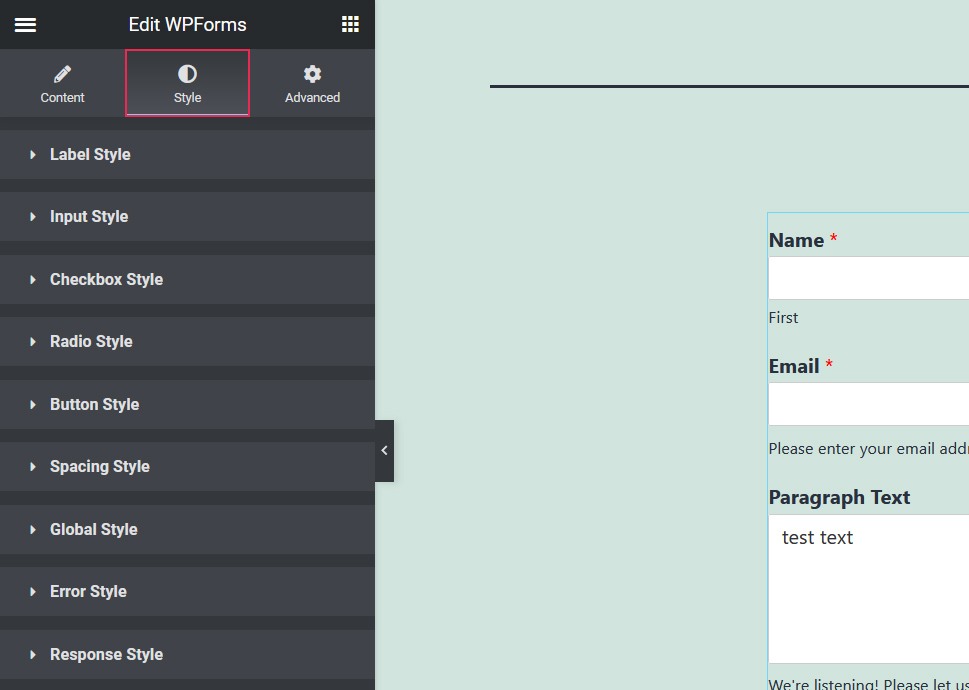
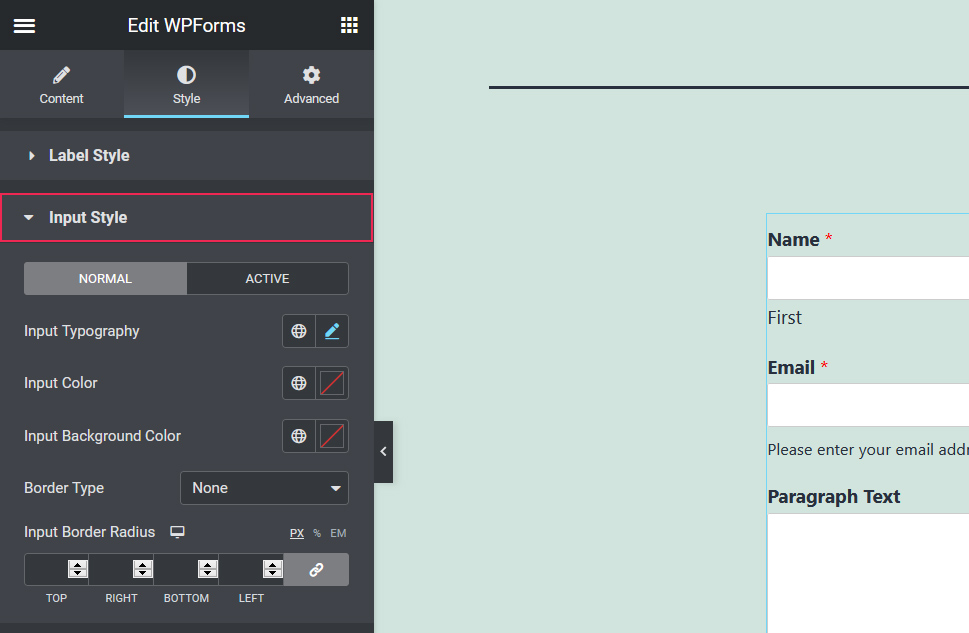
Simply click on any of these tabs and you will see the list of all available options. For example, this is what Input Style settings include:
Additionally, some of these options allow for even more customization. When you click on the pencil next to Input Typography, a dropdown menu will appear with a plethora of font styling settings.
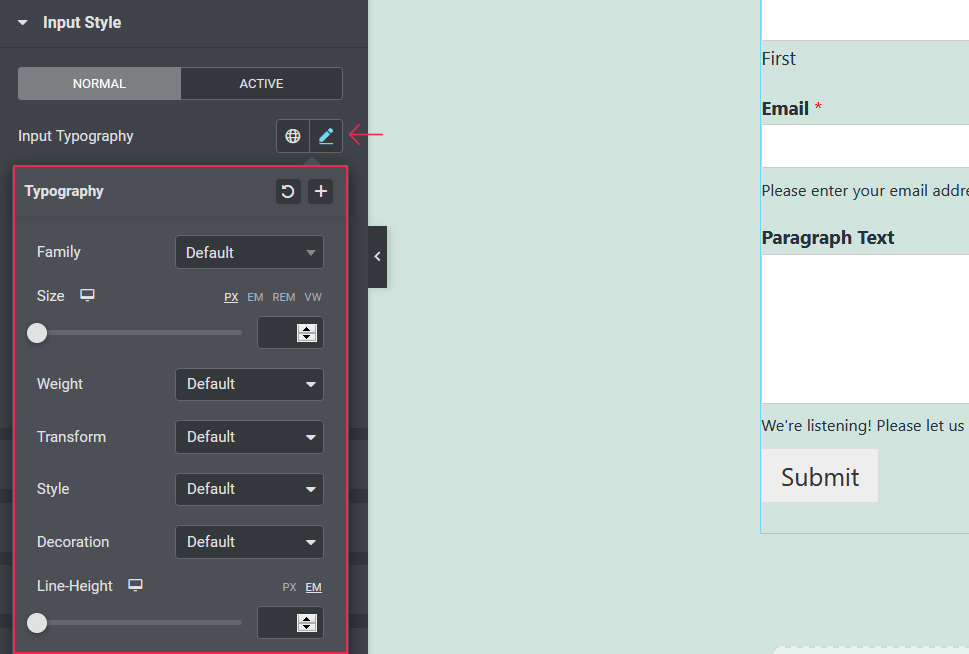
You can choose a font, set letter size, weight, and style, add an underline and overline to your text, and much more.
Customization options are tremendous, allowing you to style your feedback form exactly the way you want. And best of all, you can get all of this for free.
Once we applied the WPForm widget’s styling options to our form (along with some default Elementor’s customization settings), this is how it ended up looking:
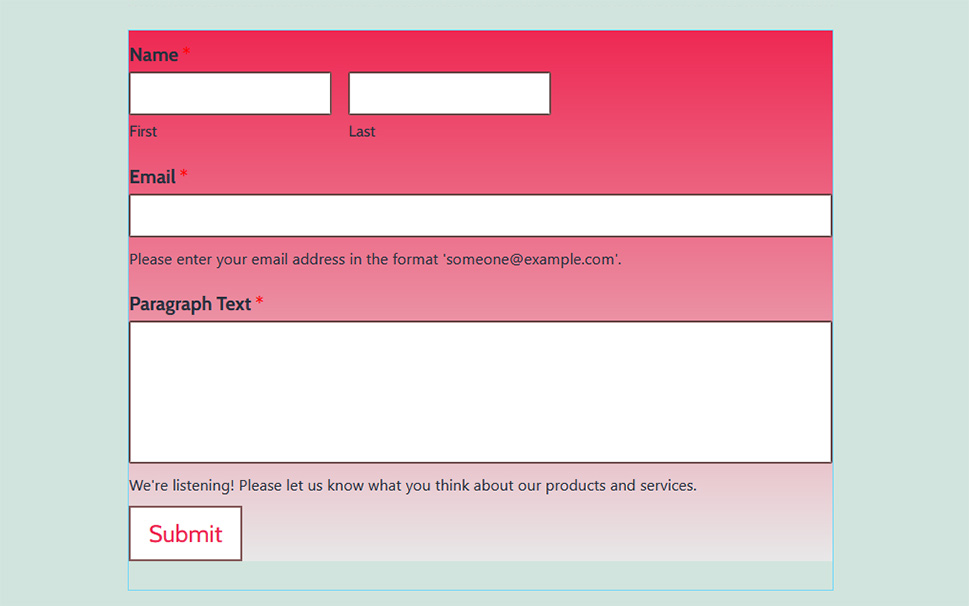
And while this is far from being the world’s prettiest client feedback form, we simply wanted to show you just a small part of what you can achieve with the WPForms widget and Elementor. Adjust the settings to your liking and go for a style that best matches the aesthetic of your site.
Setting Up Notifications and Confirmations for Your WPForms Feedback Form
When you’re happy with the way your feedback form looks, it’s time to set up notifications and confirmations. Notifications are for you, alerting you when someone submits a form. On the other hand, your clients will receive confirmations upon successfully sending feedback.
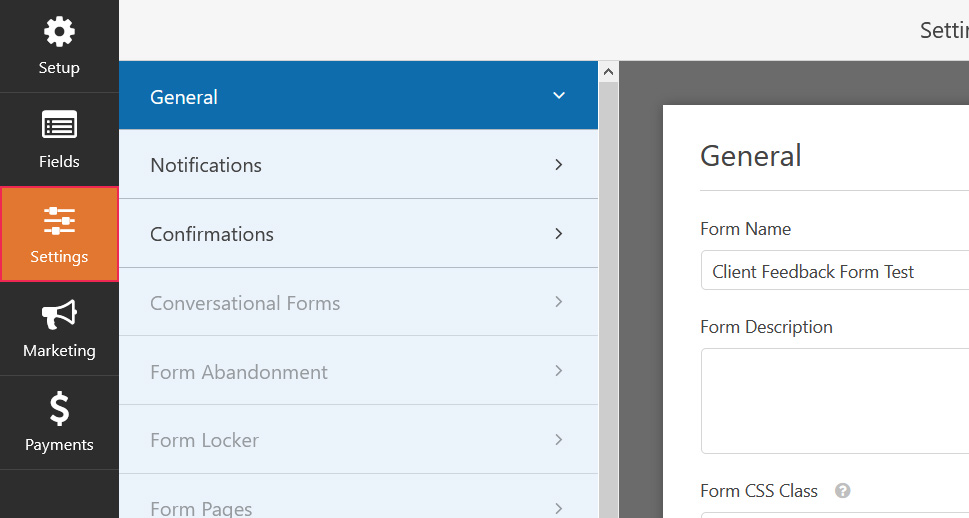
To manage both notifications and confirmations, select Settings from the WPForms panel.
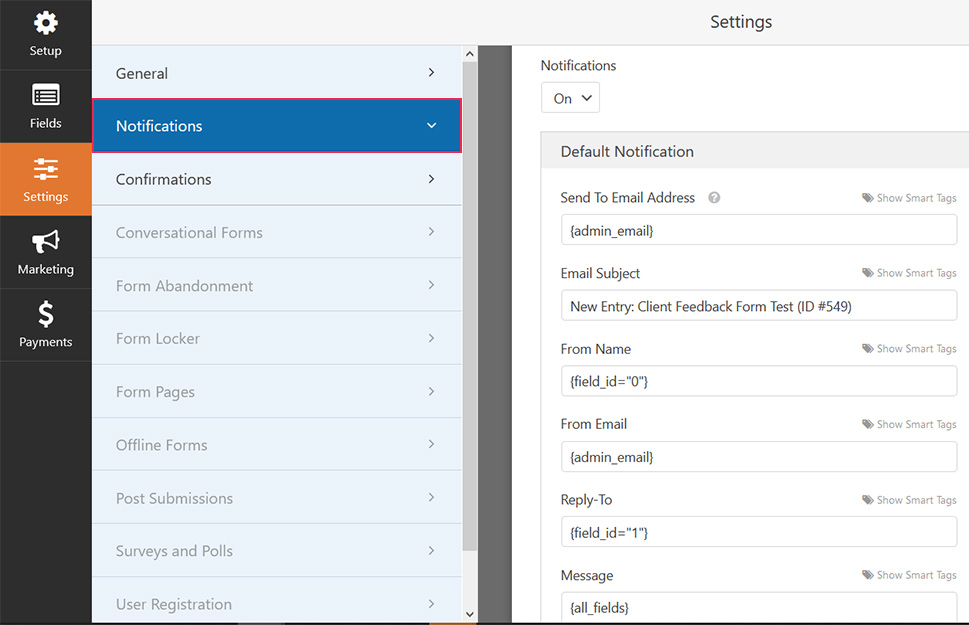
Notification and confirmation settings are placed one below the other.
As for notifications, the platform will send them to the admin email address by default. But you can change that and even enter several email addresses, in which case you should separate them with a comma.
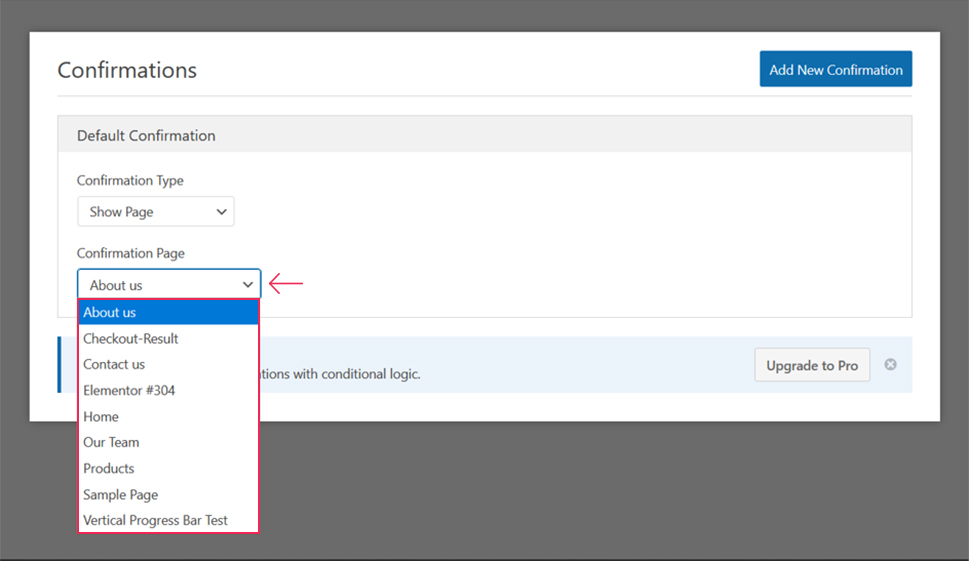
Regarding confirmations, you should first choose what kind of confirmation you wish to send to your clients.
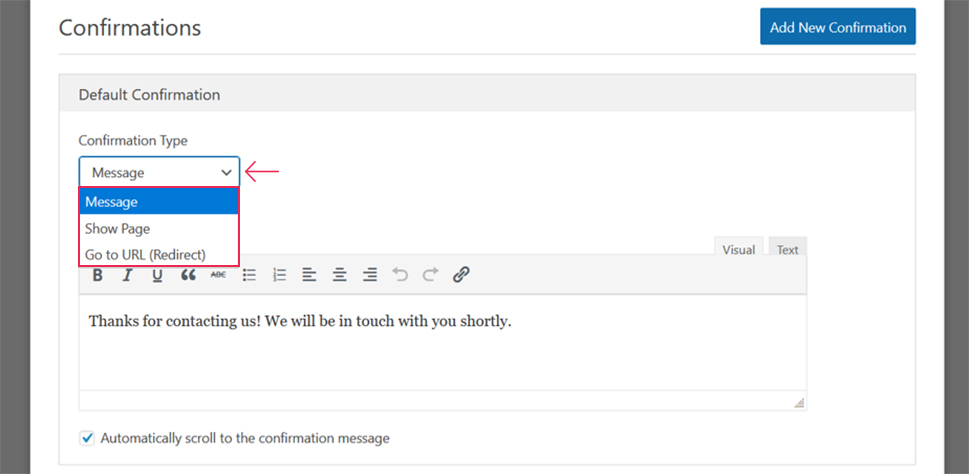
If you decide to send them a message, you have the option to customize the confirmation text.
The Show Page setting lets you redirect users to a specific page on your site.
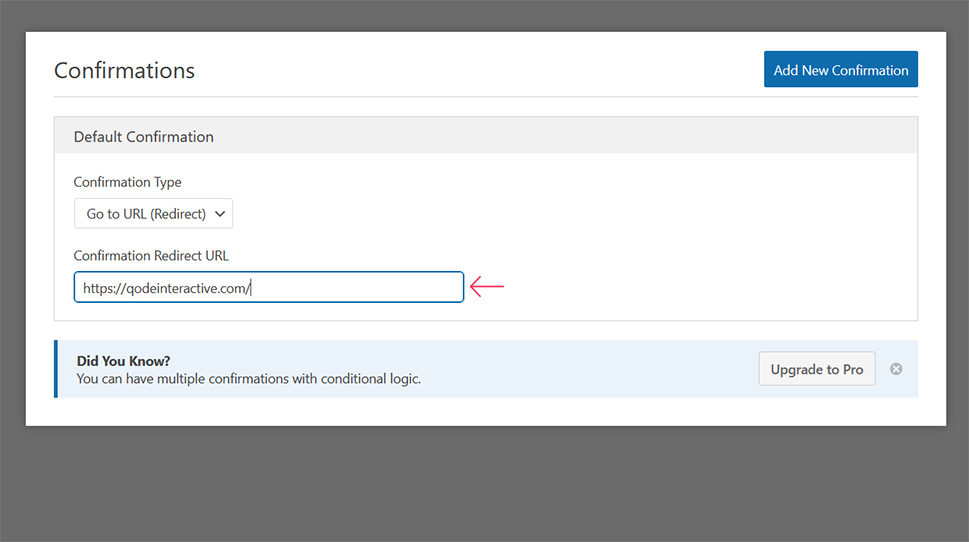
Alternatively, you can also redirect them to some other website.
Displaying a Client Feedback Form on Your Site Using the WPForms Plugin
When you’re done making changes to the form and you’ve set up confirmations and notifications, it’s time to add the client feedback form to your website.
For starters, go to the page or post where you would like to display the form.
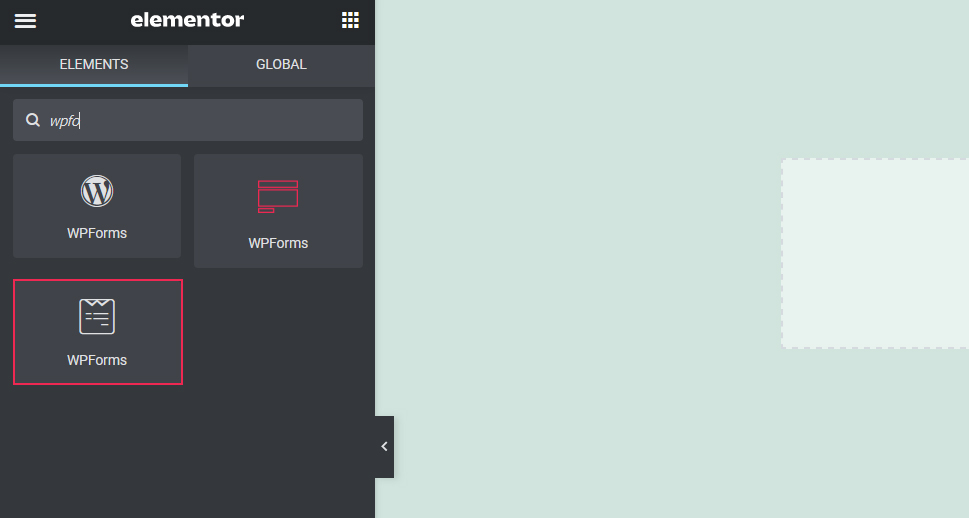
In Elementor, you can do it simply by using the WPForms widget, as we showed you earlier in the article.
If you decide to forego the Qi Addons for Elementor pack, the Elementor page builder has its own WPForms widget.
In case you created several forms, you can select which one you wish to display on the preferred page.
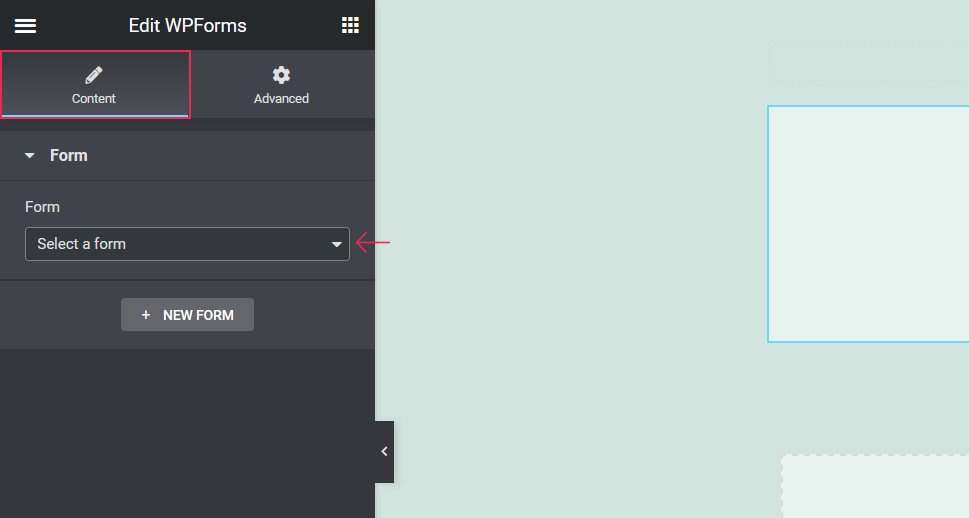
Click on the desired form and you’ll see it appear on the page.
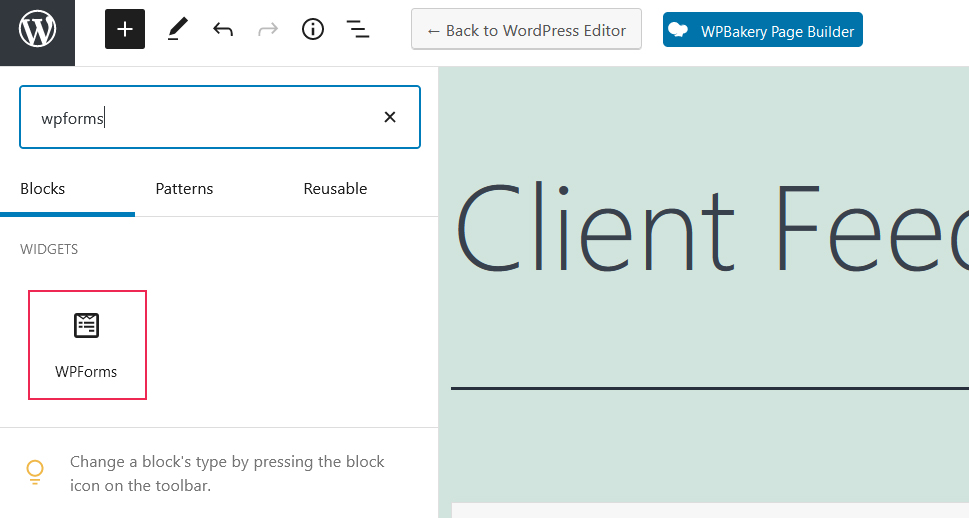
If you’re using Gutenberg, you have to add the WPForms block to the chosen page or post (the block will automatically appear in the block panel once you install the WPForms plugin).
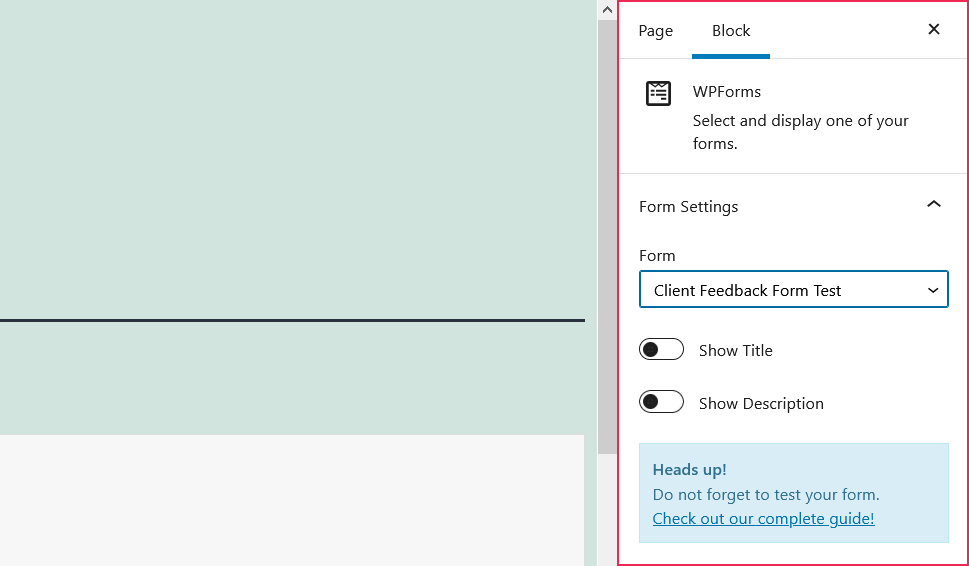
On the right-hand side of the screen, you can see some options regarding the WPForms block. There you can choose the form you wish to add to a page and decide if you wish to display its title and form description.
In the Classic Editor, you will notice the Add Form button just above the text editor (the button becomes visible upon activating the plugin).

Click on that button, select a client feedback form from the list, and check the boxes if you want to display the form’s name and description. And lastly, press the Add Form button.


Another widely popular contact form plugin is Contact Form 7. It is very simple to use and completely free, so it’s no surprise that it currently counts over 5 million active installations.
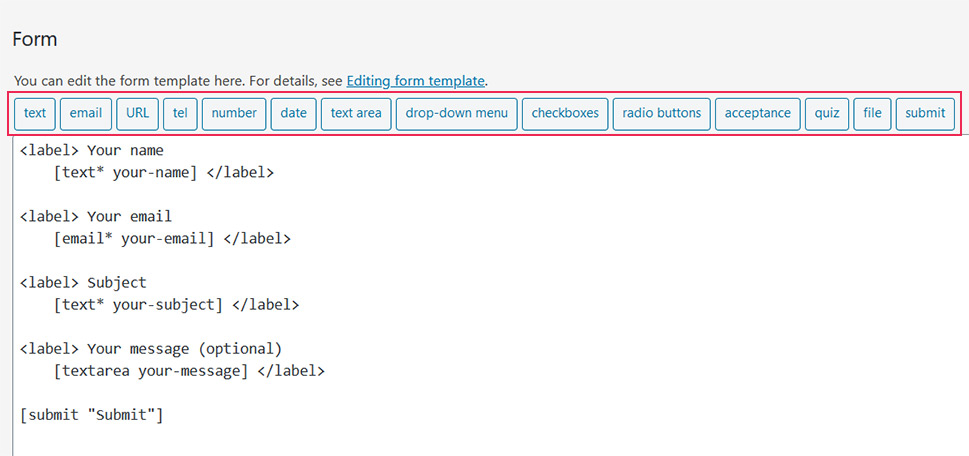
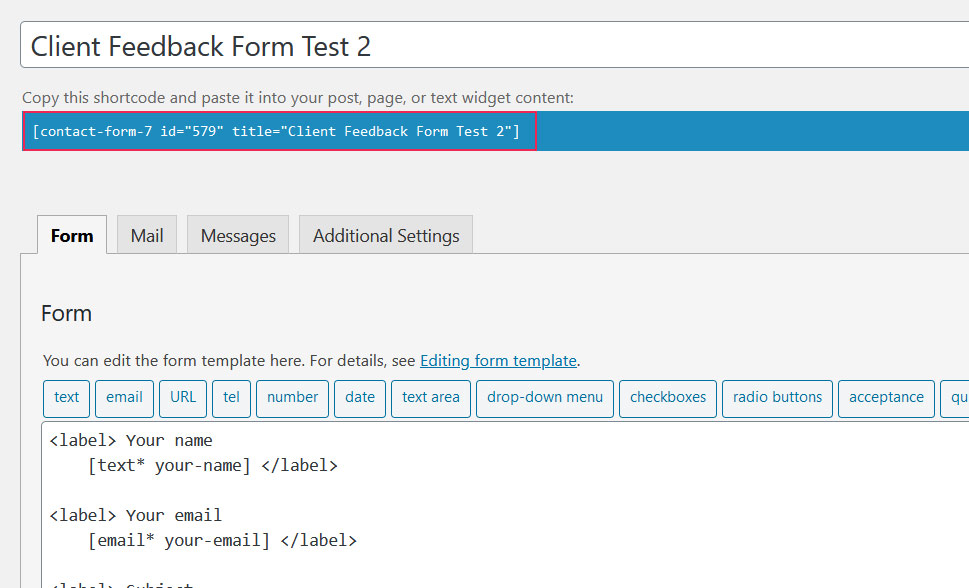
Once you install it on your site, go to Contact > Add New to start creating a client feedback form. By default, each form is asking clients for their name and email address as well as to enter the subject of their message and some text:
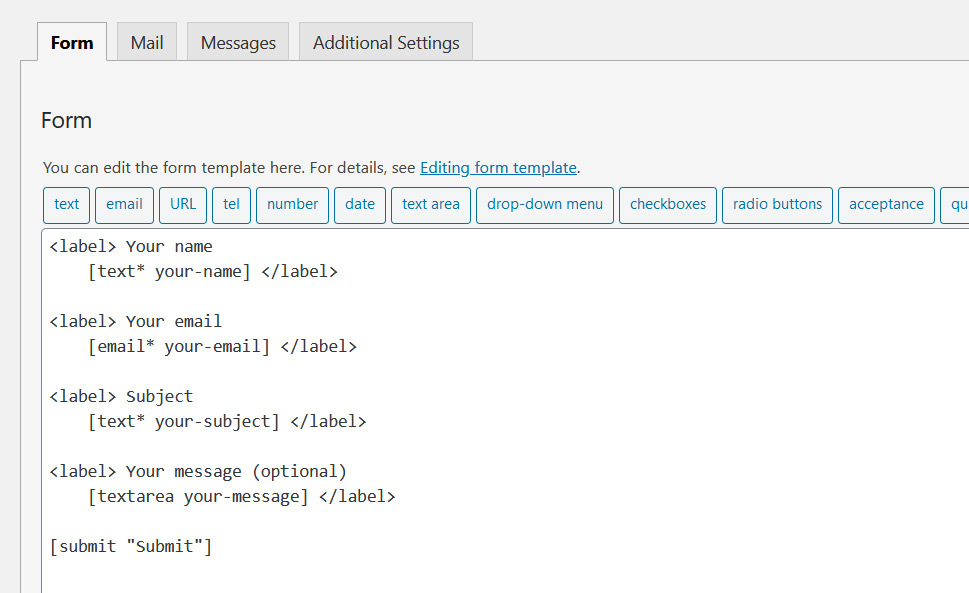
The list of additional fields you could add to the form is available in the Form tab. You can insert fields for the customers’ phone number, date, checkboxes, a dropdown menu, and a few others.
Say you wish to add checkboxes to the form. In that case, you should click on that tab in the panel. Once you do that, the following window will appear on the screen:
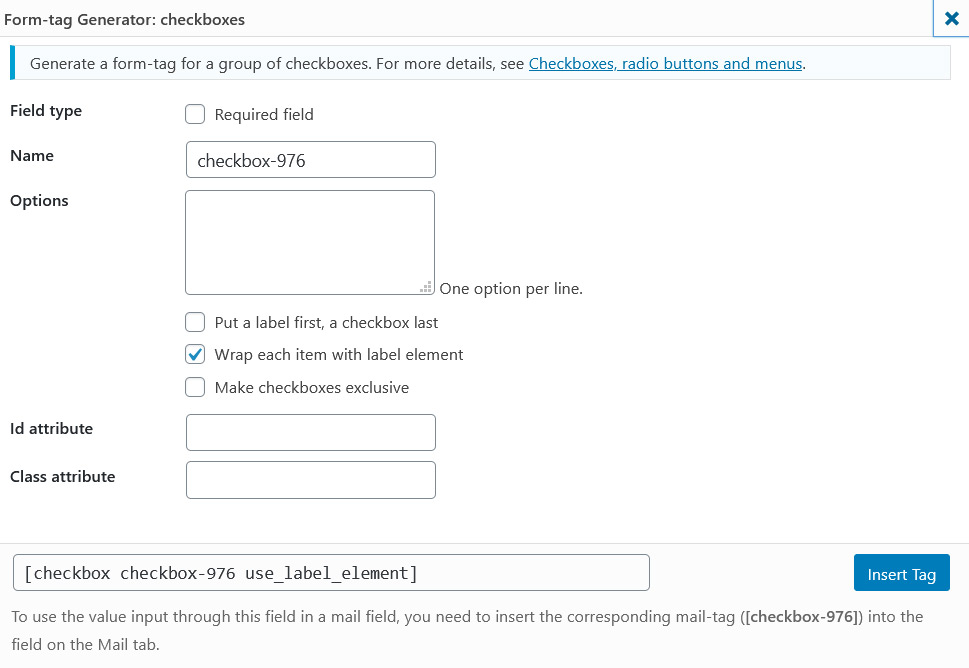
You can specify if you want the field to be required or not, change its name, insert some options, and more. Each field comes with its own array of settings you can customize to make the field suit your needs.
If some of the default fields don’t serve you, feel free to remove them from the form.
When it comes to styling the form, the best way to customize its appearance is to use the Contact Form 7 widget that comes packed with Qi Addons for Elementor.
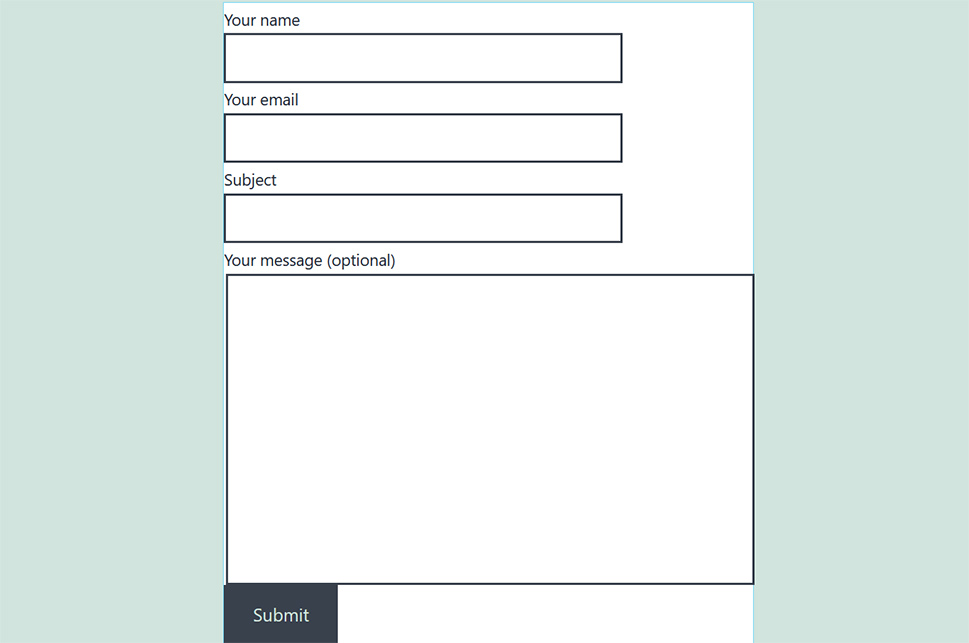
This is what the default form looks like:
To begin altering its design, click on the form and look at the menu on the left side of the screen.
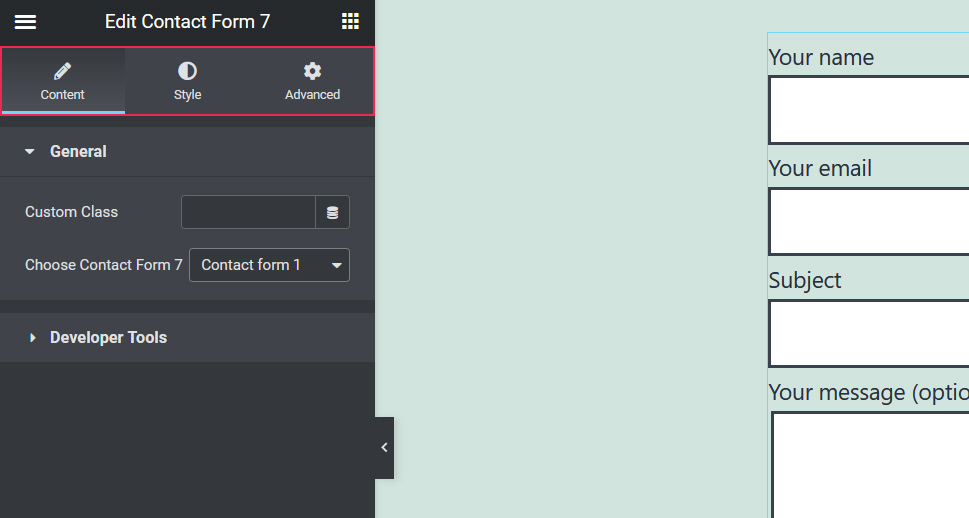
The Content tab lets you enter a custom class and select a specific form you want to insert to a page.
The Style section includes a mélange of settings that enable you to change every single detail about your form, just like you could do with the WPForms widget.
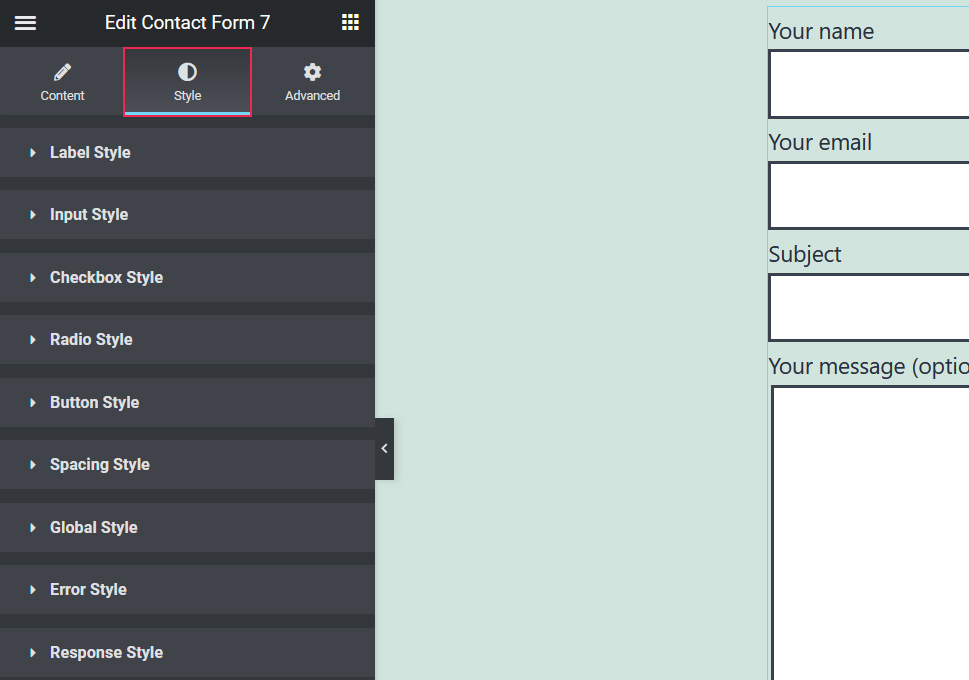
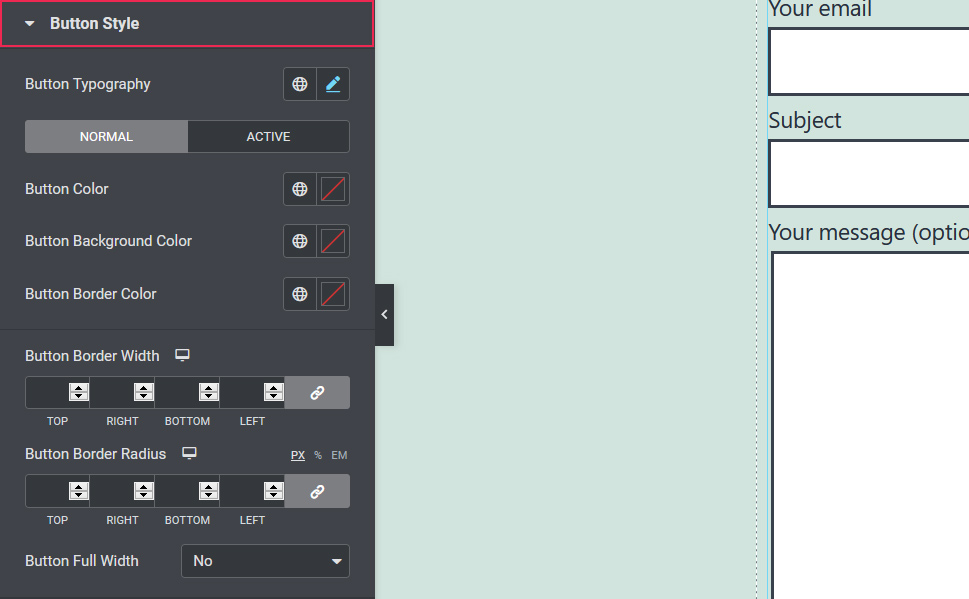
From adding borders to the button and changing the color of the labels to specifying the input background color, the alignment of the form, and heaps more, the Contact Form 7 widget has all you need to style the form the way that works best for you. Check out just how many options this widget has regarding the button alone:
The Advanced tab contains options included with Elementor by default. You can use them to change the background color of the form, select entrance animation type, customize responsiveness, and more.
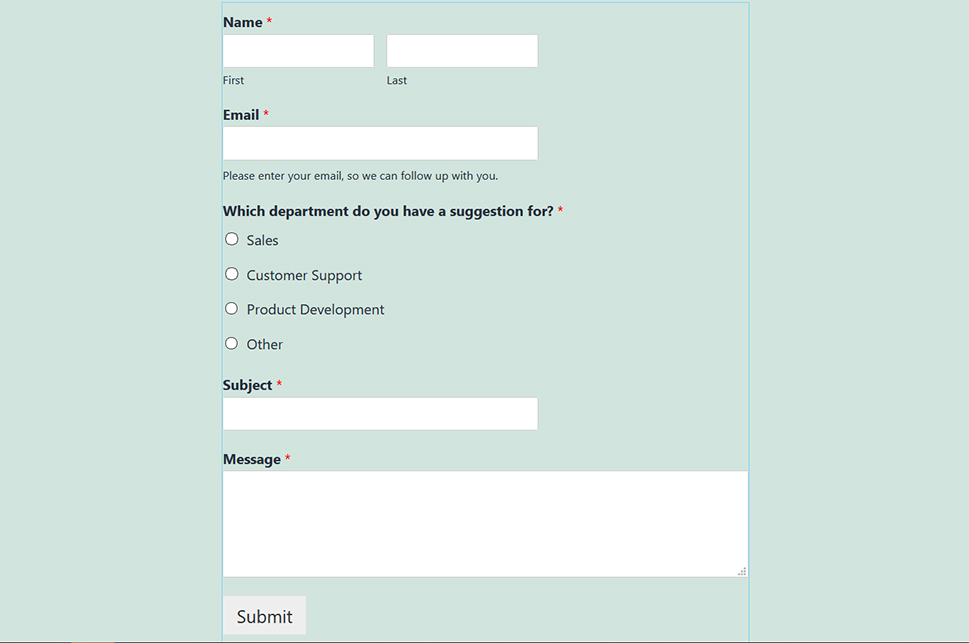
We tweaked the appearance of our form a bit and this is what it looks like now:
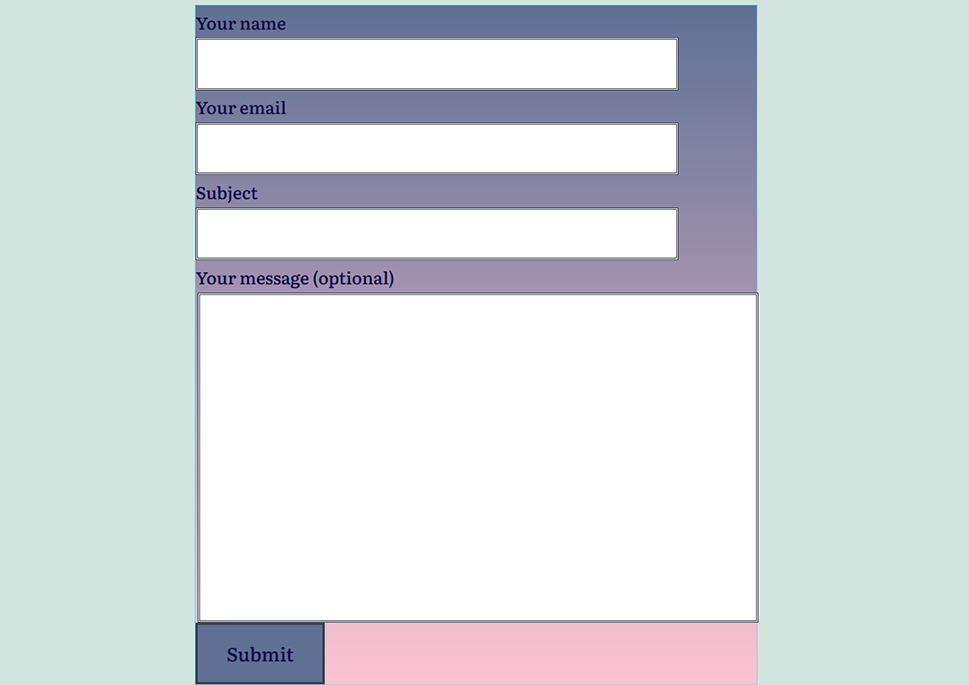
Again, you can try out all of the options and combine different styles until you are satisfied with how your form looks. The combination of the Contact Form 7 widget and Elementor is guaranteed to give you a lot of room for experimentation.
Setting Up Notifications and Confirmations for Your Contact Form 7 Feedback Form
In the Mail tab of the Contact Form 7 plugin, you can make adjustments to the mail template that you will receive when someone submits a contact form.
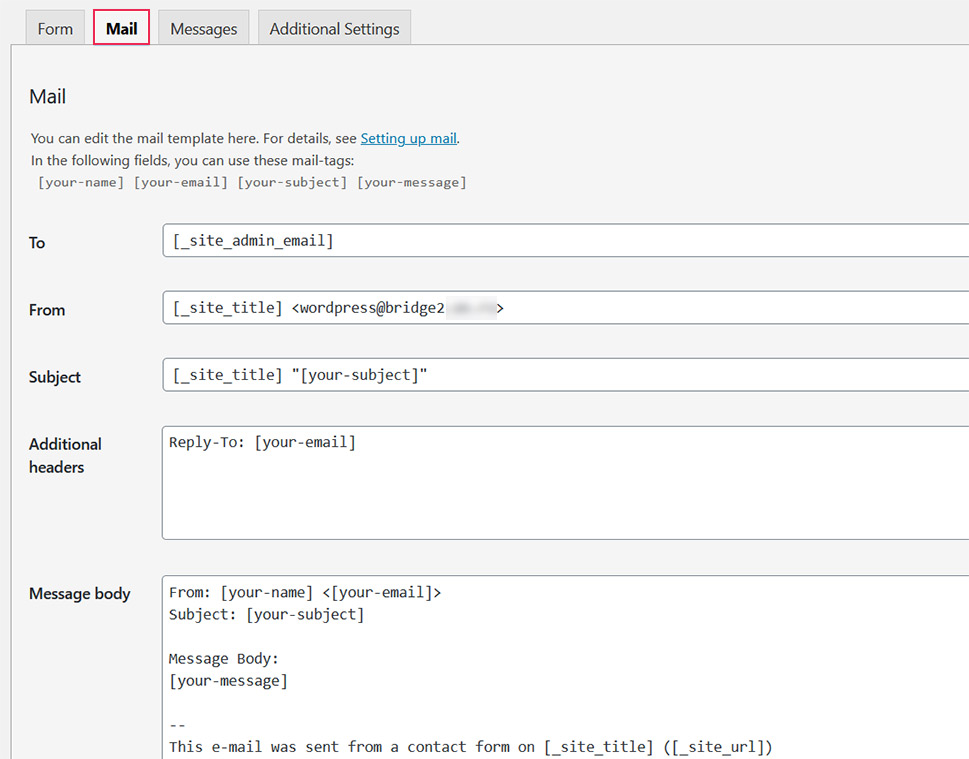
The most important thing to do here is to check the To field. That is where you need to enter the email address where you wish to receive email notifications. You can make some more changes to the email template, add or delete form-tags in the message body, etc.
Confirmation and other kinds of messages the customers might receive from your end can be set up within the Messages tab.
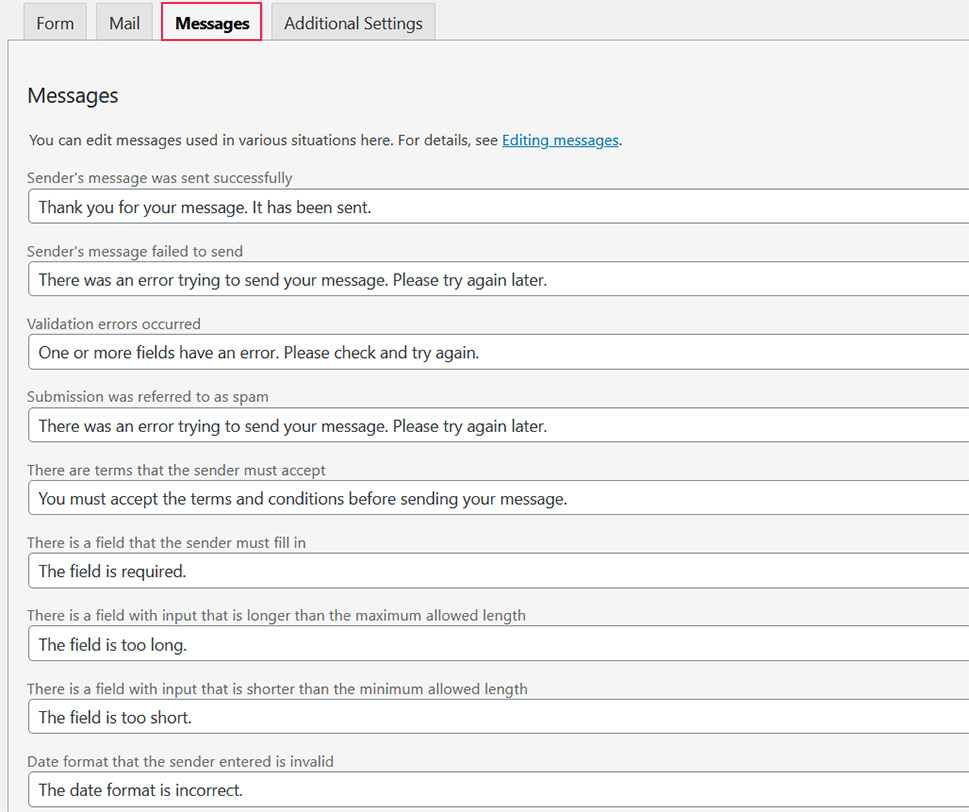
This is where you can specify the text your clients will receive when they submit feedback or when they fail to do so, as well as when their response is regarded as spam, and loads more.
Displaying a Client Feedback Form on Your Site Using the Contact Form 7 Plugin
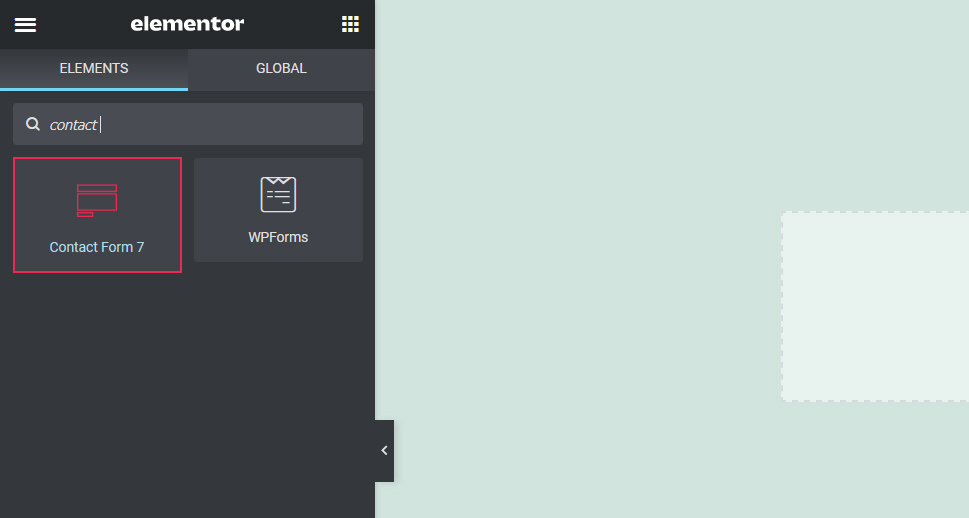
If Elementor is the page builder of your choice, at the moment, the only way of adding a Contact Form 7 feedback form to it is by using a third-party widget, like the above mentioned Qi Addons widget. It’s free yet bustling with customization possibilities and it will allow you not just to add a form using Elementor, but to style it to perfection. And as we’ve mentioned earlier, you just need to drag the widget to the page or post where you want to add the form, and you’re done.
In Gutenberg, you have to add the Contact Form 7 block to your page.
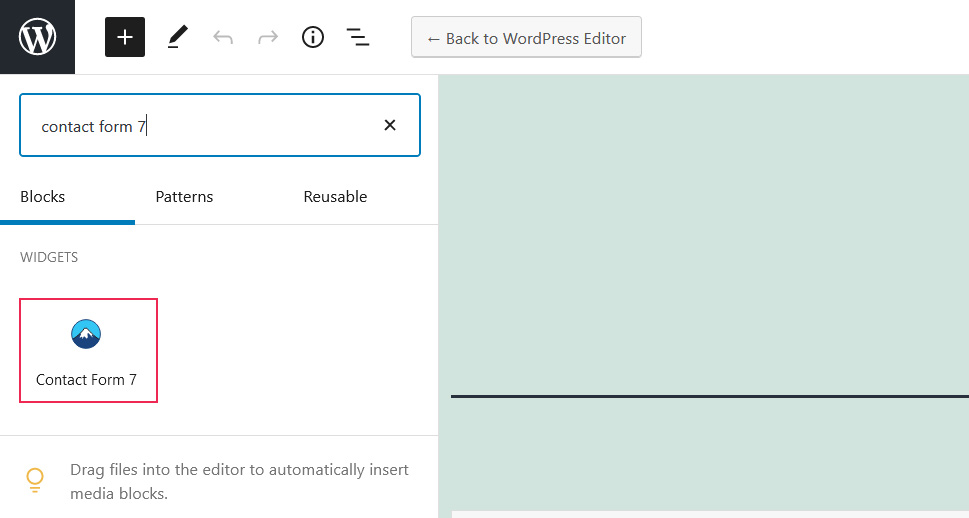
This block does not offer any extra options but it does do the job of displaying the Contact Form 7 feedback form on your site.
And lastly, in the Classic Editor, look for the form shortcode displayed above the form editor and copy it. It should look like this:
Next up, you need to open the page or post where you want to add the form. Paste the shortcode in the text editor field and save the changes.

Closing Words
Prioritizing customer experience is indispensable for making it in any business. By asking your clients’ for their opinion and making a conscious effort to improve your service upon receiving feedback, you will build a loyal customer base. Users will be glad to collaborate with you because you care about delivering products that make them happy.
Whether you choose to create a client feedback form by using the WPForms Lite or the Contact Form 7 plugin doesn’t matter that much. It all comes down to your personal preferences. Both plugins are free and easy to use, allowing you to make forms in no time. Best of all, the Qi Addons for Elementor collection includes widgets for both of these plugins, giving you the power to customize and improve the appearance of your forms to your liking.
