How to Add an Ask Me Anything Feature to WordPress

Asking questions is an inherent trait of human nature. No matter how informative your website is, or how many times you covered a certain topic, there will always be questions. That’s actually great, as no advertising can do you as much good as being open and willing to answer all the questions that you get. Plus, answering questions can be a good way to generate traffic to your website. If you invest some effort to provide concise, detailed, and to-the-point answers, you can also expect better conversion rates. An Ask me Anything (AMA) section on your WordPress website can be a great way to present yourself as an expert in your niche and share your knowledge with those who need it. Not to mention that it can increase visitor engagement as well.
In this article we will show you how to add an ask me anything feature to WordPress using the Ask Me Anything (Anonymously) plugin, but before we dive in let us just give you a few more reasons to add it. Stay tuned to find out:
One of the most obvious advantages of having an AMA feature on your site is that you get to show that you care and have a lot of actionable knowledge to share with your audience. Apart from the lucrative consequences like boosted conversion rate and higher engagement, some not so eye-popping but equally important benefits of this feature include:
-
Building a strong reputation for your brand
-
Offering a new, fresh experience different from the scripted content that your audience is used to
-
Enhancing transparent communication and building an honest relationship with your audience
-
If you opt for an anonymous AMA, this a great way to get an insight into the true needs of your target group based on the types of questions you get
Plus, adding an AMA section to a WordPress website is really simple. With the help of the right plugin, it can be done in just a few steps, and we will show you just how to do it by yourself. However intimidating adding an AMA feature may sound to a beginner, we assure you it’s not.
Qode Themes: Top Picks
View Collection


As we said earlier, we will be showing you how to add AMA to your website using the Ask Me Anything (Anonymously) plugin. This is a very intuitive, user-friendly tool that equips your website with a perfectly functional AMA section in a matter of minutes. Not to mention it is entirely free. As for its reliability, the stellar ratings confirm what we have experienced with this plugin and that is efficacy and simplicity. So, let’s see how to add it to your website.
We’re going to assume you already know how to install a WordPress plugin and jump right to the next step. In case you do come across any issues during the installation process, you can see a detailed explanation of the installation process for any WordPress plugin following the link above.
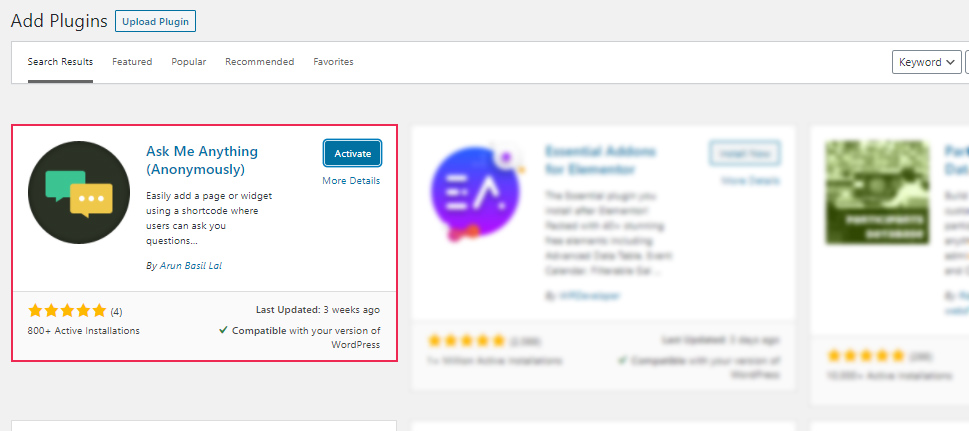
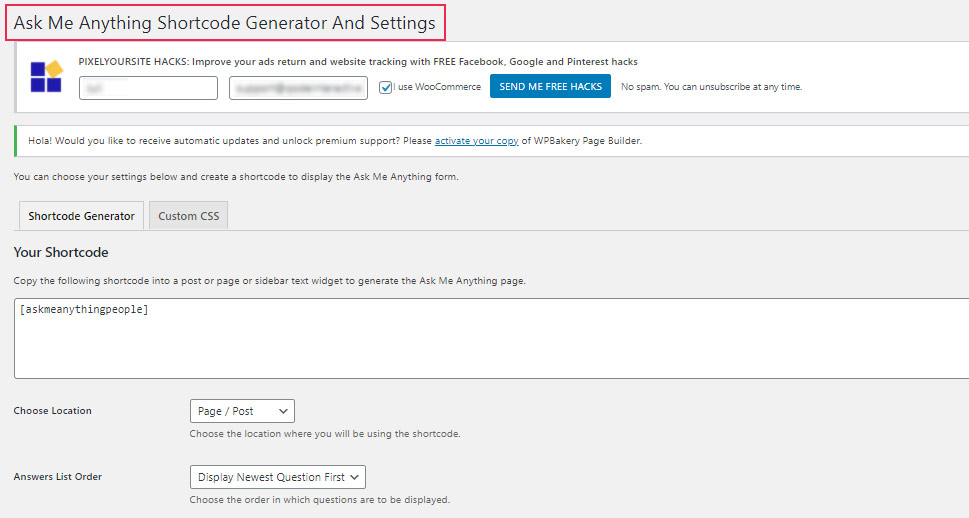
After you have activated the plugin, go to the Settings in your left-hand dashboard menu, where you’ll find a whole new option – Ask me Anything. Click on it to open the shortcode generator and settings page.
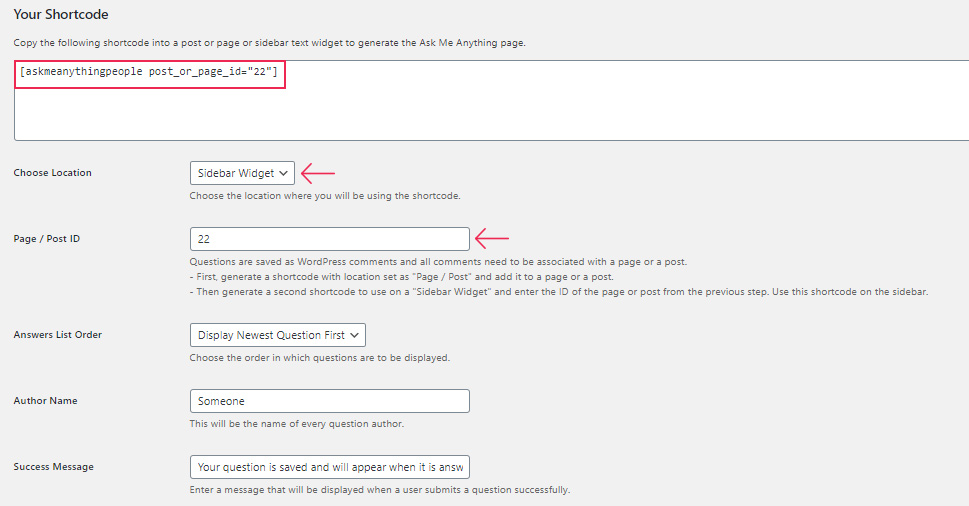
In the first field, you will find an automatically generated shortcode that you can copy and paste on one of your pages, posts or widget areas – wherever you want the AMA feature to display. The shortcode is automatically generated, you don’t need to create it by yourself but you will notice that, as you make changes to the default settings, those will reflect in the shortcode, as it updates dynamically.
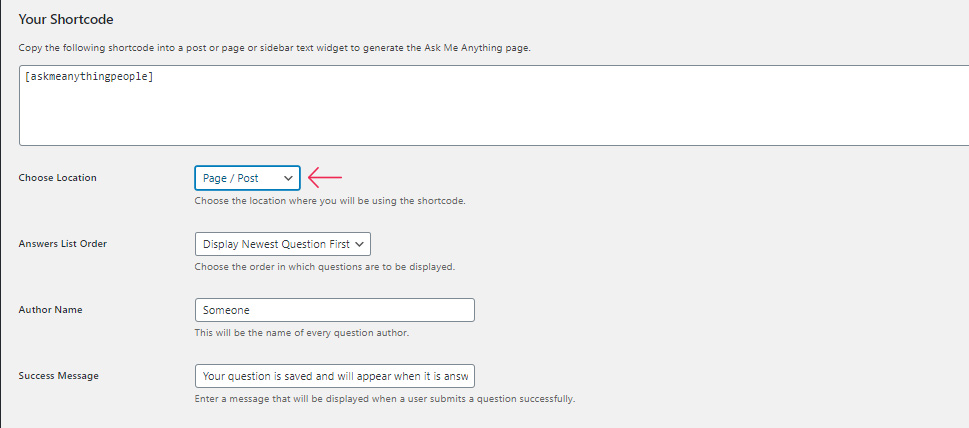
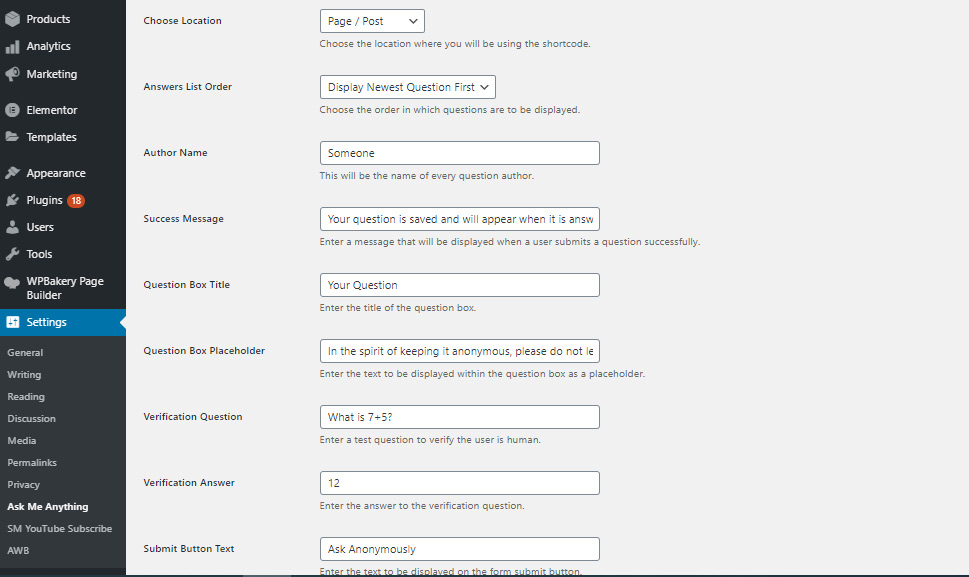
As for the settings, they are mostly self-explanatory so we’ll cover only the most important ones. The first setting to pay attention to is the “Choose Location” setting. The AMA section size will be automatically set depending on whether you are using it as a sidebar widget, or a page or post. For the location, we are going to choose Page/Post.
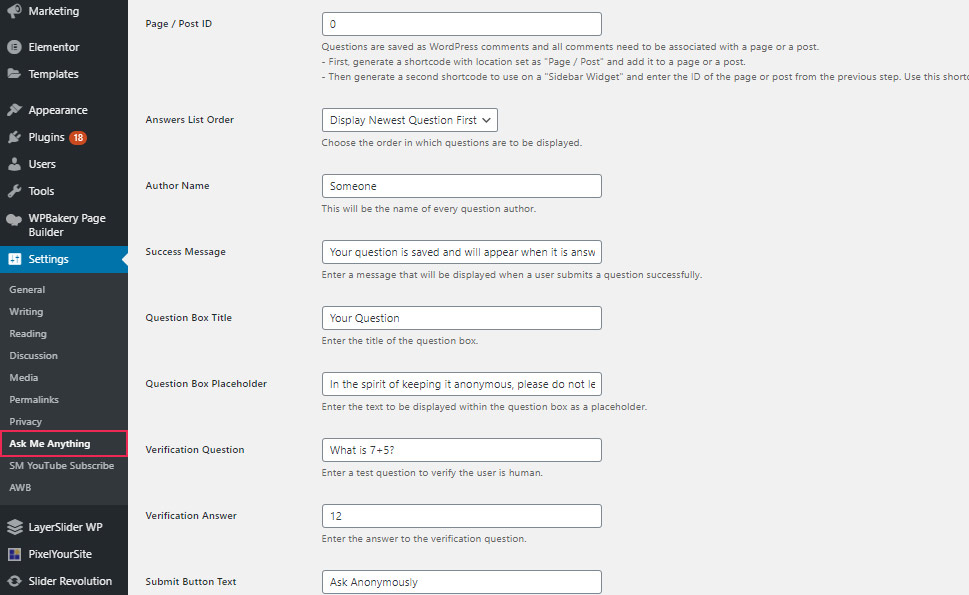
As for the other settings, it all depends on how you want the plugin to work for you. Let’s take a look at the most interesting options and its purposes:
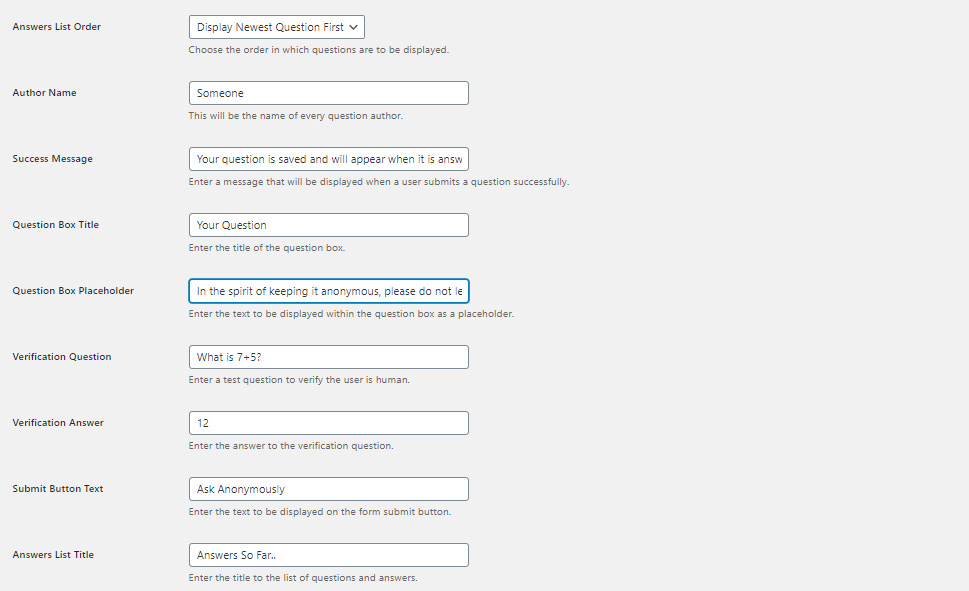
The Answers List Order option allows you to set whether you want the visitors to see the newest or the oldest questions first. It is a common practice to show the newest answers first, but it all depends on the type of the site you run.
Since the point of AMA section is to allow visitors to stay anonymous when asking questions, the Author Name option is where you enter a common name that will show as a name for every question author.
The Success Message field is where you enter the text that will appear each time someone posts a question. The Submit Button Text field is where you can personalize the text you want to appear on the button for submitting the question. You can also personalize the text in the question box placeholder. These options allow you to add a personal touch to your AMA section.
The Verification Question and Verification Answer options let you set your own anti-spam verification question.
Notice that with each change that you make, the shortcode will change as well.
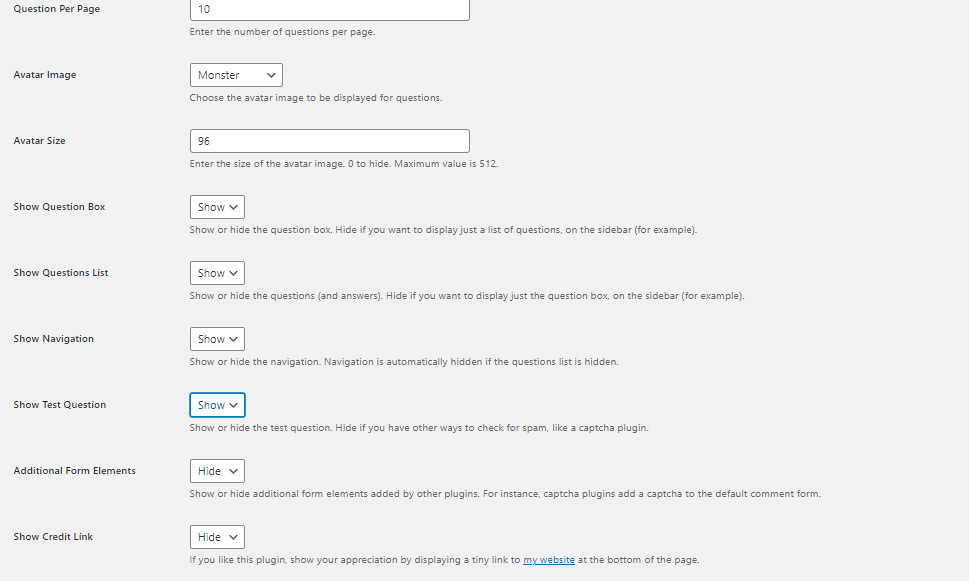
As you scroll down, you will discover more customization options. It is great that you can choose to hide the question box, or question list, as well as the verification question. But, bear in mind that if you decide to hide the verification question you may need to employ some other security measure.
All the settings you make are automatically saved and applied by the plugin, so don’t worry about the absence of the familiar SAVE button.
In case you want to customize the AMA section so that it better fits your website’s style, you can add a dash of branding by inserting your own code in CSS. This option is of course for those of you with some coding knowledge. Just click on the CSS tab, insert your CSS and click Save.
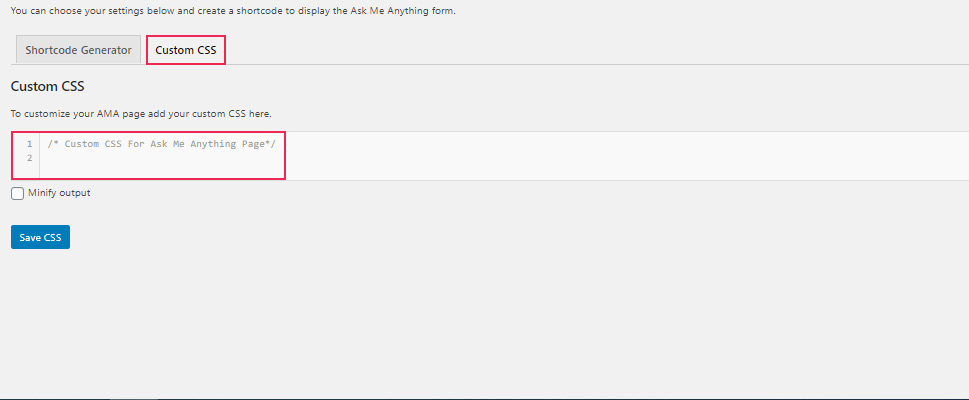
The Minify output option that you can see below the coding field allows you to minimize the plugin’s output. It is recommended if you are worried about speed issues, but most websites already have some strategy on how to deal with performance challenges so you might not need this at all.
Even if you don’t make any customizations, you can be sure the AMA section will look fine on your website as the plugin automatically mimics your theme’s style.
No matter where you want the AMA section to be on your website, you will have to create a page/post with the AMA shortcode. The plugin uses WordPress comments for questions and answers and comments have to be associated with a post or page.
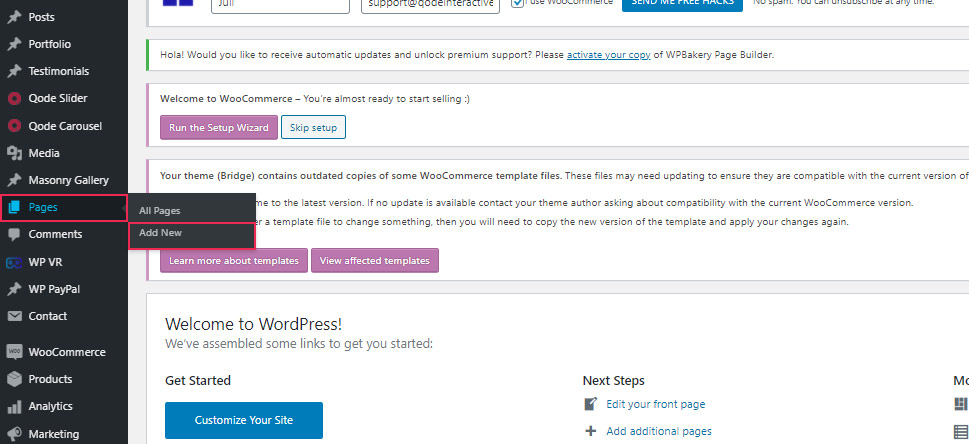
So, the next step is to create a page for the AMA section or add the AMA section to an already existing page. Either way, the process is basically the same. For the purpose of this tutorial, we created a page specifically for AMA. In your left-hand dashboard menu, go to Pages>Add New.
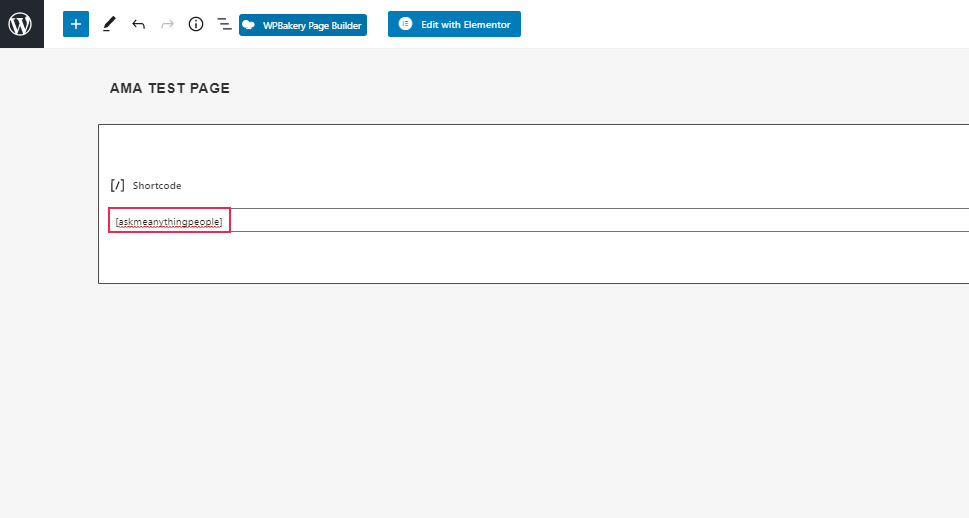
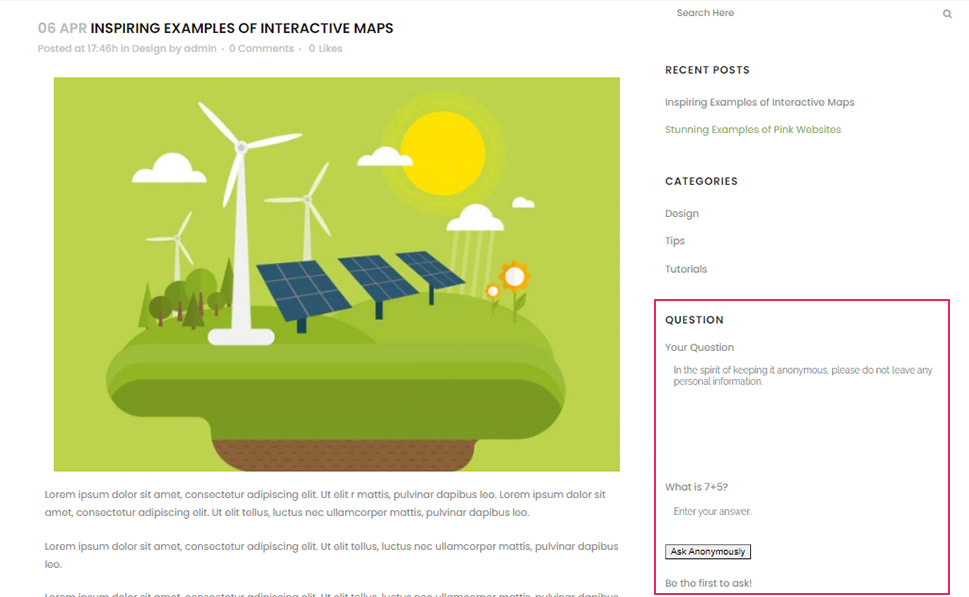
You will be taken to a new page screen. Add a title for your AMA page and insert the automatically generated shortcode directly into the content editor. You can do it before or after any image or text that you may have.
The plugin will automatically create the form and your page will be ready for your visitors to post questions. In our case it looks like this:

This plugin allows you to have several AMA sections placed across your website. So, aside from having an AMA page, you can also have an AMA added as a widget to your sidebar. You can also add it to any other widget-ready area, but the sidebar will probably work the best. Note that before adding the AMA widget you have to go to the “Choose Location” setting and select Sidebar Widget.
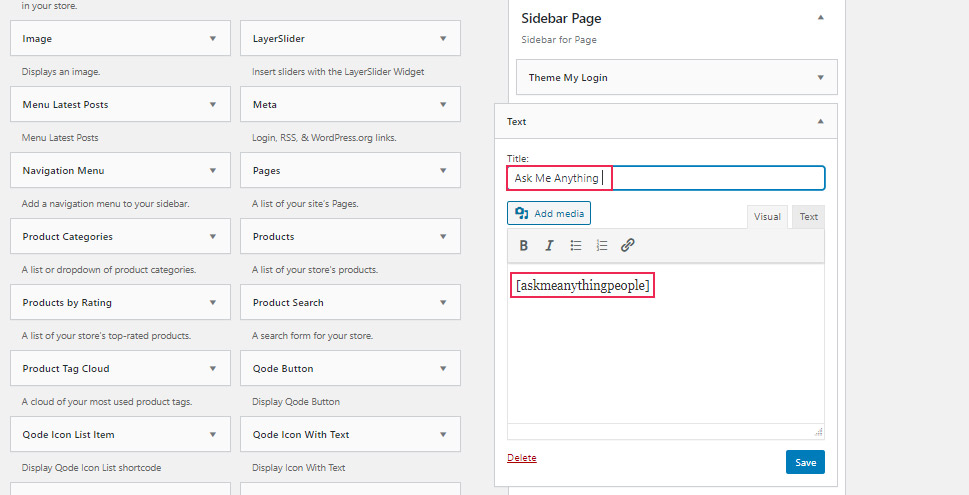
To create an AMA widget, go to Appearance>Widgets, and click on the text widget. Insert the widget name, and then paste the plugin shortcode. Click Save and you are ready to go.
This is how the result looks like in our case.
All the questions that you get will be stored in your WordPress database as comments no matter whether the AMA section is in your sidebar or on the page. To see them, just go to the Comments page.
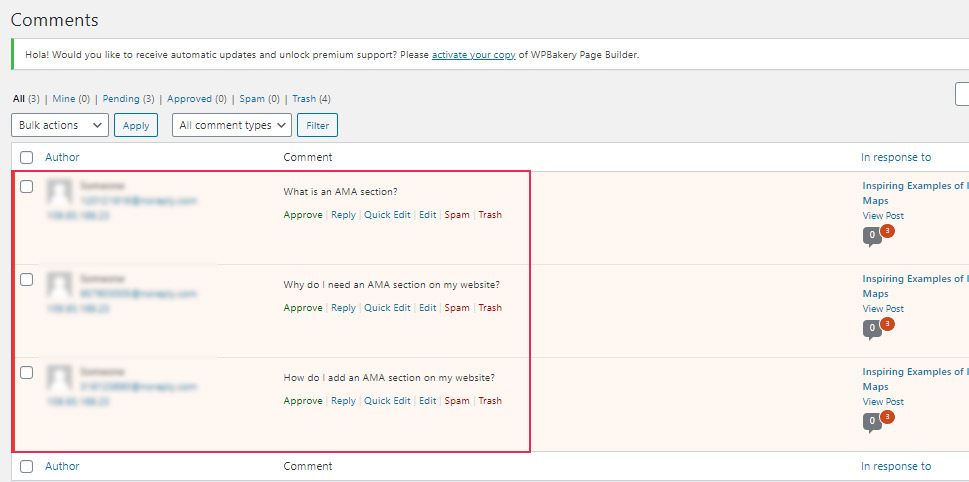
Answering the questions is as simple as it can get – click on the reply link below the question and type in. You also have the option to delete questions if you don’t think they look good on your website.
In Conclusion
Famous websites like Reddit, Quora, Tumblr, and similar enjoy the great benefits of having AMA sections, and many of them even have AMA forums. One of the popular trends includes asking celebrities to answer questions on the website as guests or hosts. Thanks to the practical AMA plugin, you can now have this great feature on your WordPress website too, without having to learn a line of code. We are sure you can come up with many more great ideas on how to take maximum advantage of this useful feature whose popularity doesn’t seem to diminish.
