How to Make a Sticky Menu in WordPress
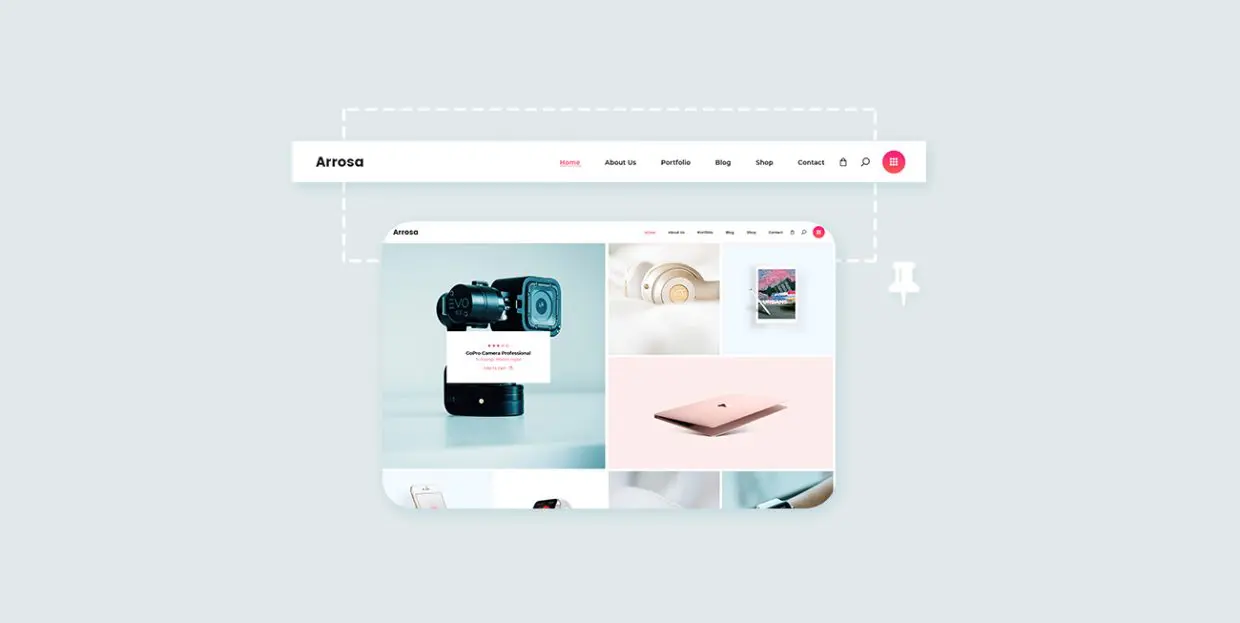
Site navigation is one of those UX essentials that shape the way visitors feel about your website. Modern-day web users have absolutely no intention to waste their time on a website that fails to deliver the desired content quickly and with zero effort on the user side. The navigation menu is traditionally the first place where visitors go for orientation. If the menu is not properly designed and if the navigation does not run as smoothly and quickly as possible, visitors start leaving and the website starts dying a slow and painful internet death.
A sticky menu constitutes an important part of site navigation, as it “sticks” with the users as they scroll, instead of staying at the top of the page, making sure the navigation is never out of reach. That’s why we decided to dig deeper into the concept, go through the benefits and disadvantages of this feature and show you how to set it up using one of the available WordPress plugins.
On the other hand, if you don’t want to use a WordPress plugin, you should know that a majority of our premium WordPress themes come with the sticky menu functionality. You can set it to appear across your site, or on individual pages, but we’ll get to that in a bit.
What Is a Sticky Menu
First of all, let’s explain what a sticky menu is and how it works. In most websites, the main navigation is located in the header, which is the topmost part of the page. Typically, elements on the page disappear (move up) as the user scrolls down. A sticky menu is a menu that stays (“sticks”) at the top of the screen as the users scrolls the page. That way, if the user wants to reach something in the menu while mid-way down the page, he or she doesn’t have to scroll all the way up to find the navigation, as it will be right there, at the top of the viewport.
The “stickiness” usually applies to the entire header, not just the menu. It involves other header items, such as social buttons, logo, the search bar and so on.
Sticky Menu Pros and Cons
There doesn’t seem to be a general consensus among UX designers whether sticky menus are good or bad for websites, as there are both strong cons and significant pros, so let’s see what they are.
Pros:
-
Better, faster navigation : According to a study, sticky menus are as much as 22% faster to navigate. And the importance of fast navigation for basically everything, from user retention to conversion rates, is a clear and well-known fact.
-
User preference : People simply prefer sites with sticky headers and menus. They might not know what they’re called or may not even notice them on the conscious level, but they prefer them nonetheless.
-
Higher retention, lower bounce rate : Again, better navigation means user satisfaction, which means visitors will not leave the site immediately and will, instead, stick around (pun intended) and browse your pages.
-
Brand identity : By making sure your header logo stays in the viewport the entire time, you’re building brand identity and raising brand awareness among your visitors.
Cons:
-
Design limitations : Sticky menus may impose certain design limitations and compromises that some designers simply may not be willing to make.
-
Distraction and intrusion : Sometimes, a sticky menu can really get in your way, especially on pages with heavily visual content, or if it is too tall or wide to allow full access to the content.
-
Mobile issues : Although this is no longer such a common issue, sticky menus sometimes don’t work well on mobile devices.
Does Your Site Need a Sticky Menu?
We say “Yes” for all of the cases below:
-
If your site uses infinite scroll or has very long pages.
-
If you post a lot of content.
-
If you want users to sign up.
-
If search functionality is important for your site.
-
If your site is an online store.
-
If you have important pages other than the homepage that are frequently visited.
Creating a Sticky Menu with Qode Themes
As we mentioned earlier, to add a sticky menu to your website you will use either the theme’s built-in functionality or install a WordPress plugin.
If you have purchased a theme from Qode Interactive, you won’t need a plugin – the majority of our themes come with this functionality out of the box.
As for enabling and setting it up, if you want to have a sticky menu throughout your entire site (on all the pages), go to the theme’s general settings (these are marked by the name of the theme or theme author, followed by the word “Options”) and click on Header.
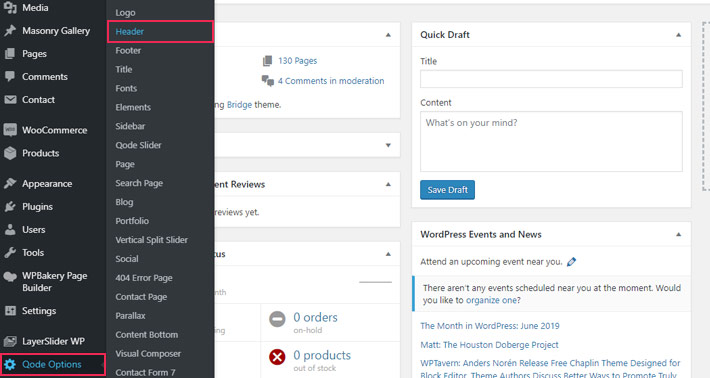
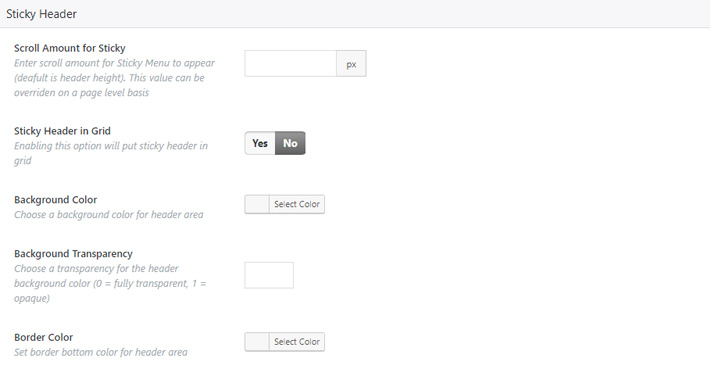
Here you will find the options for the sticky menu. Note that the options might vary, depending on the theme.
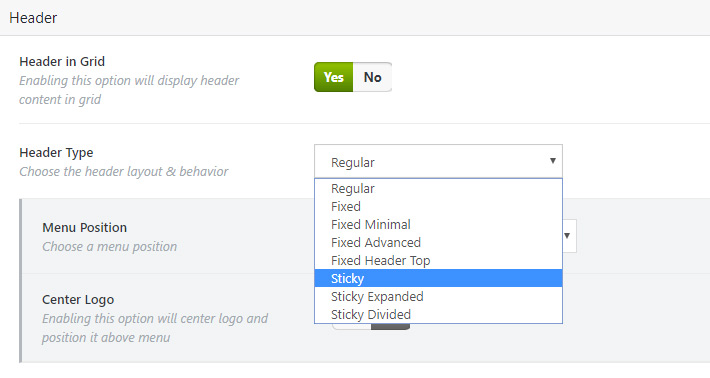
After selecting “Sticky” from the dropdown, a set of customization options will open.
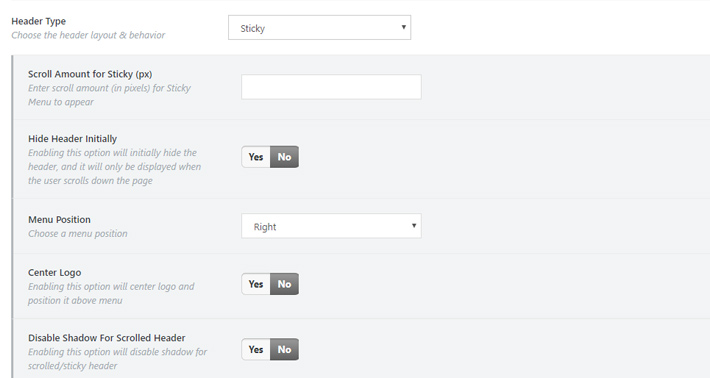
Again, the settings might vary depending on the theme.
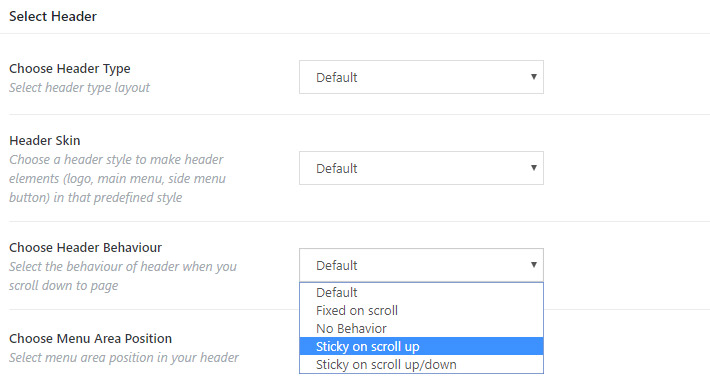
You can also set the sticky menu just for one or more individual pages, and not for your entire website. This is done in the individual page options. Just go to the page you’d like to set it up for and set the Header Behavior according to your preference.
How to Add a Sticky Menu Using a Plugin
If your theme does not come with sticky menu functionality, and you’re not a developer and/or don’t know how to use CSS to add a sticky header, then your best option is to use a plugin.
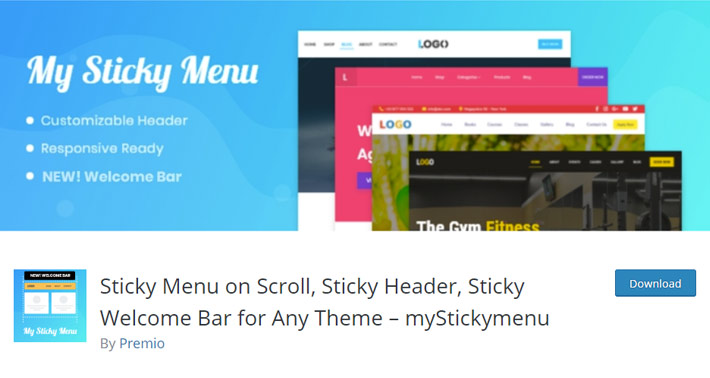
For this purpose, we recommend using My Sticky Menu – Sticky Menu on Scroll, Sticky Header for Any Theme, which, as its name suggests, can work with any theme, allowing you to easily add a sticky header and even a welcome bar. The plugin does not require coding or CSS knowledge, it is lightweight and compatible with all major WordPress builders and editors, including Gutenberg and WPBakery. It is based on an element class (“Sticky Class” or ID) that essentially specifies which part of your site you want to make sticky.
This plugin allows you to create a sticky header on up and down scroll, add effects (fade or slide), change the opacity and background color, and also to decide when and on what pages you want your sticky menu to appear. The free version should do the trick for most users, while the pro version allows you to change the CSS style, as well as to disable the feature on scroll or on certain pages. Finally, this WordPress plugin comes with multi-language support and is compatible with all major page builders.
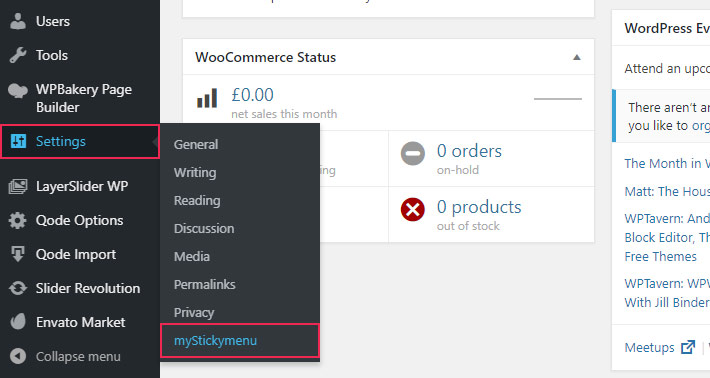
After installing and activating the plugin, go to Settings > myStickymenu.
The first thing you need to set is which menu you want to display as sticky. You can pick any of the menus you have in your theme.
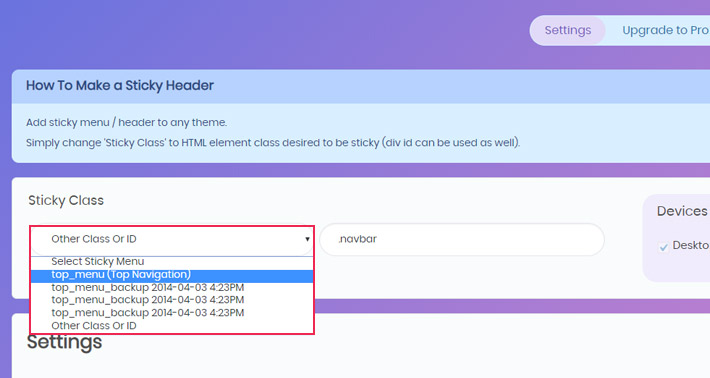
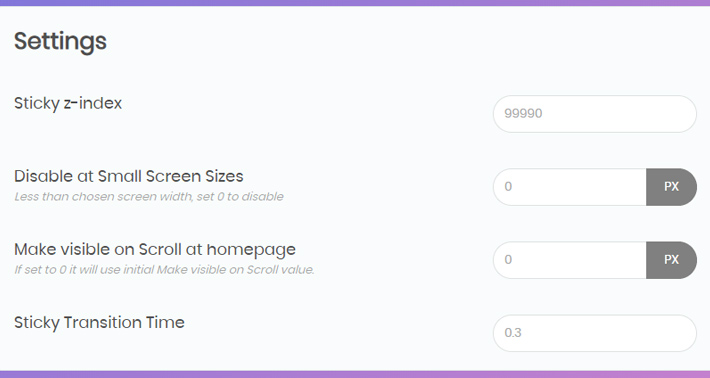
As for the settings, the first thing you will be prompted to do is to set the Sticky z-index. The z-index defines the stack order of the header, i.e. whether it will be displayed in front of or behind other elements on the page. An element with a larger stack order is always displayed in front of all elements with a lower stack order. Since you probably want your sticky header to be visible always, we suggest inputting a higher number in this field.
Next, decide whether you want your sticky menu to display on mobile screens or not. It is generally a good idea to disable it on mobile since it will most likely take up too much of the screen and push the content out.
The next option, Make visible on Scroll at homepage, allows you to set after how many pixels you want your sticky menu to appear on your homepage. You can also set the Sticky Transition Time below.
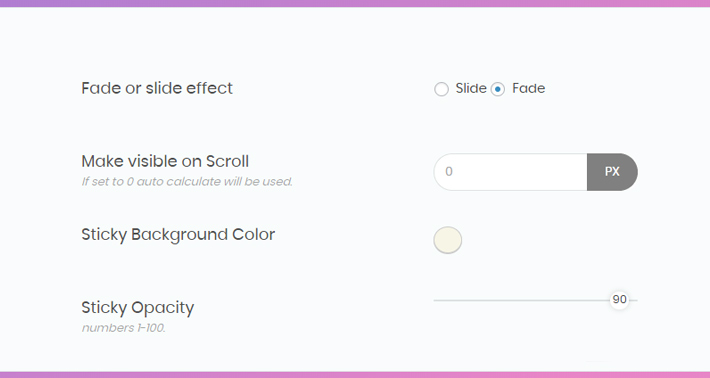
The plugin allows for some design customization, too. You can set the sticky background color, opacity and pick the transition effect. Here you can also define a general setting (for all pages on your site, not your homepage) that determines after how many pixels you want the menu to appear.
Additional options are available with the pro version of the plugin. But if all you need is a basic sticky menu, the free version should work just fine.
Final Thoughts
If you feel that adding a sticky menu would improve your site navigation and user experience, we say – go for it! Unless your site is packed tight as it is, this will probably be a great addition and a major usability factor. Whether your theme already has the required functionality or you choose to go with the plugin, we are certain you will create a sticky menu that fits your pages like a glove.


