How to Set Up your WordPress Title Area with Qode Interactive Themes
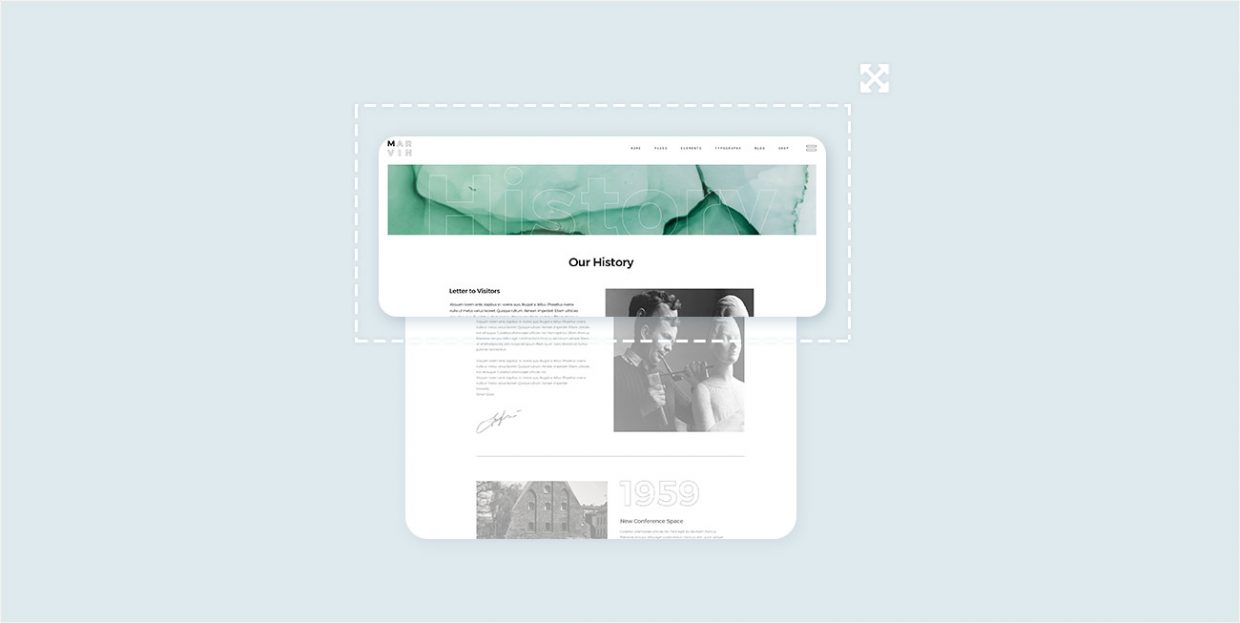
The title area is one of the vital parts of any web page. As its name suggests, it is the part of the page where your title goes, so naturally you want to pay extra attention to it.
When using a premium WordPress theme, all the content and settings you have imported are set to a certain default. However, you’re in no way obliged to use those settings and that content. This goes for the title area, too. Some users like to turn it off, and some like to customize it to better fit their needs.
Qode Interactive’s themes are no exception. Each theme comes with a preset title area that the user can later change to his or her liking. In this article, we’re going to show you just how to do that.
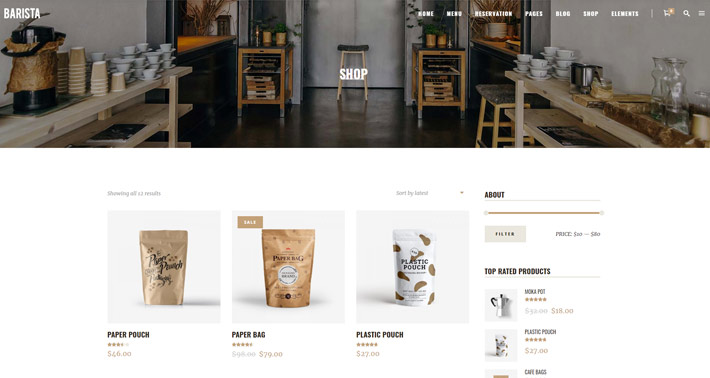
We also have a video tutorial on setting up the title area using the Bridge theme that you can check out – the steps are basically the same for all Qode themes.
About the Title Area
As we explained above, when you purchase a theme and import its content, the settings are going to be the same as in the theme demo. That means that if a theme has a prominent title area on all pages, your website is going to have it too. If, on the other hand, the theme creators believe your website would look better with a smaller title area, or perhaps with the title area visible only on specific types of pages, that’s what you’re going to get upon import.
However, it’s important to remember that all this can be changed quickly and easily.
If you have imported one of Qode Interactive’s WordPress themes, there are two ways you can customize the title area settings:
It’s very useful to have this sort of flexibility in setting the title area. For example, you may want your blog pages to have a title area but you don’t want one on your shop pages. Or, you need the title area on your home page but not on any other page. With our themes, choosing exactly where your title area will appear and what it will look like is simple. Let’s take a look.
Customizing the Title Area from the General Settings
When using one of Qode Interactive’s themes, your WordPress Admin menu will feature general theme options for that particular theme. You can find those options in the left side menu on your dashboard. Now, in our example we’ll be using the Barista theme, so the name of this options panel will be Edge Options, since Barista is developed by Edge. But if you’re using a theme from one of the other authors that are a part of Qode Interactive (Qode, Select, Elated or Mikado), the name of the options panel will simply be the author’s name, followed by the word “options”.
Clicking on the options panel will reveal a list of settings. The one we’re looking for today is the Title.
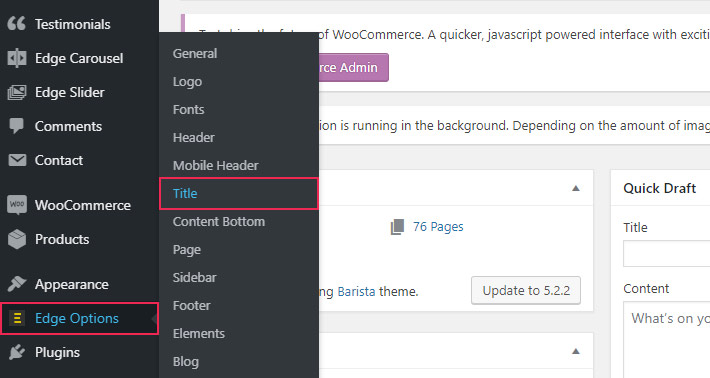
Note that the specific settings available may vary from theme to theme, but there are always enough of them to allow for different combinations. The settings themselves are very simple and self-explanatory.
They are divided into two groups: Title Settings and Typography.
Title Settings
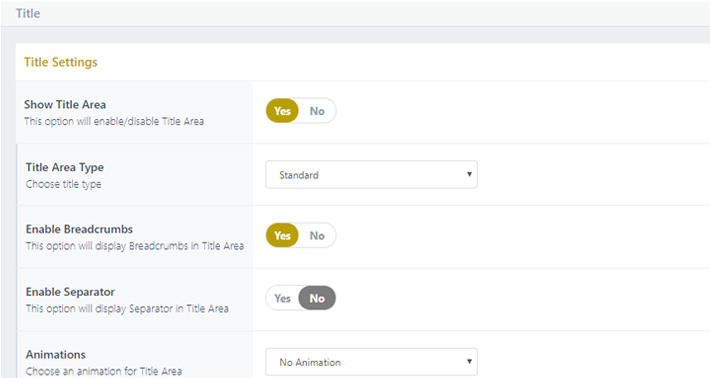
Let’s take a look at some of the options here:
-
Show Title Area. This is one of the options for enabling or disabling the title area. As we said earlier, if we disable the title area here, it will not appear anywhere on the site except for the pages for which the title area is specifically enabled.
-
Title Area Type. Here you can choose the type of title area you’d like to use – standard, centered, breadcrumbs, standard with breadcrumbs, etc. The available options may vary depending on the theme you’re using.
-
Enable Breadcrumbs and Enable Separator. These two options let you easily display or hide the breadcrumbs and separator in your title area.
-
Animations. This option allows you to enable and set an animation type for your title area.
-
Vertical Alignment and Horizontal Alignment. Here you can set the vertical and horizontal alignments for the elements in your title area.
Depending on the theme, your Title Settings may also include other options, such as height, background color, background image, background image behavior, and so on. You can find out more about all the available options and what each one does in the theme’s documentation.
Typography
In this section, you can set the font and style of your Title, Subtitle and Breadcrumbs (if you’re using them).
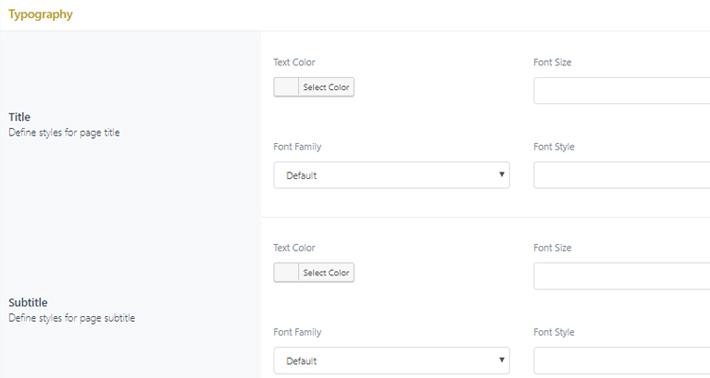
After you have set the desired text color, font style and weight, as well as letter spacing and text transform, don’t forget to click on Save Changes.
Note that some themes come with theme-specific title area options that may not be available with other themes.
Page or Post Settings
Page- or post-specific title area settings can be accessed by clicking on the page or post you want to edit. The settings are located near the bottom of the edit screen.
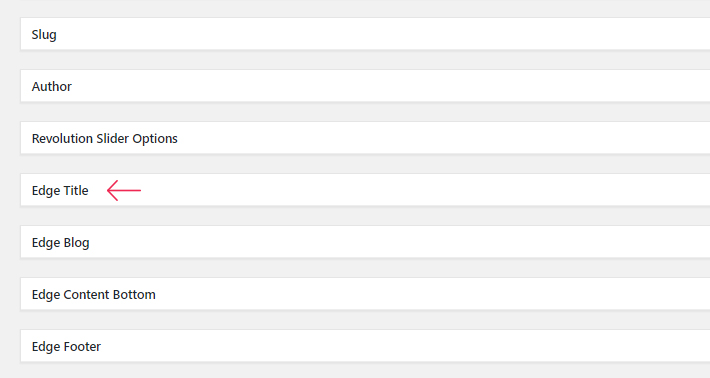
This section may not include all of the options we’ve seen under general title area settings, but it will have the most important ones.
Here you can decide whether or not to show title area, and specify the title area type. You can also enable or disable breadcrumbs and separator, if the theme allows it, as well as choose animations, and the vertical and horizontal alignment.
Other options may include background image, title area height, title tag, subtitles (with text, color, tag, padding), breadcrumbs color, and so on.
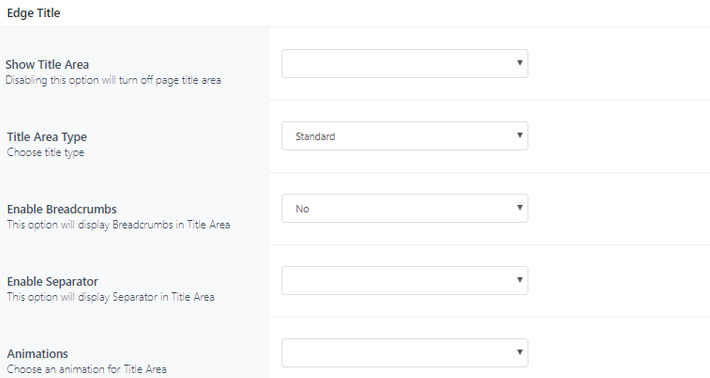
Again, the settings you make here will only apply to that specific page or post. Once you’ve set everything, click on Save Changes and preview your live page to see if everything looks and works fine.
Final Thoughts
Whether or not you will use a title area at all, or if you choose to use it for some pages and not for others – depends entirely on you. The title area can make a good addition to the site architecture and provide an important visual and contextual clue, but in some cases it might be unnecessary or simply get in your way.
Now that you know how to easily enable, disable and customize the title area for your website and pages, all you need to do is decide whether you need it and how you want it to look and behave.


