How to Create UTM Codes to Track Your URLs in WordPress
If you are collecting any kind of metrics for your website, UTM codes are indispensable. Also known as UTM parameters, they are simple to implement and offer a large number of useful functionalities pertaining to tracking and analysing traffic on your website.
In this article, we will be showing you how to use UTM parameters to inform your analytics tools and track your visitors‘ behaviour. For this demonstration, we will be using Google Analytics. Of course, there are other analytics tools, but we will go with the global leader here. Before we begin with the tutorial in earnest, though, we would like to address some general questions: what are UTM codes and what can they do.
Here’s what we’ll be talking about:

In the simplest of terms, UTM codes are tags you can append to the URLs of your marketing or promotional campaigns. They do not change the content of the page accessed, but rather allow you to track the source of the traffic to a page and measure user engagement. If you click on a sponsored link on social media, say, you will likely have clicked on an URL containing a UTM parameter. If you examine your browser‘s URL field, you will be able to spot it: it begins with utm_.
UTM codesUTM codes allow analytics tools to track user behaviour and let you know where your visitors are coming from and if and how they interact with your promotional content. If your content can be accessed in several different ways, a UTM parameter can tell you which of these ways was used by which user. That way, you will be able to measure the effects of your campaigns and other promotional efforts.
There are five UTM parameters. These are:
-
Source
-
Medium
-
Campaign
-
Term
-
Content
As we‘ve intimated before, UTM codes are used to track traffic and user behaviour. But what does it mean in real terms? The data UTM codes bring in is mainly used to inform promotional strategies: if you have invested in a Facebook campaign, for instance, you want to know how many more visits you get from Facebook sponsored posts over time. This data can then tell you whether or not or not it pays for you to use Facebook to promote your business and how much. In short, they will let you know what works and how well, and how well, and what doesn‘t.
UTM parameters can be used in social campaigns, messaging, and email, and they have different functions.
The source parameter tells you which website your visitors are coming from. The medium parameter tells you through which marketing channel the visitor came to your website. The campaign parameter identifies the specific campaign that brought the visitor in. The term parameter is used to identify keywords in a paid keywords campaign. Finally, the content parameter identifies the exact element clicked by the visitor.
Used combined, the parameters described can help you account for your marketing budget‘s effects to the penny and gauge your return on investment for it. Now that you know what they do, let us see how they can be used to generate tracking URLs for your website.
There is a lot to be said about setting up Google Analytics for your website, and we have covered it in detail in the linked article. We will, however, go over the basics here.
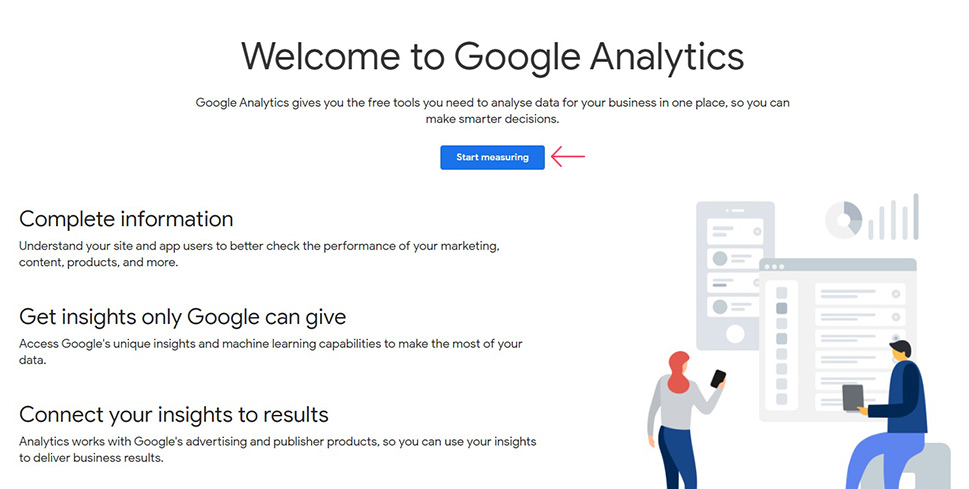
Setting up Google Analytics isn‘t difficult: all you need to have beforehand is a Google account. You don‘t even have to create a separate Google account to use Analytics professionally – you can give permissions to other users later. Next, while logged into your Google account, you need to visit the Google Analytics website.
Once there, click the Start measuring button.
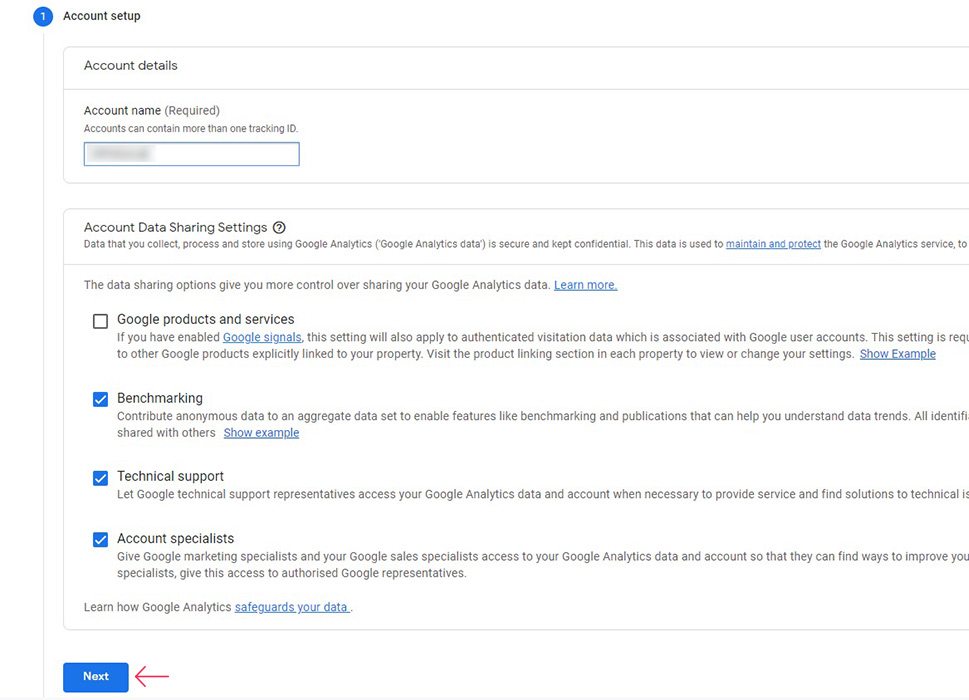
You next need to set up your account for Google Analytics. In the Account setup section, enter an Account name and set the Account Data Sharing Settings to your preference. Click the Next button to continue.
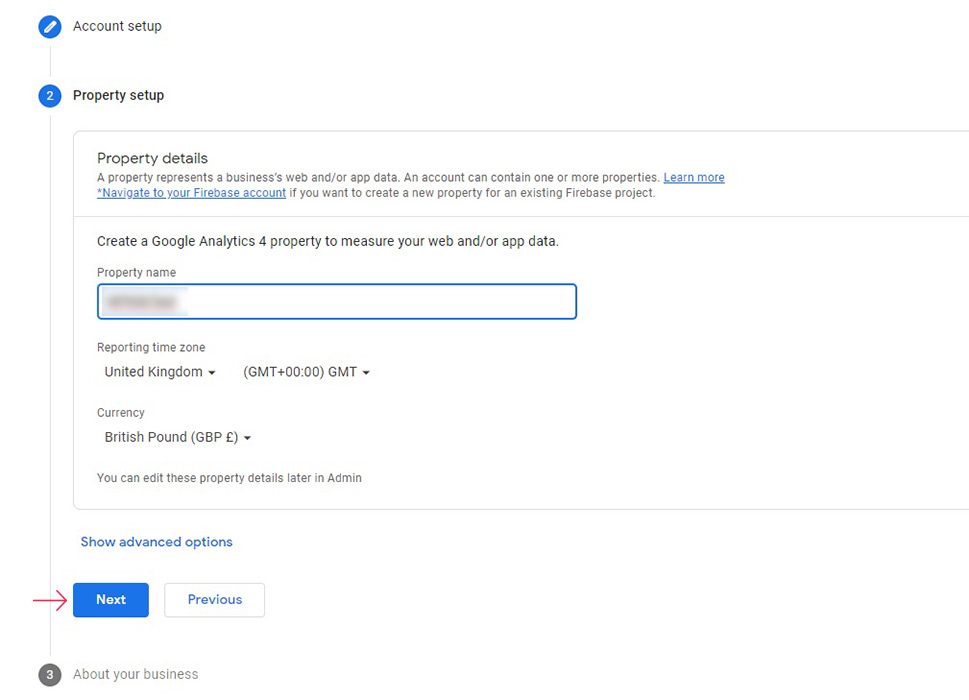
In the Property setup section, enter the name or URL of your website. You can have more than one property attached to your account. Click Next to get to the subsequent section.
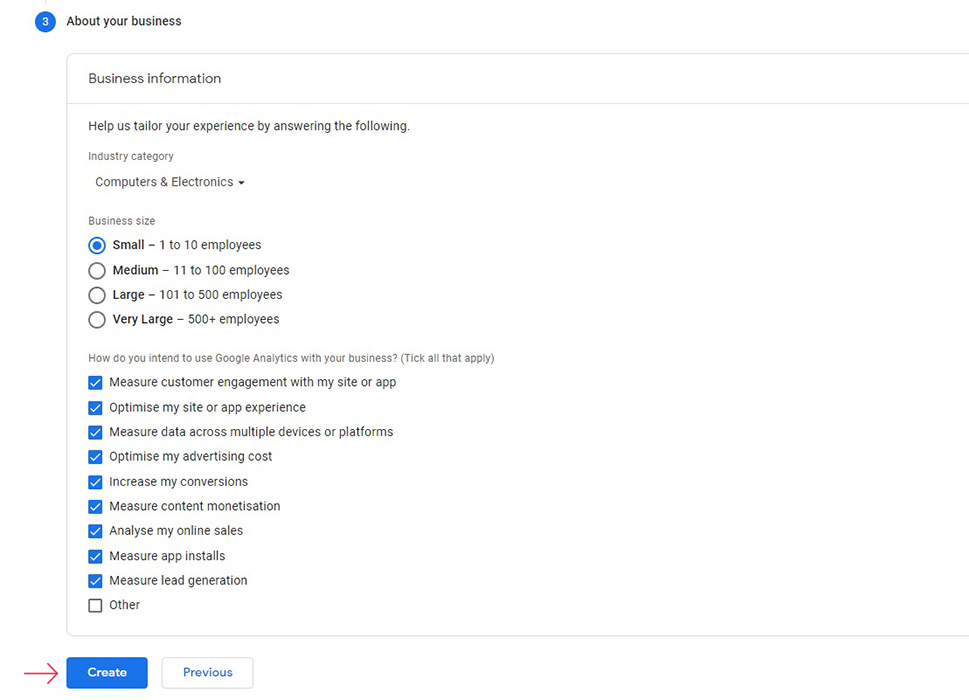
Finally, you can provide some business information to Google so that it can figure out how you want to use its Analytics service. Fill out the form to your preference and click Create.
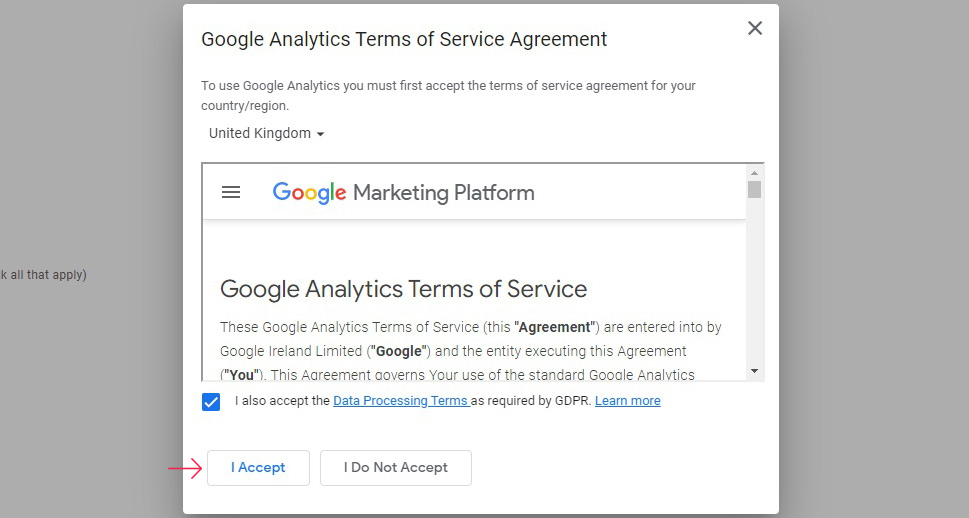
You will then see a pop-up window with the terms and conditions that apply to your jurisdiction. You need to check and click I Accept to subscribe to the service.
On the next screen, select all the communication you wish to receive from Google (or none) and proceed.

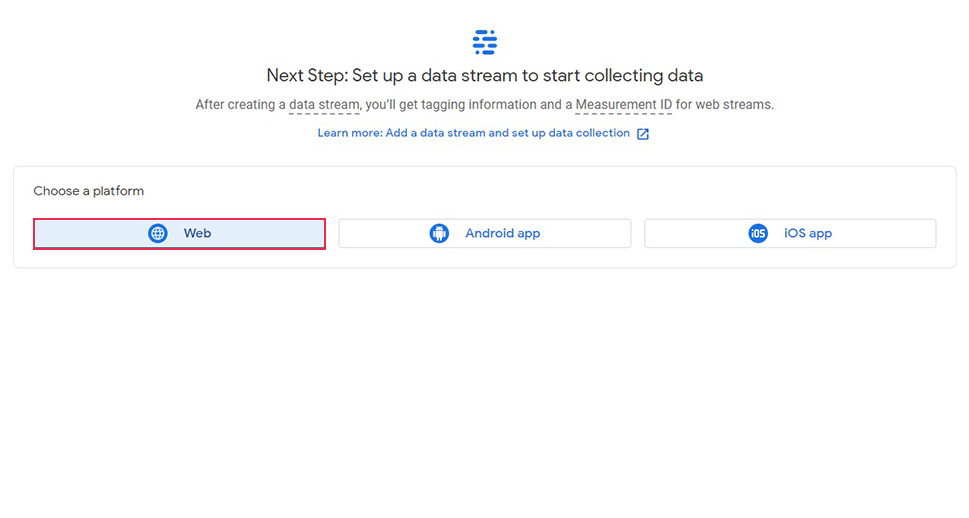
To connect your website to Google Analytics, select the Web option from the screen.
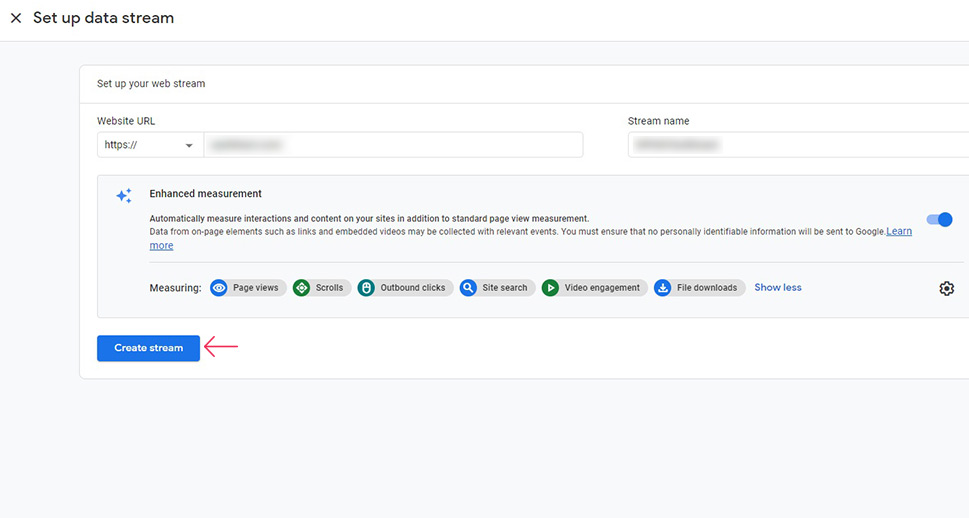
Set up the data stream by selecting the protocol (http or https) from the drop down menu, enter your website URL, and name your stream however you like. You can also set up Enhanced measurement values to your preference. Once you have everything set up the way you like it, click Create stream.
To connect your website with your Google Analytics profile, you need to add a tag to it. For a WordPress website, click the Global site tag in the Tagging instructions section and copy the tag either by selecting and copying it or by clicking on the copy icon.

You then need to add the Google tag to your website. There‘s a lot we can say about adding custom code to your website, and you can find it in the linked article. You need to add the tag you copied below the <head> tag in the code of your website.
However, for safety’s sake, we strongly suggest you use a child theme or a plugin to add your code, and also to make a backup of your website before you begin.
Google Analytics provides you with an easy tool for the creation of UTM codes: the Campaign URL Builder. It is a user-friendly tool that will let you customise your UTM parameters or even do a lot of the work for you.
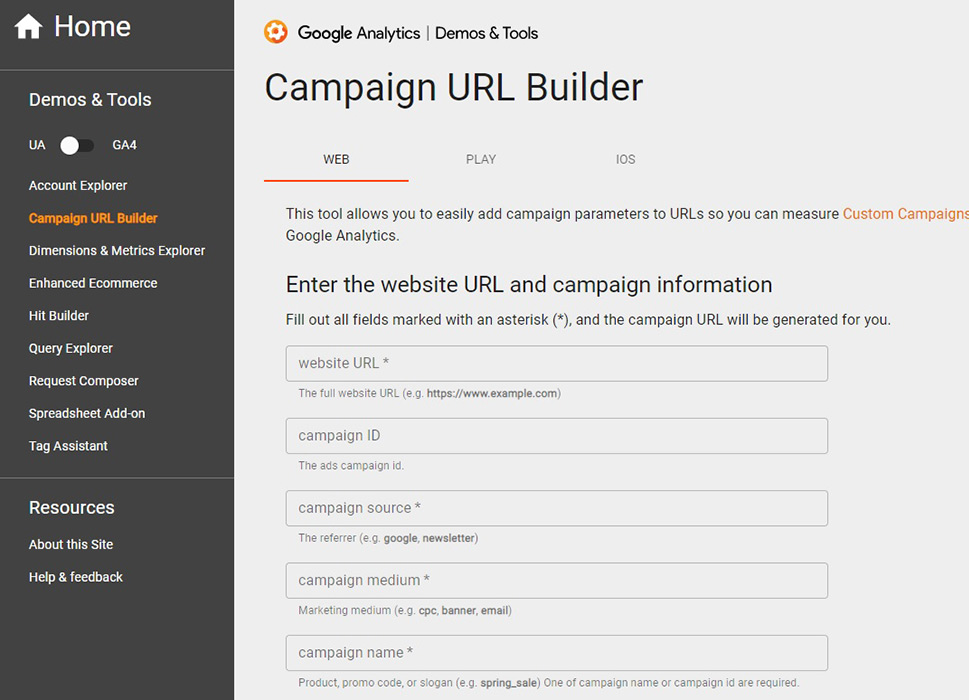
Once you fill out all the required fields (the ones marked with an asterisk) a campaign link will be generated for you. To find and use it, scroll down. As you can see, it contains all the UTM parameters you have entered. Use it where appropriate to start collecting those metrics!

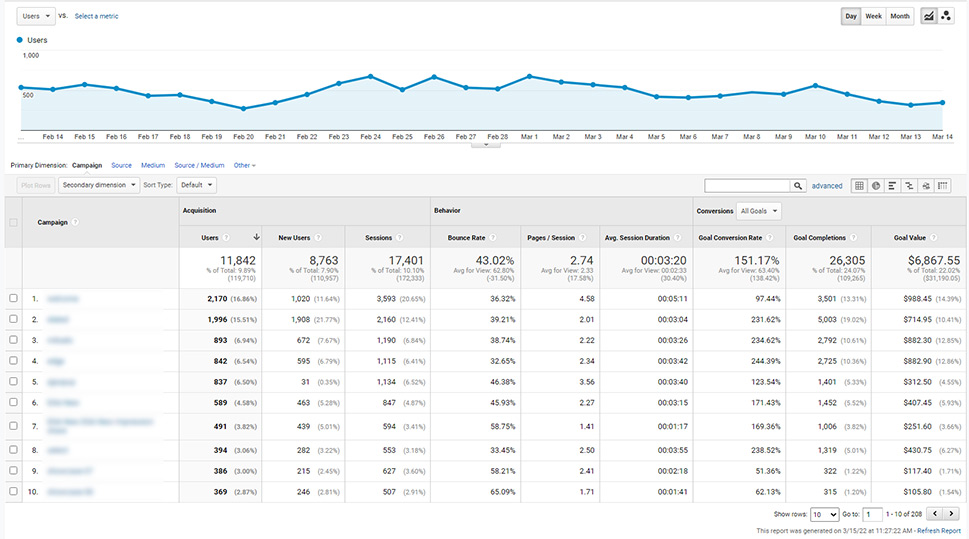
Google Analytics will provide you with all the information you need to assess the effectiveness of all your promotional efforts. You can find it in the Campaign section. To access it, navigate to Reports/Acquisition/Campaigns using the menu on the left-hand side.
Your Campaigns screen will contain a list of all your current campaigns, broken down into Acquisition, Behaviour, and Conversions.
The Acquisition section will contain such important metrics as total users, new users, and sessions, the Behaviour section lists Bounce Rate, Pages Per Session, and Average Session Duration, while Conversions will depend on the Goals you have set for your promotional campaigns.
This is all the data you need to assess your promotional efforts. If you have started an email marketing campaign, for instance, you should be seeing an increase in the number of visitors to your website who click on the links provided in the emails you sent. The same goes for pay-per-click and social ads.
Knowing where your visitors come from is also a priceless metric when assessing the effectiveness of guest posts from cooperation schemes and influencer campaigns: you will know exactly how many people your guest blogging or your hired influencers bring in. You can use this data to plan your future promotional activities and collaboration efforts.
You can then compare these numbers to the qualitative metrics such as the bounce rate or pages per visit, depending on what you‘re trying to achieve. Of course, depending on the specificity of your set goals, you may mostly be interested in the conversion rate.
Finally, the data can help you test the effectiveness of your promotional efforts on a smaller scale before committing substantial funds to a campaign using A-B testing. Often used in design, A-B testing, or split testing, for our purposes involves creating two (or more) different campaigns with a similar subject or goals, and looking at which one works best. Then, once you are ready to commit substantial resources, you know you are backing the right horse.
In Conclusion
As you can see, setting up UTM parameters for your URLs is relatively simple, while at the same time being virtually indispensable for gathering all sorts of useful data. All of this data is only ever good for anything if you know what to make of it (how to analyse it). And after you learn from it what you can, you will be perfectly equipped to use this data to assess your current promotional efforts and inform all your promotional efforts in the future.
People rely on data to make choices, and those with more data are better equipped to make choices that lead to desirable outcomes. This can cause overreliance, as flesh-and-blood humans sometimes don‘t act the way we expect them to. Sometimes, the only way to know whether something works is to try it. Data gathered using UTM codes, when properly analysed, can help you narrow down the choice of what to try.
