How to Add the Read More Tag in WordPress

Providing users with a short description of what your content is about is a great way of inciting them to read your posts and further explore your site. The title and a preview image might be enough to capture their attention, but a content preview can persuade them to take the plunge and press the Read More button. In this tutorial, we will show you how to add the Read More tag in WordPress and we will discuss:
If you run a blog or have a blog section on your site, adding short, concise descriptions of articles ensures quicker page load times. It also helps your audience understand if and how they can benefit from reading your post in its entirety.
Moreover, the Read More option is very important for users who prefer to browse websites on mobile phones. Given the smaller screen size, truncating posts and displaying previews allows you to better organize your content. If users were to see just a list of blog titles, they may not be prompted to click on them. Or worse, if you clutter their screen by displaying complete articles below titles, you’ll make it hard for them to navigate your site, so you risk having higher bounce rates. On the other hand, if you display the title, add a preview image and an introduction to the article along with the Read More link, your content will be easier to consume.
If you’re worried that Google might not be able to index the content that’s not visible which could negatively affect your SEO, don’t be. What matters is that the content is not hidden – users can see it and access it in full with an extra mouse click. And when it comes to the tabbed content on mobile pages specifically, Google’s webmaster John Mueller had said that Google will take everything into account as long as it’s visible in HTML.
In WordPress, there are two ways of displaying post previews. One is by using the Read More tag and the other is by using the Post Excerpt option. Both allow you to display any part of your text as a preview, so what is the difference between the two?
The main distinction between the Read More and Excerpt tags is that the latter is theme dependent. If your theme does not support the excerpt_tag (which is highly unlikely given the fact that WordPress started off as a blogging platform), then you won’t be able to display summaries. Furthermore, excerpts are always displayed like plain text and you don’t have the option to enrich them with additional elements. On the other hand, you can always use the Read More option and add images, links, etc. to your previews.
Another difference between the pair is that you have the option to enter custom text in the excerpt field and create custom excerpts. Alternatively, you can also go to Settings > Reading and below For each post in a feed, include check Summary. That way, WordPress will automatically display excerpts on all posts using the first 55 words of each entry. As for the Read More tag, the platform allows you to display only the already existing part of your text as a preview.
When it comes to deciding which of the two to use, it all comes down to your preferences. It might be more convenient to go with the Read More tag because it’s featured on every WordPress theme. If you decide to go down the excerpts route, you might have to manipulate the code and add the excerpt_tag to your theme if there is none. We are going to focus on the Read More tag and show you how to add it to your site using two of the most popular page builders.
Gutenberg facilitates the process of adding the Read More tag in WordPress big time. When you finish entering the text that you would like to display as the summary, click on Add Block and select More.
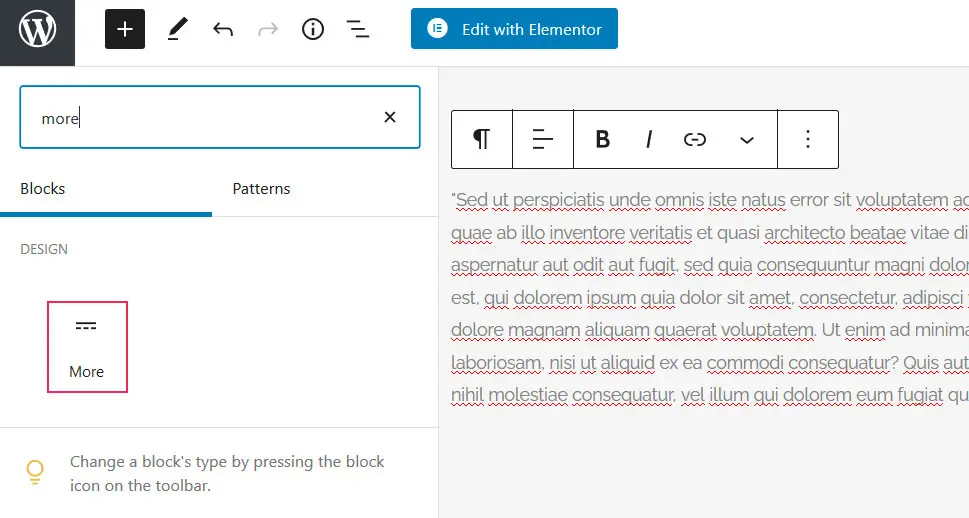
The Read More block will appear below your text.
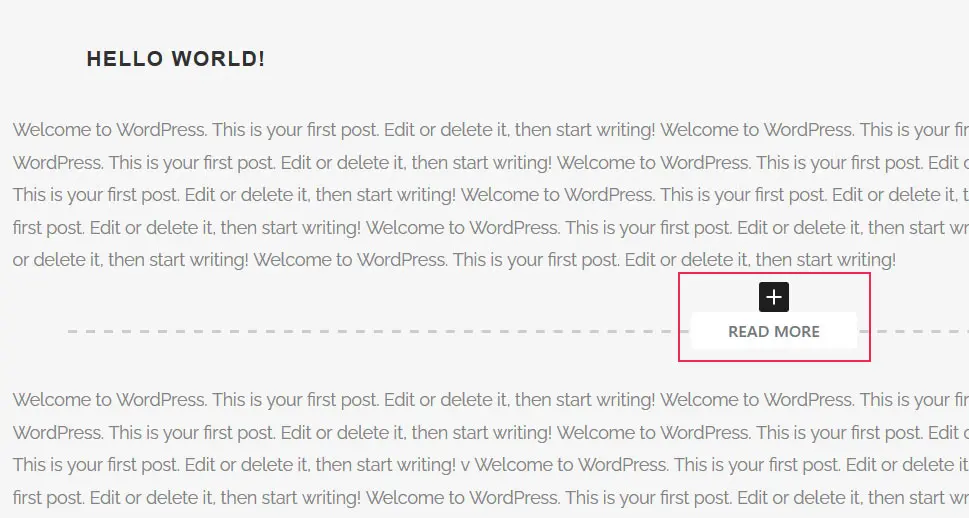
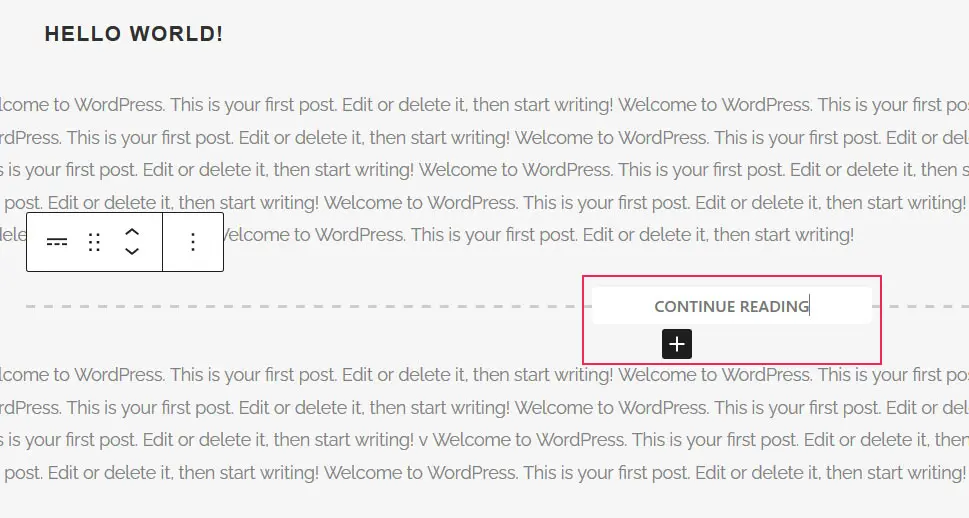
You can now edit the Read More text and enter something else according to your requirements, e.g. Continue Reading, Learn More, etc.
Another thing you can do is hide the content before the Read More tag on full content pages. That means the text you set as the teaser won’t appear on the full post after users click on the Read More option.
Once you’re done with the editing, save the changes.
While creating a post in the Classic editor’s Visual editor, place the cursor at the point where you wish for the preview to end and select the Insert Read More tag option from the toolbar displayed above the text.
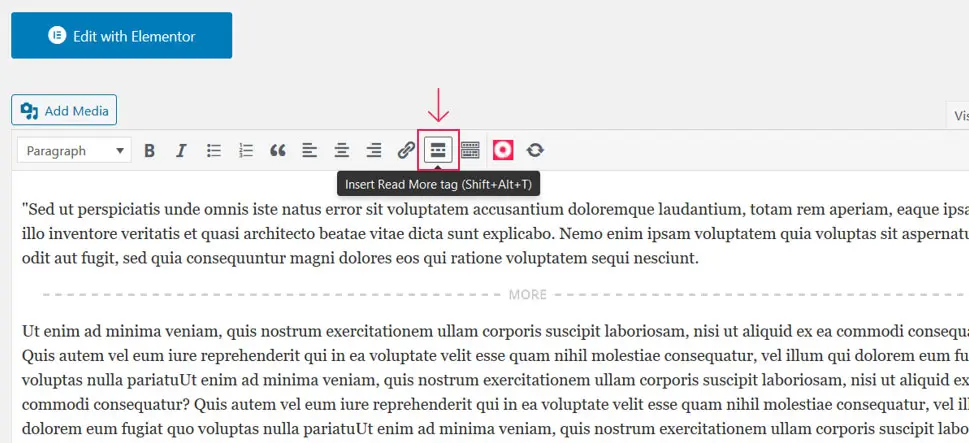
You can also move it with the left-mouse click and place it wherever you please.
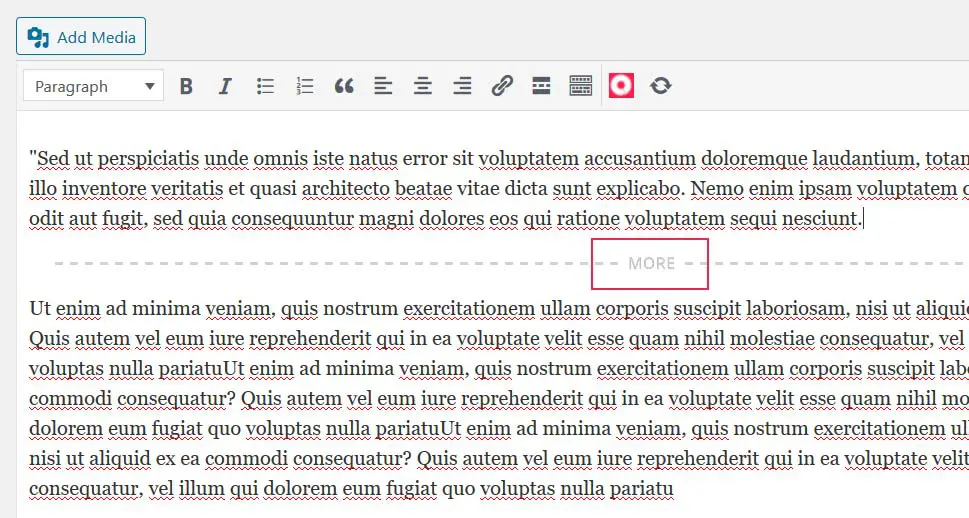
If you’re using the Text editor, you can use the following tag and add it just where the preview will end:
<!--more-->
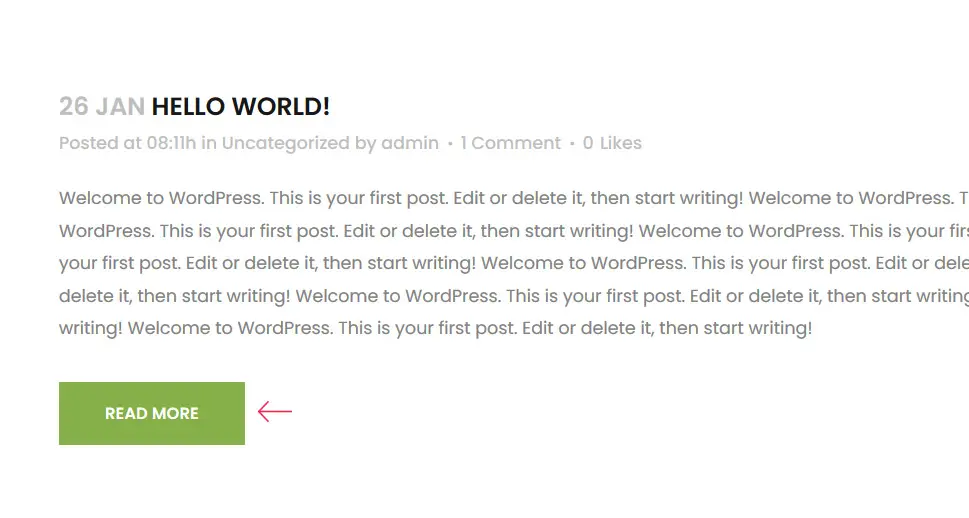
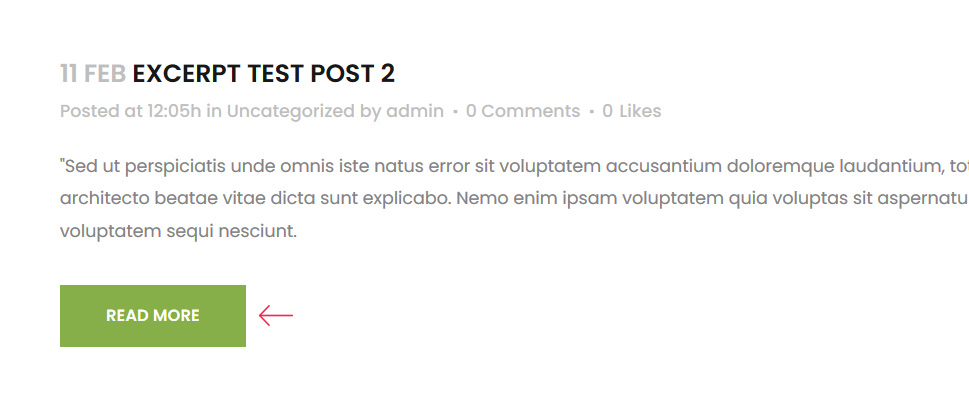
Once you save the changes, the Read More button will appear on your site.
Conclusion
Adding the Read More tag in WordPress does not require any coding knowledge from your end. With both the Classic Editor and Gutenberg, you can display the post preview and the Read More link in just a few mouse clicks. What matters is to think carefully about which part of the text could whet the curiosity of your users and inspire them to continue reading your content.


