How to Add Facebook Pixel to Your WordPress Website
Surely this has happened to you before: you’d be looking up content online, be it buying tickets for a concert, shopping for clothes, or catching up with the news. After a while, you log onto Facebook and then, all of a sudden, you start seeing advertisements about just the thing you were looking up earlier, or similar. One of the reasons this is happening is Facebook Pixel: an invisible piece of code that does a lot of heavy lifting for advertisers.
But what exactly is Facebook Pixel? Can anyone benefit from it? Do you need to add Facebook Pixel to your WordPress website?
If you are running any kind of a WordPress website, and if you are using Facebook advertising, this article may be of interest to you. Here’s what we’ll be discussing:
Simply put, Facebook Pixel is just like Google Analytics, only for Facebook advertisements. In broader terms, Facebook Pixel is an analytics tool designed to better target and measure the effectiveness of your advertising.
Facebook Pixel is actually a couple of lines of code which Facebook uses to track people’s actions on websites it’s installed on and gathers user data in order to assign individual users to different target groups. These users can then be targeted by advertisers on Facebook properties, such as, well, Facebook, Instagram, WhatsApp and others.
Say you are researching for an article or school assignment you are writing. You open this tab and that, read a bunch, copy what you need, and then close the tabs and forget all about them. The next time you log onto Facebook, you will suddenly be inundated with ads for just the things you were looking at, perhaps, if applicable, even down the same make and model. This is due to the websites you visited having had Facebook Pixel installed.
If you are using your website to sell… anything, really, be it product or service, and if you are using Facebook to advertise, Facebook Pixel will provide you with the same targeted advertisement the websites in the above example have. The advertisements which Facebook will show those users who have visited your website are now more likely to include your own advertisements, because Facebook now knows that a certain user was interested in your content.
So, if your visitors and buyers are Facebook users (and more than half of internet users worldwide are), you have a clear economic interest in using Facebook to advertise and Facebook Pixel to help you out with that.
As we are about to show you, you can simply add a couple of lines of code to your website and have Facebook do some work for you, which is very easy and takes no time at all. But you can do much more with Facebook Pixel than that.
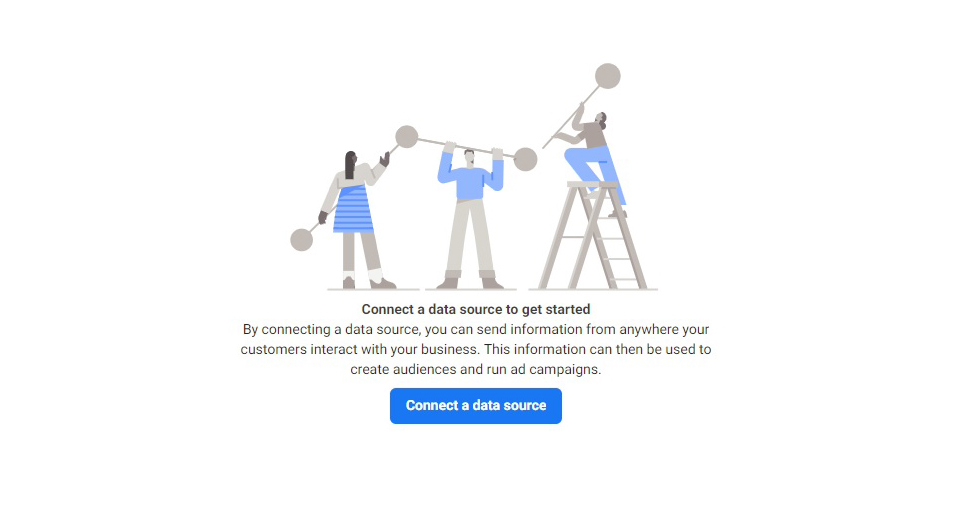
Simply installing Facebook Pixel on your website is easy enough. First, go to your Facebook Events Manager page. Once there, click Connect a data source.
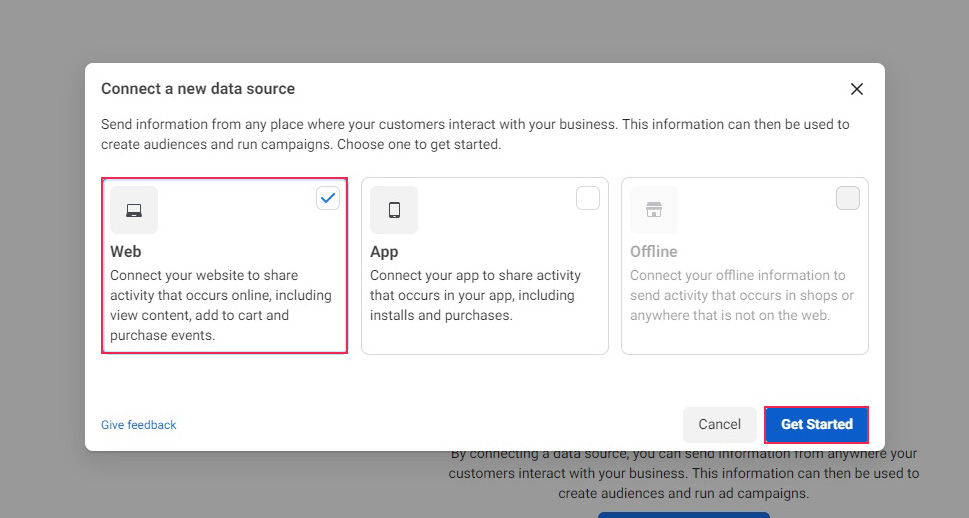
Next, select Web and click Get started.
In the Set up web events window, select Facebook pixel and click Connect.
You then need to Name your pixel and, optionally, Check whether your website has any easy setup options. We will name our pixel Our test pixel and proceed to show you how to install Facebook pixel the (really not very) hard way. Once you‘ve filled out the form, click Continue.
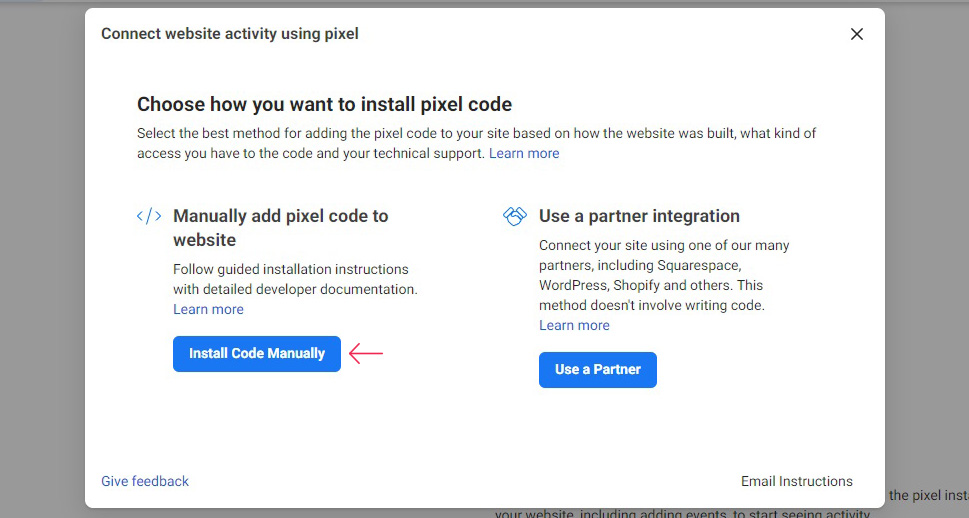
In the next window, choose Install Code Manually.
Finally, you will get the code you need. Click to Copy code.
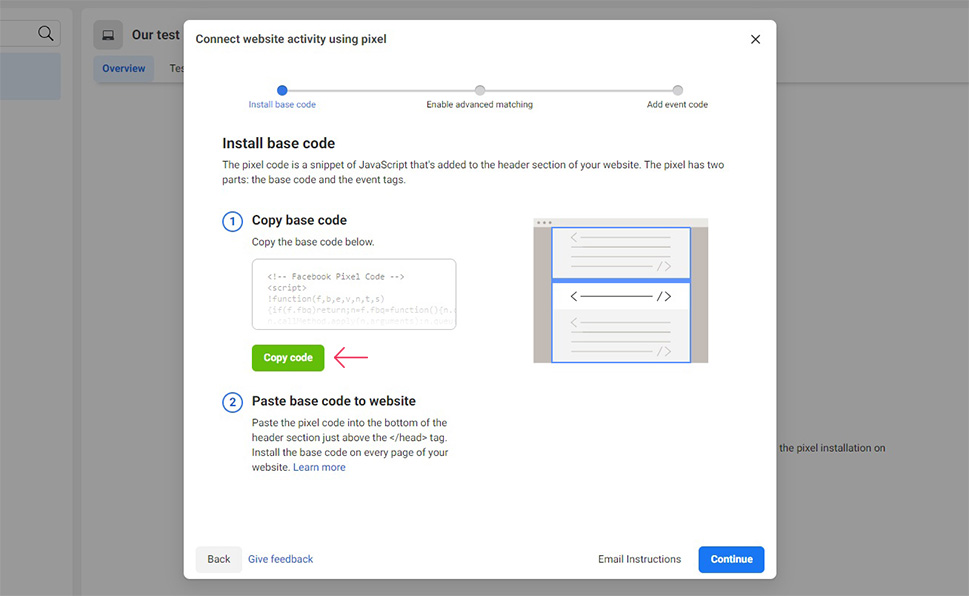
You need to copy this code into the header.php file of your WordPress website. In order to do that, navigate to Appearance/Theme Editor from your WordPress dashboard, and select Theme Header from the right-hand side menu.
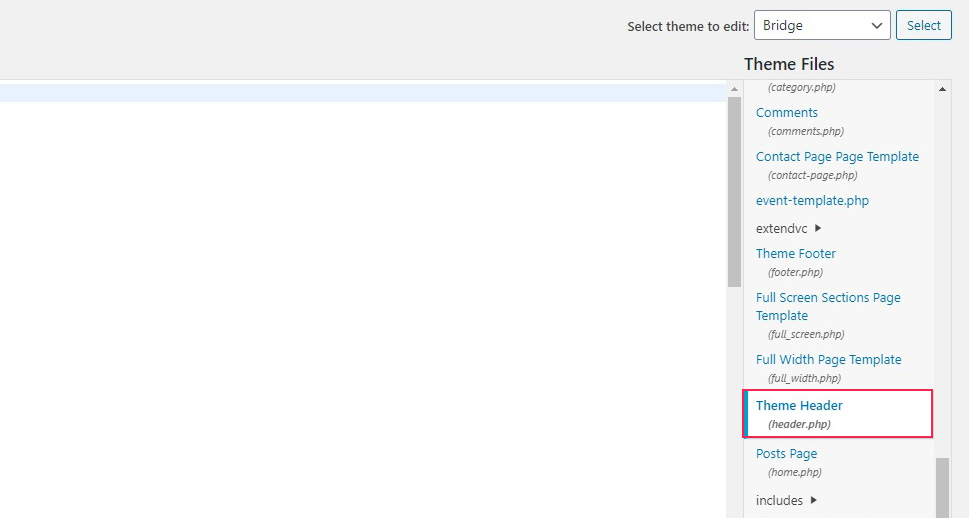
Find the </head> tag and copy the code just above it, making sure not to interfere with any other code. When you have done that, scroll right down and click Update File.
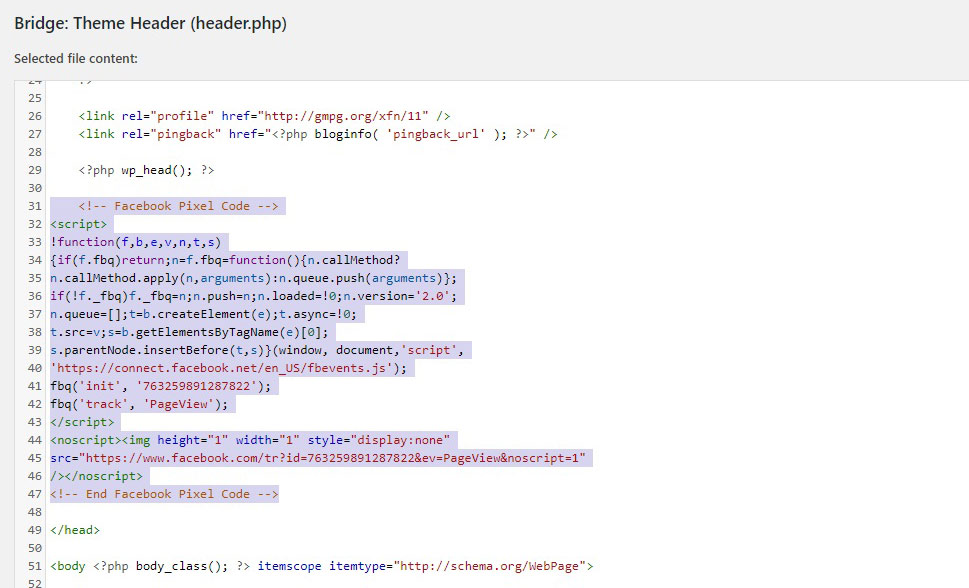
And, just like that, you have added Facebook Pixel to your website. To make full use of it, you will need to get more acquainted with Facebook advertising and generate actual ad campaigns to work with your Pixel, but that is well beyond the scope of this article.
You can also use a plugin to set up Facebook Pixel on your website. The plugin we will be using is Pixelyoursite. But before we begin, we will need the Pixel ID from our Facebook Events Manager. You can find it in the Settings tab of your pixel.
Once you have installed and activated the plugin, go to your WordPress dashboard and you will find it in the left-hand side menu. Navigate to PixelYourSite/Dashboard.
In the plugin’s General tab paste the ID into the Pixel IDs section, in the Facebook Pixel ID field.
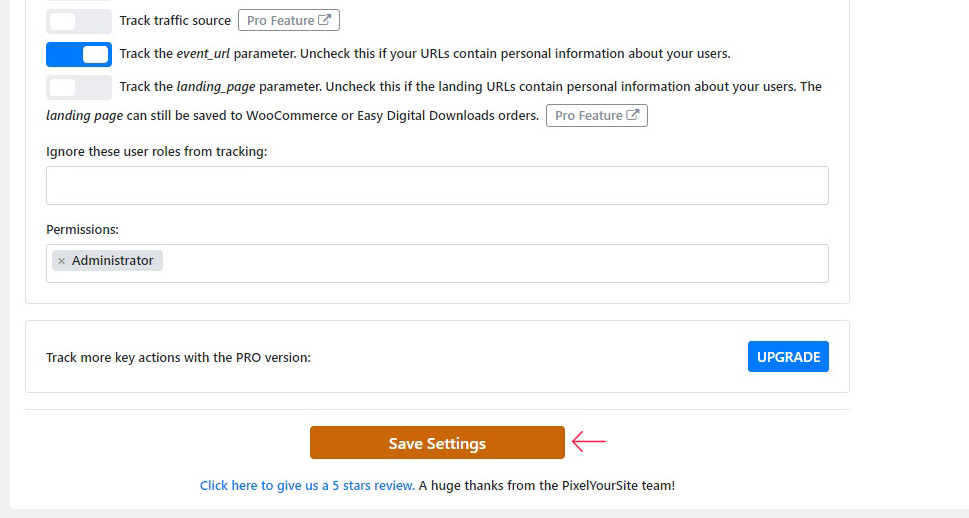
Then, scroll right down to the end of the page, and click Save Settings.
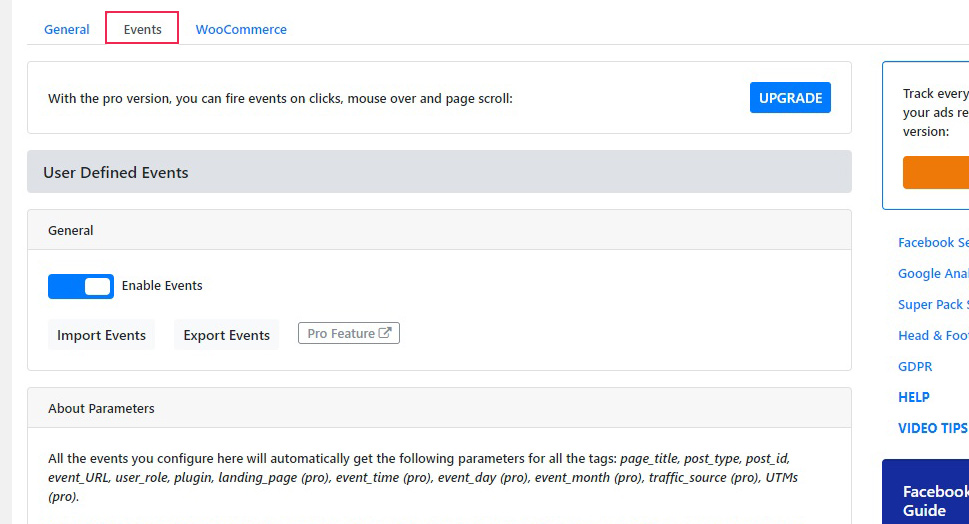
Of course, in order to actually configure an event for Facebook Pixel to track, you need the Events tab, but, as was the case with the manual method, the exact details of Facebook ad campaigns are beyond the scope of this article.
If you are a Google Chrome user, there is an easy way to check whether your Facebook Pixel is working or not, or indeed see whether any Facebook pixels are active on a website you are visiting, once the pixel has been fully set up. To do that, you need to install a Chrome extension: the Facebook Pixel Helper. Simply click Add to Chrome and, when prompted, click Add extension.
And, simple as that, you will be able to see Facebook pixels at work if your extension is active.
In Conclusion
Internet advertising has come a long way from the days of banners and pop-ups. And with Facebook being the most popular social network by a margin of hundreds of millions of users, anyone doing business online would be remiss not to even consider the powerful mechanisms which lurk unseen in website code. And there’s no two ways about it – Facebook Pixel is a powerful tool.


