How to Add Counters in WordPress
Everyone and their grandmother are aware by now of the attention economy. You know that your website has little time to grab attention, and how every ounce of it should be used as effectively as possible. Usually, this means delivering information in a very efficient way, using textual and visual elements from your bag of communication tools.
But how about you add some numbers to that bag? Why not show how many clients your business has had, or how many successful projects you’ve completed, or in how many different national markets you’ve established a presence? These numbers won’t only look impressive while taking up little real estate on your website, but they’ll also convey valuable information efficiently.
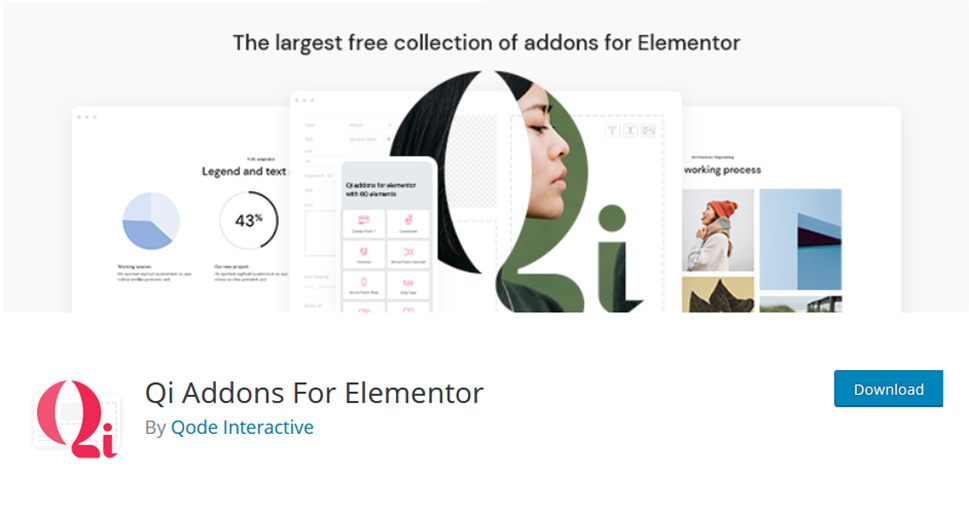
Because we believe that counters can be incredibly valuable elements in websites, we’ve made sure to include them in our Qi Addons for Elementor plugin. It’s the biggest free collection of Elementor addons you’ll find in a single plugin – there are sixty addons in there. Our counters widget is in great company with widgets that help with anything from adding message boxes to creating a text marquee.
For now, however, let’s stick with the counters. We’ll demonstrate to you how to create four counters for your website, and if it gives you any ideas for creating counters of your own – even better! If you prefer watching a video to reading, you can find all this information in a video tutorial.
So let’s get started! Here’s what we’ll cover:

The first thing you should know about adding the counters in WordPress using our Elementor widget is that you’ll also need Elementor Website Builder for it to work. If you’re not there already, head on over to your website dashboard, navigate to Plugins > Add New, search for Elementor and install and activate it.
You can use either the free or the Pro version – it’s completely up to you, as our plugin works with both. And speaking of our plugin, Qi Addons for Elementor, you should search for it and install and activate it, too.
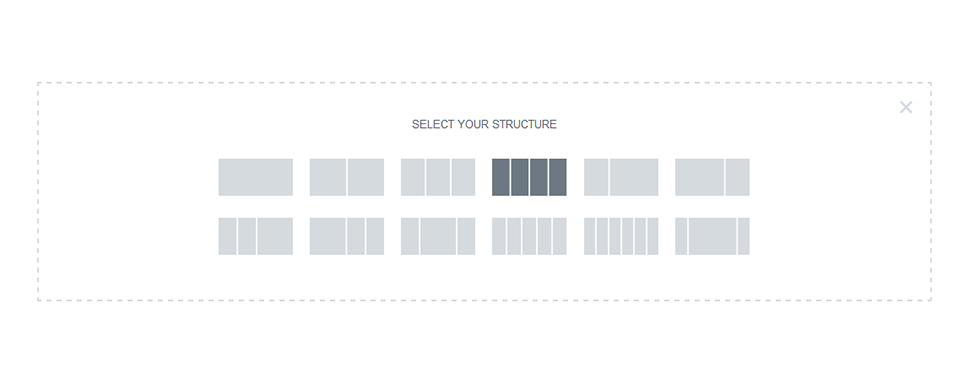
Your next step would be to create a page or post where you want to add the counters or open any existing posts or pages where you think a counter or a few would look good. For this demonstration, we’ve worked on a fresh canvas in the form of a new post, and we’ve chosen to create a four-column section for starters, as we were planning to add four counters.
With the columns in place, the next thing to do is to find the widget – the search function in the left-hand side elements menu will serve perfectly well for this. Typing in “counters” – not “counter,” as that will bring up another widget – and dragging the widget to the closest free column will get the right result.

You shouldn’t worry about filling out the remaining columns. It’s sometimes a good idea to do most of the styling on one of the counters and then just copy it to other columns and change its contents. This might save you quite some time on more demanding projects, and it works perfectly as long as you plan to have the look of your counters somewhat uniform. As you’ll see later, we’ve done the edits and stylings on one counter first, and then we copied and made some content changes to the remaining columns.
The content you’ll see when you first add the widget is there just for show, so you’ll probably want to change it first. The General options you’ll see in the Content tab are the place where you can do all sorts of useful content-related things, from choosing the starting and ending digit of your counter, to setting the steps between the digits, enabling icons and separators, and finally editing the title and text of the counter.
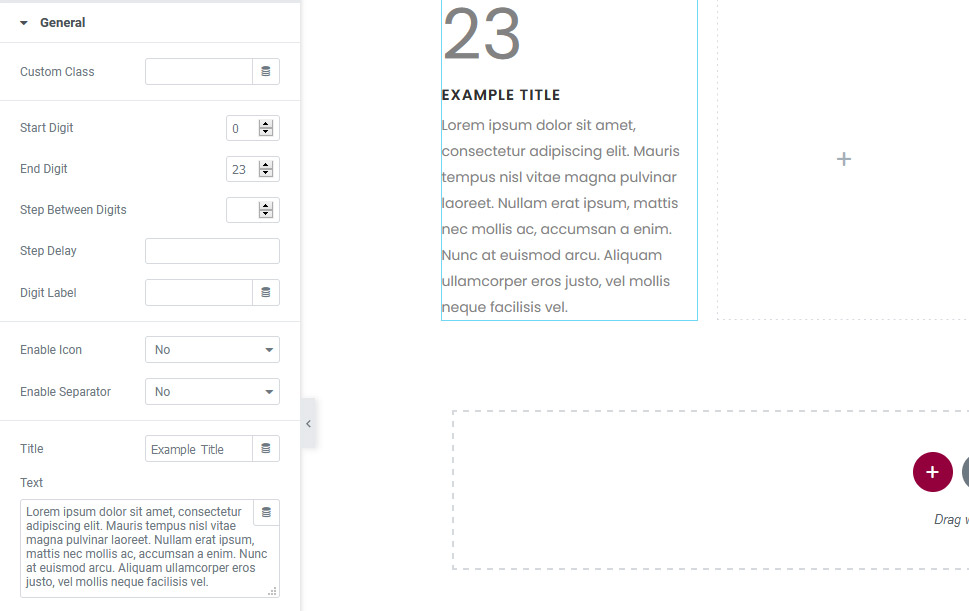
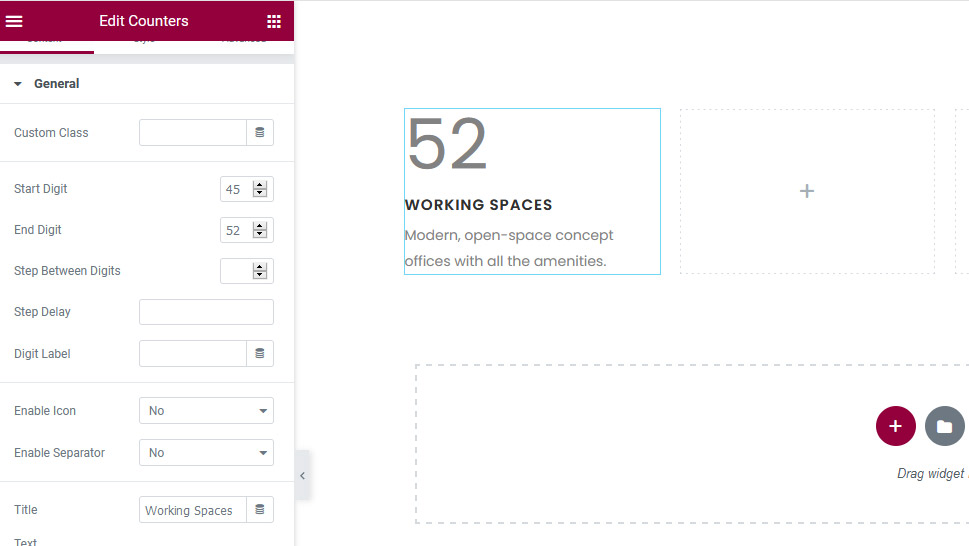
To create our counters, we made a couple of content choices. For one, we’ve decided not to start the count at zero – we chose 45. For the end digit, we chose 52. We also changed the title and the text, to give it some purpose.
Before moving on to stylizing this counter, you should take note of the icon, separator, and related options below the general options. These allow you to add an icon to your number and a separator between the number and the text. You’ll need to enable both in the general options if you want to use them – we opted against them, at least for the time being.
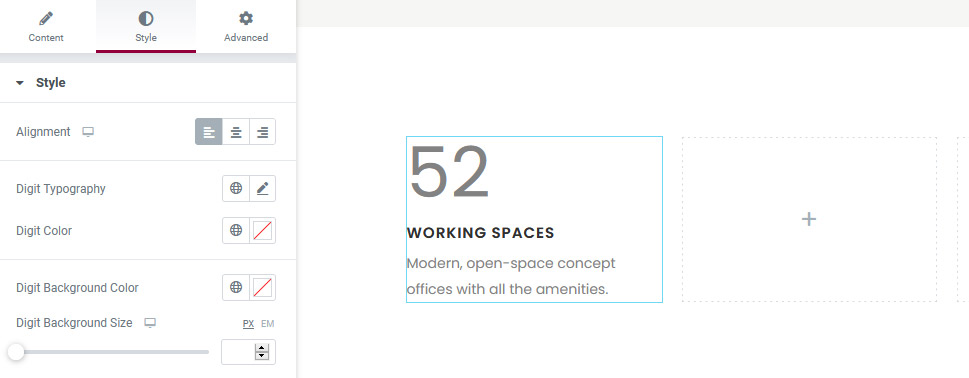
Moving on to Style options in the Style tab, you’ll find a myriad of options that dictate how the contents of your counters look. You might change its alignment, play around with the typography and colors or the digit, the title, and the text, and even set a background for the digit and choose its color and radius.
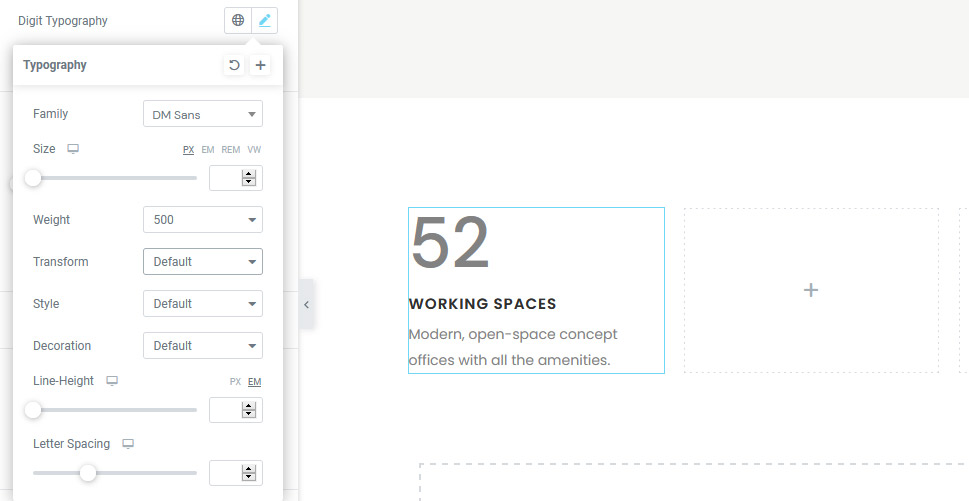
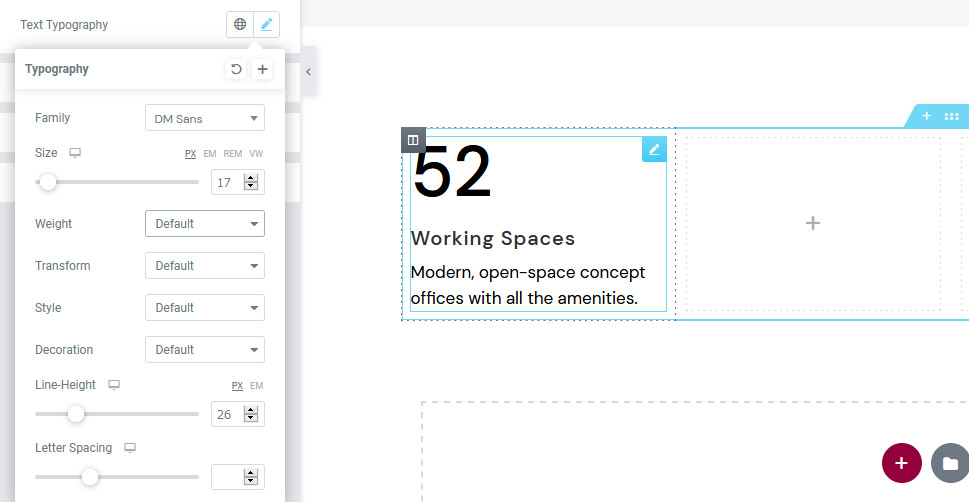
The first thing we’ve done here was making sure our digit looks exactly the way we wanted it to. For starters, we went into Digit Typography and changed the font to DM Sans. Next, we add some weight to it – bumping it to 500.
Next, we changed the digit color to #1e1e1e. We decided against adding a background, or adding the digit stroke effect – which would make our digit an outline – and we moved to fix styling the title tag and content. For the title, we’ve changed the font to DM Sans. We switched the Transform option in Title Typography to Normal, as we didn’t want to use uppercase. We changed the size of the title to 20 pixels, its weight to 500, and the line-height to 26 pixels. The color was set at #1e1e1e.

For the text, we’ve changed the color to #1e1e1e, the font to DM Sans, the size to 17 pixels, and the link height to 26. We didn’t change the weight as the default is around 400, which is what we wanted.
The Spacing Style options come in handy when you want to set the margins and text padding for your counters. The only change we’ve made here was to set the title margin-top to 10 pixels, making it a bit smaller than the default.
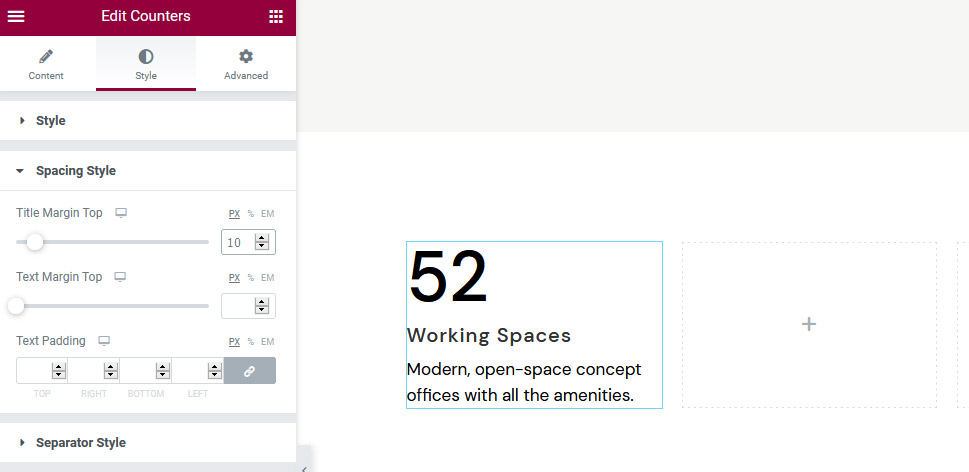
Since we didn’t add a separator or a separator icon, there’s nothing for us to do in the Separator Style options. If you choose to add a separator, these options will allow you to change the color, border style, margins, and width and thickness of the separator. You’ll have some options for the separator icon, too, covering color, font size, and margins.
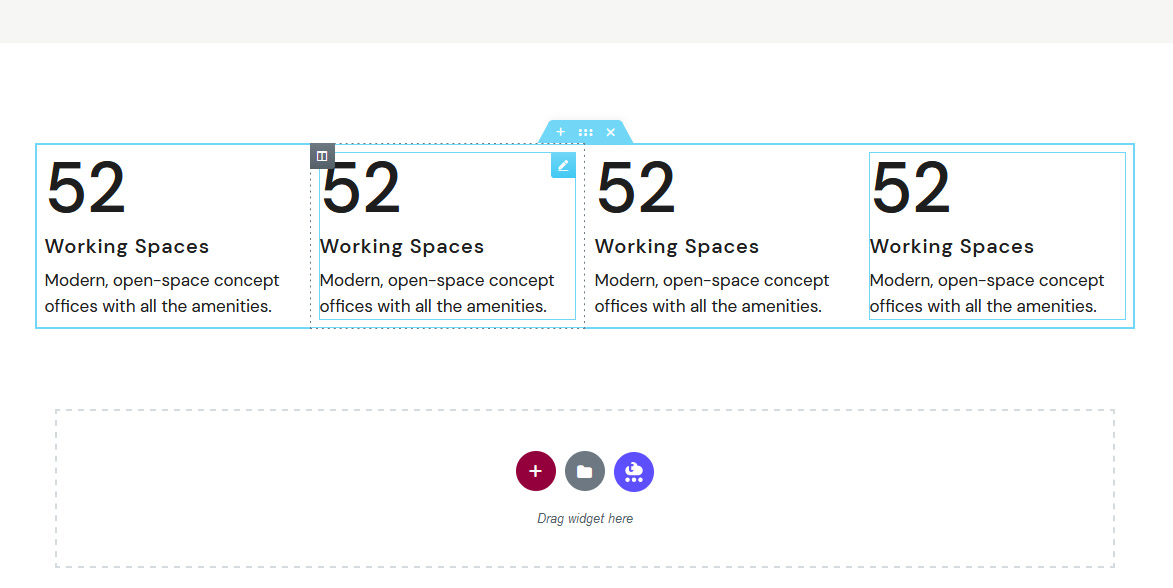
After styling the first counter, it’s time to make three more copies of it. We’ve done it simply by right-clicking on the counter and choosing Duplicate, and we’ve repeated it until we had enough counters for our columns.
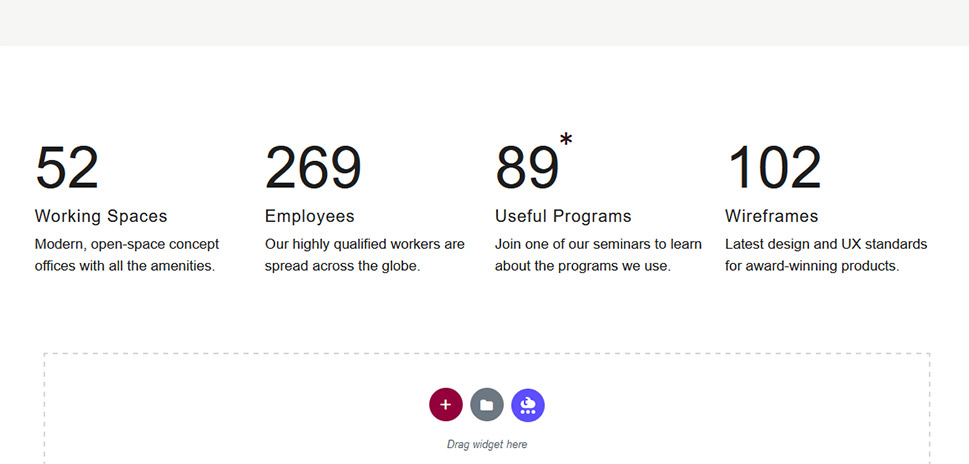
We didn’t change any of the styling options in the new counters. The biggest addition was the asterisk we added to the third counter. From the Content Tab, we went to Icon options, chose the asterisk icon, and set its size to 15 pixels.
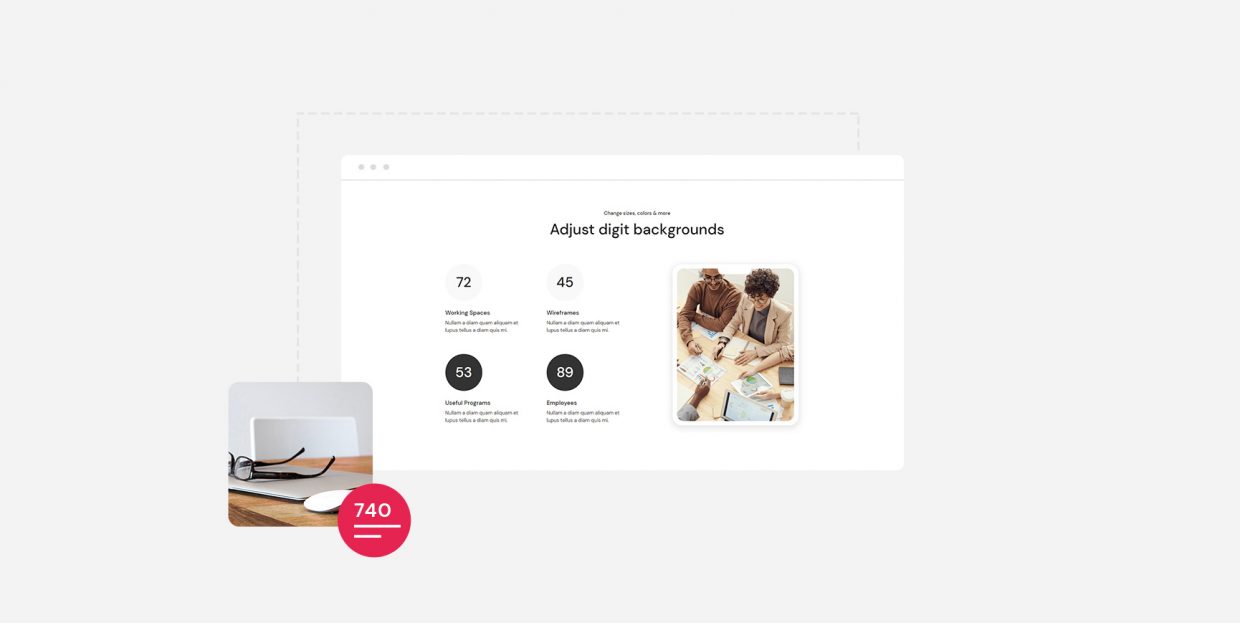
The rest of the changes were more regular. We only switched the content – the second counter got a start digit of 260 and an end digit of 269. The third one went from 72 to 89 in steps 5, and the final counter got a start digit of 93 and an end digit of 102. All the new counters got new copy. This is what the result looked like.
Let’s Wrap It Up!
When you have a website, common sense says that any element that can help you get your message across easier and more effectively is an element you should welcome. If you think that adding counters can be a useful way to showcase your business’ achievements, resources, or capacities, our Counters widget will be there, waiting to help you dazzle your visitors with some awesome numbers.
