How to Get More Traffic With Google Web Stories and WordPress

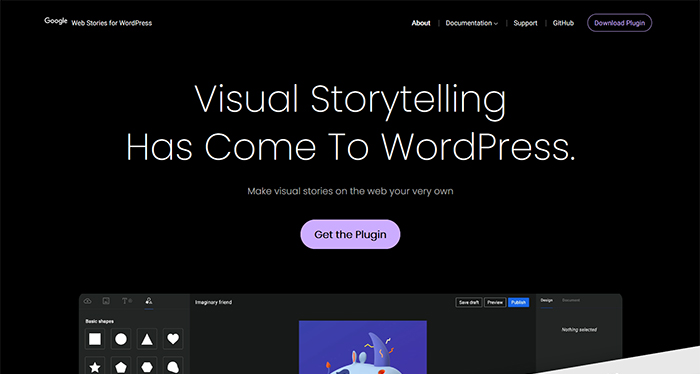
That’s Google for you: just when you thought you’d mastered all of the popular forms of content, the tech giant starts providing support for an entirely new type of content you can add to your arsenal. At least that’s how WordPress users might see Google’s release of the Web Stories for WordPress plugin, which is finally out of beta and readily available for installation.
If you’re not familiar with Web Stories, a type of content that resembles the story format that’s extremely popular on social media, don’t worry. This article will help you catch up on Web Stories and figure out whether they’re something that should interest you. You’ll learn:
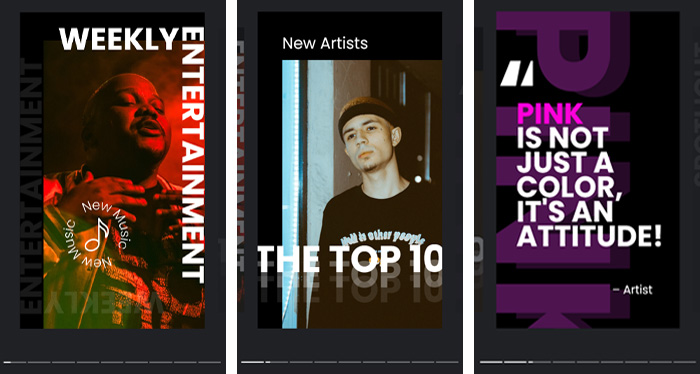
Called AMP Stories initially, Web Stories are the same content format that’s been made famous by Facebook and Instagram Stories. This type of content uses a mix of visuals and text to create a novel storytelling experience. The hype around this type of content is boosted by the fact that it often has a limited lifespan — social media stories are a prime example of what was eventually called “ephemeral content.”
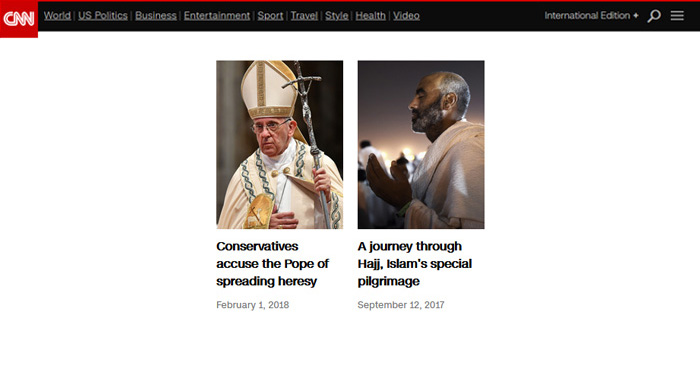
But there’s nothing ephemeral about Web Stories. Google’s take on the story format has the permanence of regular content. You needn’t look further for proof than CNN’s Mobile Visual Stories page, which contains Web Stories that date back as far as 2017.
What’s different with Web Stories for WordPress is that Google has finally released a plugin specifically designed to let WordPress users create and publish Web Stories from their website’s backend. Up until now, Web Stories were created through the AMP app or third-party story builders. With the Web Stories WordPress plugin, Google brought official support for Stories to WordPress.
But why should you care about another type of content when you already have so many ways you can attract audiences and communicate information? A story needs more visuals than your average article, and you know how hard and expensive it can be to find good photos for your content, right?
With that problem out of the way, we can focus on the best reason to use Web Stories — they’re unlike any other type of content. Here are a couple of things that make them special:
-
They are a mobile-first type of content. Stories are created to appeal to mobile viewers, and mobile viewers make up the majority of organic search engine visits.
-
They come with support from Google. They’ll appear in search results, image results. They’re even getting added to Google Discover.
-
You can use them to monetize your content. You can add affiliate links to your stories, although Google recommends adding only one link per story.
-
They support a variety of content. You’ll be able to use almost any kind of content you have on hand for Stories, including video and, eventually, animations.
-
They benefit from Google’s AMP project. Even though AMP has its controversies, Web Stories will benefit from faster loading speeds.
So not only are they easy to create and publish, but they can also rank for different types of search results and cater to a growing body of web users. Plus, you can use them for advertising, which is just the type of cherry on the top you’d expect from Google.


There are several different ways to get into creating Web Stories for your WordPress website. First, however, you need to install the official plugin. So either download it from the plugin’s WordPress page, or find it and install it from the website’s backend – use whatever way of installing a plugin you want, as long as you end up with the plugin installed and activated.
After you’ve installed the plugin, you’ll be able to find the Stories option in the Dashboard menu. It will allow you to navigate to the Stories’ dashboard, a list of all of your stories, or to jump right into creating a new story.
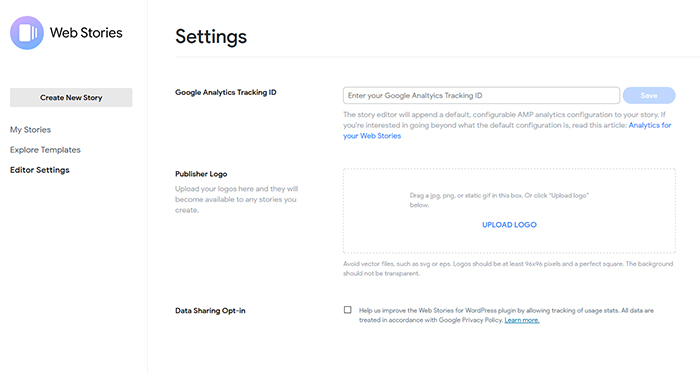
The best place to start getting familiar with the Web Stories plugin is the Dashboard. If you want to go ahead and set everything up, you should know that the plugin comes ready to use out of the bag. Under Editor Settings, you’ll only be able to add a Google Analytics Tracking ID, your logo, and opt-in to data sharing.
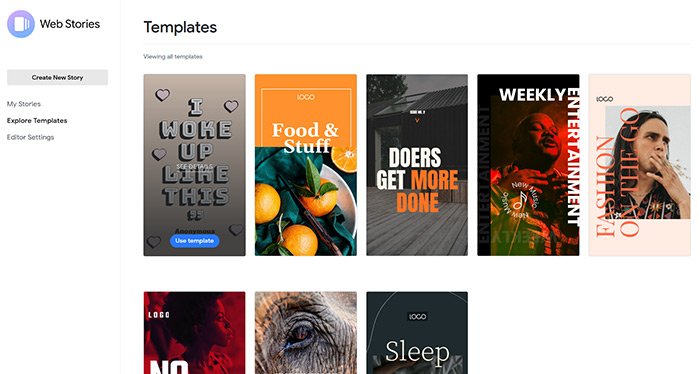
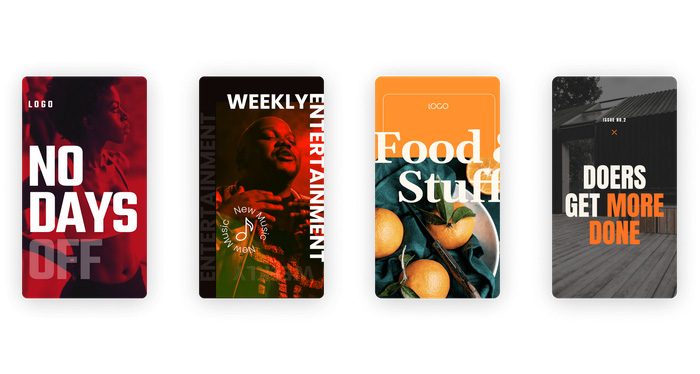
Now you can choose how you want to start creating your first Web Story. The Dashboard gives you easy access to the templates, which look great, and editing them can be a great way to get to know the plugin and all the options it gives you. If that’s your choice, simply click the “Use Template” button which appears when you hover over a template and start exploring.
The other way to do it is to start creating your very own story. Because of the partnerships with Unsplash and Coverr, you don’t have to worry about having enough images or videos for your story. You can just jump in and find something interesting in the libraries. So click that “Create New Story Button,” and you’ll access the editor with its three panels.
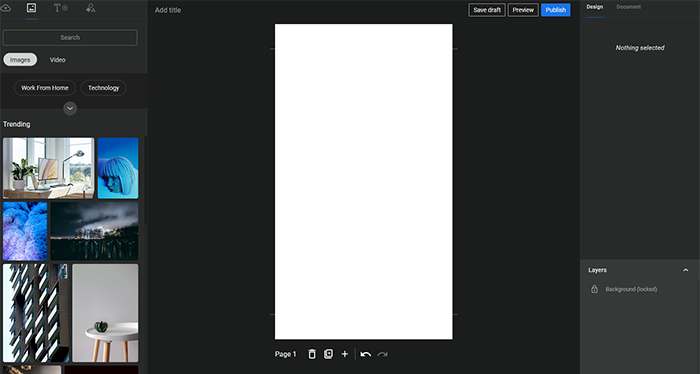
The Web Stories Editor is a fully drag-and-drop editor that consists of three different panels: the Element Panel to the left, the Workspace in the center, and the Design Panel to the right.
The Element Panel
The Element Panel, like the name says, is where you’ll find all the elements you can use to create stories. As of September 2020, those elements include photos, videos, and text, with plans to add animations later on.
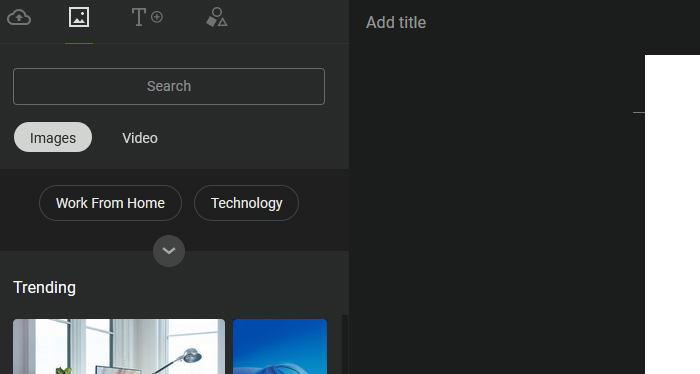
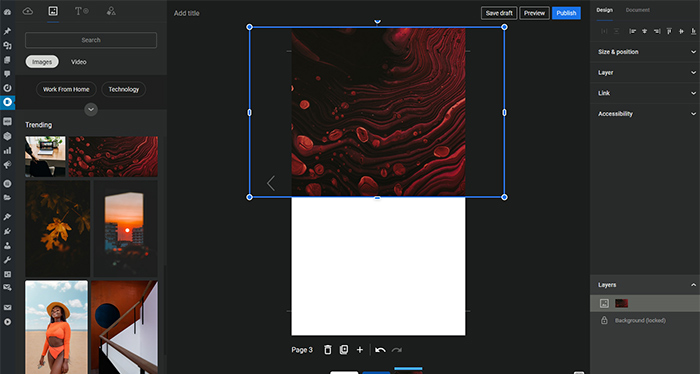
The first section in the Elements menu lets you work with the files you have in your Media Library. There is a search functionality there, as well as a drop-down menu that allows you to select whether you’re looking at photo or video content. After pressing the blue Upload button, you can select files from your computer or the Media Library and upload them to the story, making them appear in the Workspace. You can also add files to the workspace by clicking them – one click will do – or by dragging them.
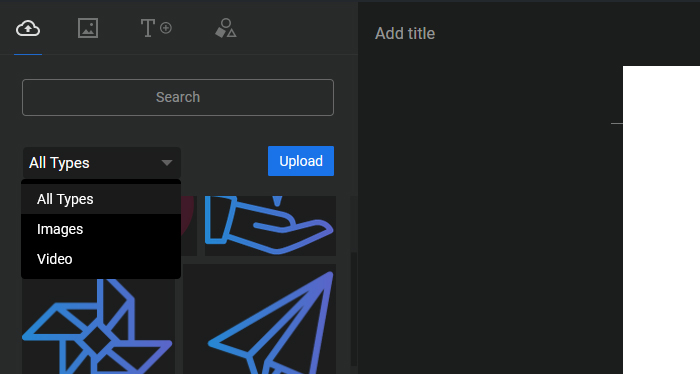
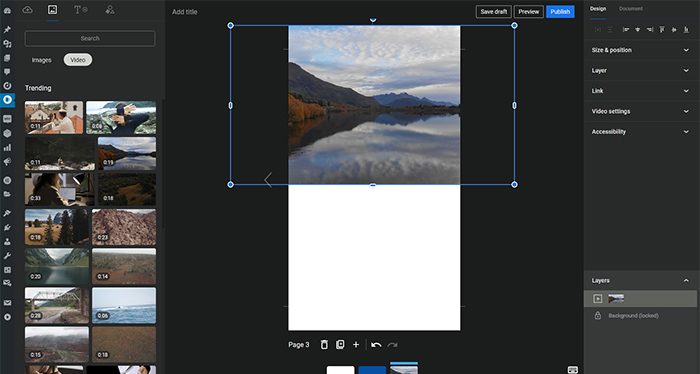
The next section allows you to access the libraries of Google’s image and video partners on the project, Unsplash and Coverr. Once again, you’ll have the search functionality at your disposal. When looking through photos, there will be keywords to give you content ideas, and you’ll see a selection of trending images. For videos, you’ll only see the trending videos. Either way, you can add the content by clicking or dragging it to the Workspace.
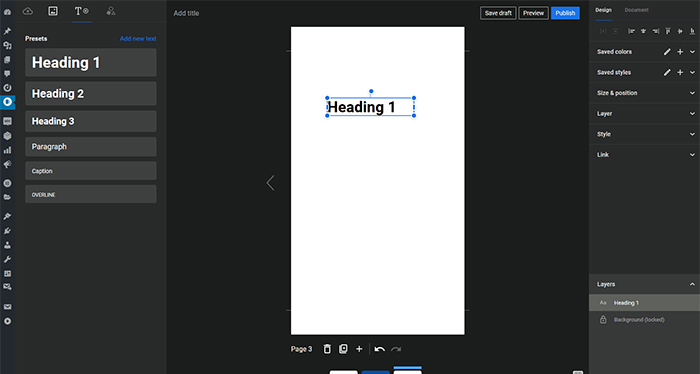
The third section gives you the ability to add text to your stories. Clicking the “T” icon will show you the style presets you have at your disposal. To add new text, either click on one of the styles or press the “Add new text” button. You can also click the + icon next to the “T” where you selected the text option in the first place.

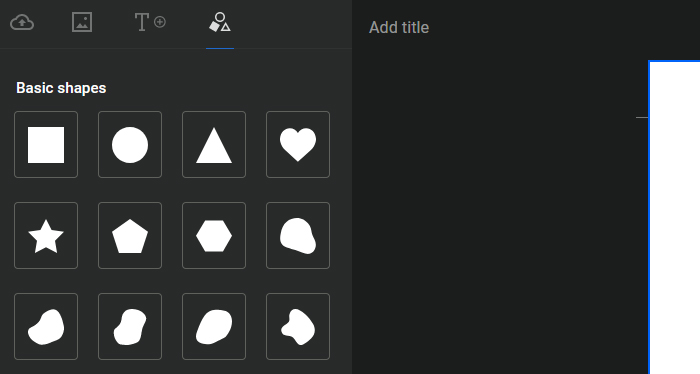
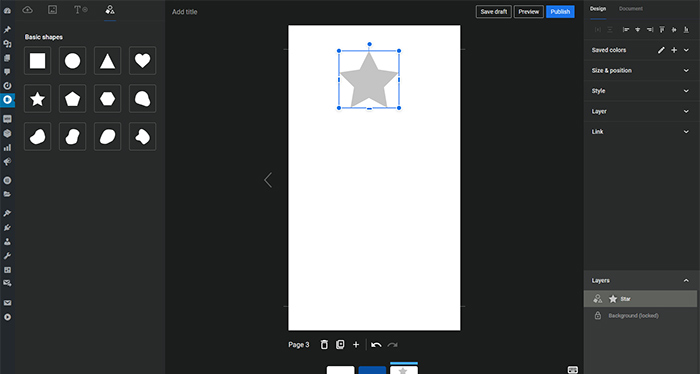
The final section is the one you go to when you want to add some shapes to your story. You’ll have a selection of twelve shapes, and you can add them, once again, by clicking on them, or by dragging them to the Workspace.
The Workspace
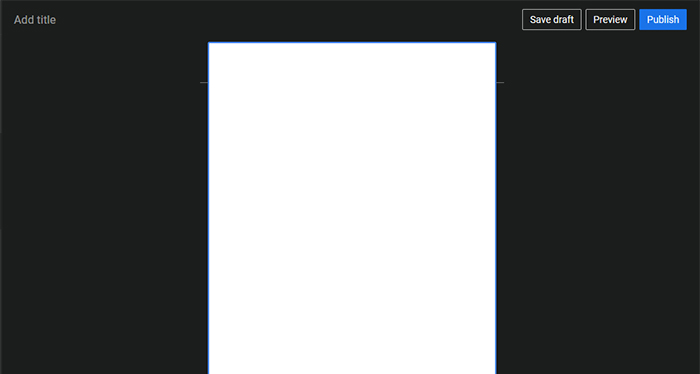
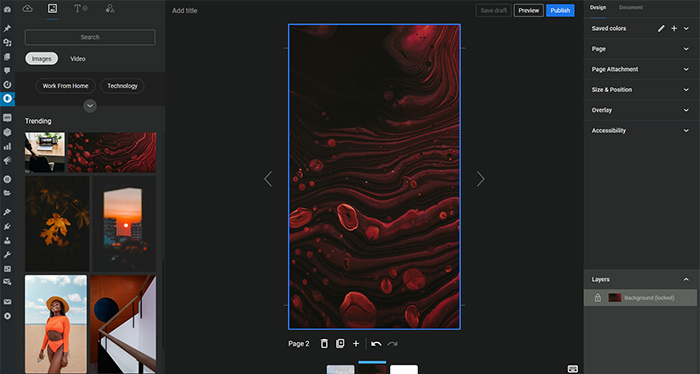
Set smack right in the middle of the window, the Workspace is your canvas for creating Google Web Stories. You can drag elements to it, move them around, resize and reshape them. You can even change the color from the default white background into any color you want – you’ll just have to do it from the Design Panel to the right. As for the Workspace, it has some options at the top and then a couple at the bottom.
The options you’ll see at the top of the Workspace window include a space for adding a title to the story, as well as buttons that let you save the draft of your story, preview it, and publish it.
The options at the bottom of the Workspace include the buttons for deleting, duplicating, creating a new page, as well as undo and redo buttons. Underneath them, you’ll see a navigation tool that shows all the pages in your story. To the right, you’ll notice buttons that let you bring up a list of keyboard shortcuts, enable the safe zone, and switch to grid view.
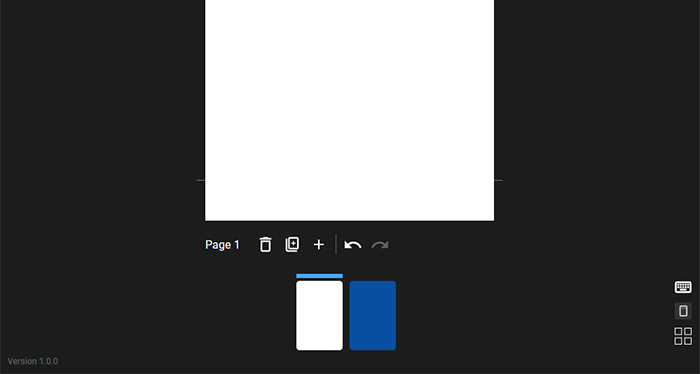
The “Enable Safe Zone” toggle is one you should usually keep on. What it does is adds two horizontal lines near the top and the bottom of the story page, demarcating the area that’s safe for adding content without worry of it being clipped when viewed on different devices. Put anything above and below the lines and people might not be able to see it on different devices.
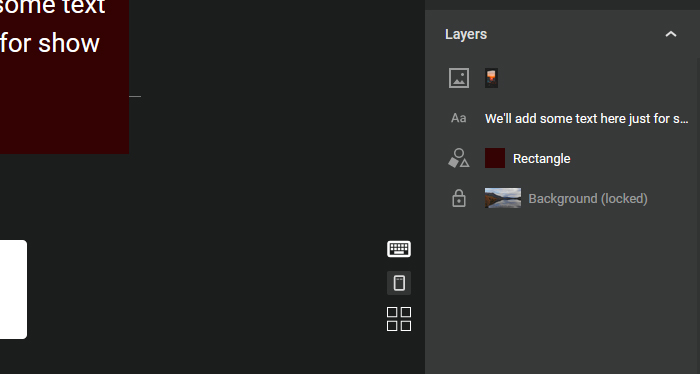
The Design Panel
The Design Panel is divided into two sections. The upper portion of the panel contains the section with all the options you can use to modify different elements. These options will change depending on the element you’re editing, and they’ll allow you to do many of things you can already do in the Workspace, such as resizing, setting backgrounds, or changing the position of the element. They’ll also add new options on top of it.
If you’re adding images, the options you’ll see in the Design Panel include the size and position card, where you can also set your page to be the background and rotate it, the layer card where you set the opacity of the image, the link card where you can add a link to the image, and the accessibility card that allows you to add assistive text for visually impaired users.
Choosing a video will bring up similar option cards. The size and position, layers, and link will be the same. They’ll be followed by a video settings card, which lets you set the video to play only once or loop it, and the accessibility card where you can now also title the video and change its static image.
When you add text, the first two cards will contain shortcuts to the colors and styles you’ve saved on previous uses. The size and position, layer, and link cards will be familiar to you – they’re the same ones you’ll see when adding images. The style card, however, will contain options for choosing the font, the size, the weight, and the alignment of the text, as well as its color, fill, and padding.
Adding shapes will bring up the saved colors, size and position, layer, and link cards like the ones you’ve seen before. The style card will have only the option to choose the color of the shape.
Selecting the background will add two menu cards to the panel, the page and page attachment cards that allow you to choose the color of the background and add an attachment to the page. If you add an image or a video to the background, either from the size and position card or by dragging the element to the edge of the page once you’ve added it to the Workspace, an overlay card will show up to give you some overlay options to choose from.
The bottom section of the Design Panel will contain a list of all the elements you’ve added to a page. The section is called Layers, and it will be of great use once you start creating more complex pages as they make navigating through the elements very easy. The best way to understand how useful this section is would be to head over to a template and check out a couple of Layer cards for different pages. It’ll give you some great ideas about using various shapes, images, and options to create different effects.
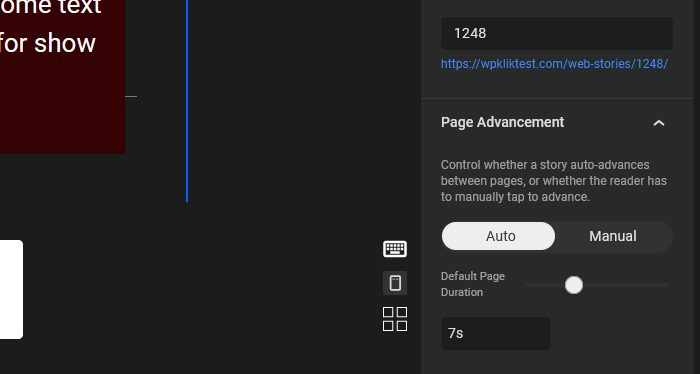
The Document Panel
The plugin’s Document Panel contains all the standard options you’d expect from a document panel. You can set publishing options that include a publishing date and your logo, add an excerpt, and choose a permalink.
It’s important that you scroll all the way down to the bottom of the panel because that’s where the Page Advancement options are. You can set it to auto and manual, and you can also choose the default page duration.
Because Web Stories have been online for a while now, albeit under a different name, there are plenty of tips that could help you create great Web Stories. The most obvious one would be to use visuals that were shot in portrait format. Otherwise, you’ll have to crop them.
Stories are primarily a visual format. Images come first; text comes second. You should be informative, funny, or witty with your text, but only after you’ve made sure, you’ve ramped up the eye candy factor.
You can use up to 200 characters of text per page. Google recommends you keep titles under 40-characters long. If you’re having trouble making your text pop out, remember to use contrast and highlighting to your advantage.
You’ll be able to place links in your stories, too. While that might be an excellent SEO bonus to your content, it will get you into trouble if you use more than one link per page and if you fail to include disclosures for outgoing links. You should also ensure that your stories are self-contained — avoid placing vital information behind external links.
Let’s Wrap It Up!
If you feel like you’re late for the party with the story type of content, you can relax: Google’s Web Stories for WordPress is finally here! The plugin brings you an intuitive tool for building story content and publishing it on your WordPress website, so download it now and see what Web Stories for WordPress have in store for you.
