How to Show Before and After Photos in WordPress
Images are an important part of content marketing with the power to attract more audience to your site and enhance the overall user experience. They can entertain, inform, inspire, and engage users all at once, which is why you should strive to do your absolute best to incorporate attractive and relevant imagery into your website content.
Now, while images are powerful enough as it is, sometimes simply putting up visuals on your site isn’t enough to keep visitors interested. That’s why we suggest that you take things up a notch and consider adding interactive images to your site. Not only is this an awesome way of getting your audience to engage further with your content, but it can also help them learn more about your brand or business as a whole. Take before and after images, for example. These kinds of images are used side by side to show small differences between two images, and as such, they are often used as simple static images. However, by adding a neat slider effect to these two images, you will instantly allow more interactivity and make things more exciting for users.
If you’re interested in learning how to add a before and after slider effect in WordPress, you’ll be happy to learn it’s quite simple to do if you use the help of a suitable plugin. We will show you all the steps needed to add this useful feature to your WordPress site using the Before/After Comparison Slider widget from the Qi Addons for Elementor plugin, so make sure to read on.

What Is a Before and After Image Slider and Why Is It Useful
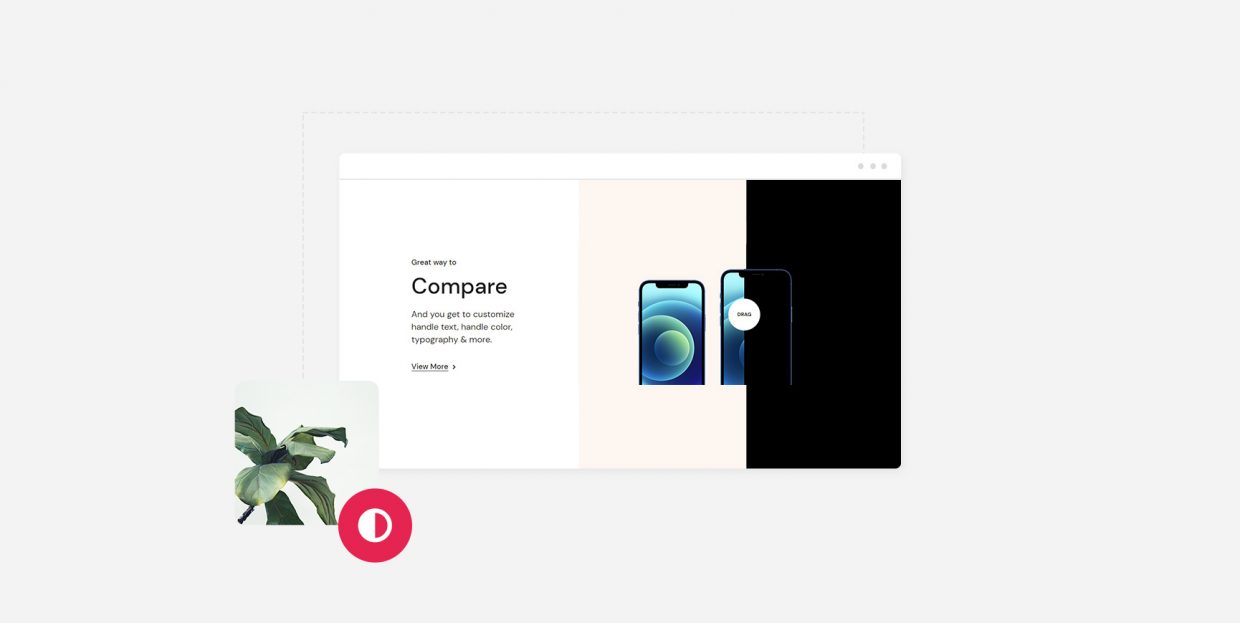
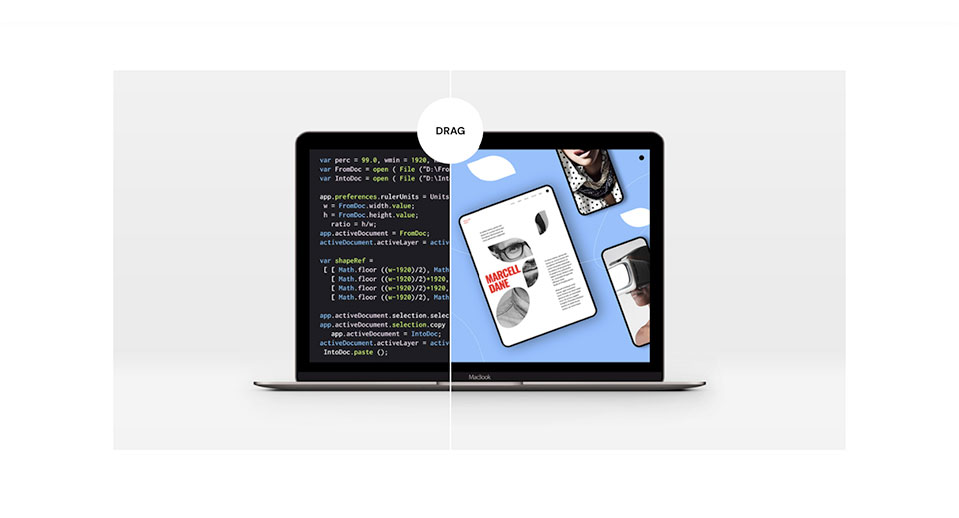
As we already mentioned in the beginning, before and after images usually consist of two images placed side by side to showcase and emphasize any kind of difference or progress. Now, by adding a slider effect to these two images, you give the users the possibility to uncover the full size of both images by moving the slider handle and compare them in a fun and engaging manner. For example, if the slider is placed horizontally, users will be able to reveal the first image by moving the slider with their mouse all the way to the right. In the same way, the second image will be shown once they move the slider all the way to the left.
This type of slider effect can be useful for anyone who wants to impress and inspire their audience, or simply showcase the value and effectiveness of their products or services in an interactive way. Therefore, this type of effect can be used by all kinds of businesses, be they big or small, related to photography, design, beauty, health, or something else entirely.
Say that you have a fitness program that you want to present to your potential customers. You will be able to potentially boost your sales by displaying before and after photos of people who’ve managed to lose weight and/or get more muscle after using your program. In short, you will attract the interest of users by allowing them to see the visual evidence of your claims.
Adding a Before and After Image Slider With the Qi Addons for Elementor Plugin
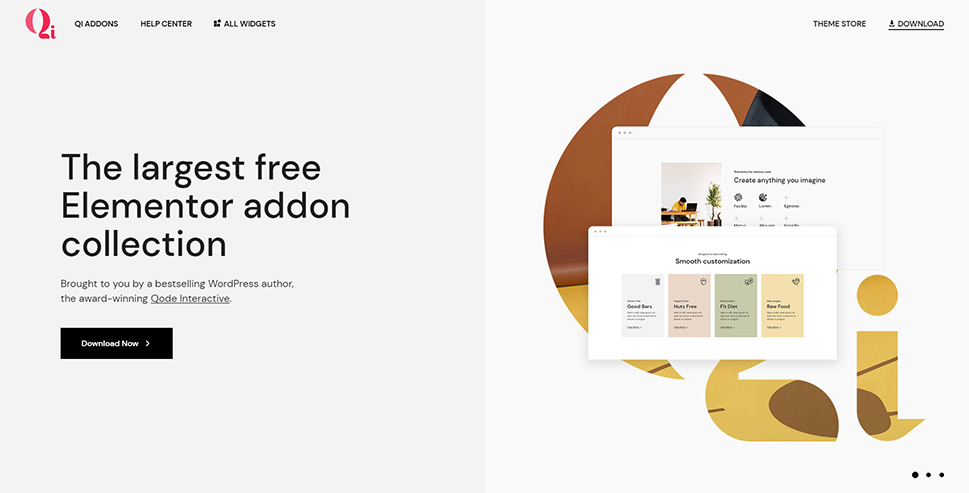
Now, while there are many different plugins on the web that will allow you to add this type of image slider to your site, we’ve decided to demonstrate this using our Qi Addons for Elementor plugin. One of the many things that set this plugin apart is the fact it comes with a set of 60 flexible widgets that allow you to design and customize all sorts of elements and sections – from typography and creative elements to business and WooCommerce features. In short, you can use Qi Addons for Elementor for just about any type of website out there, completely for free.
Among these 60 widgets, the Before/After Comparison Slider widget can be used to create interactive comparison sliders and add images with complete ease. It allows you to choose from two orientation types – horizontal and vertical, add your before and after images so users can drag the slider handle and uncover each image, customize the handle text, color, typography, and so on.
Before we begin, we should remind you that Qi Addons for Elementor is the plugin created for the Elementor page builder. Therefore, you should have Elementor installed on your site first before you proceed to install and use the Qi Addons for Elementor plugin.
Also, in case you prefer to watch videos, we’ve created a video tutorial on the same topic, so feel free to check it out:
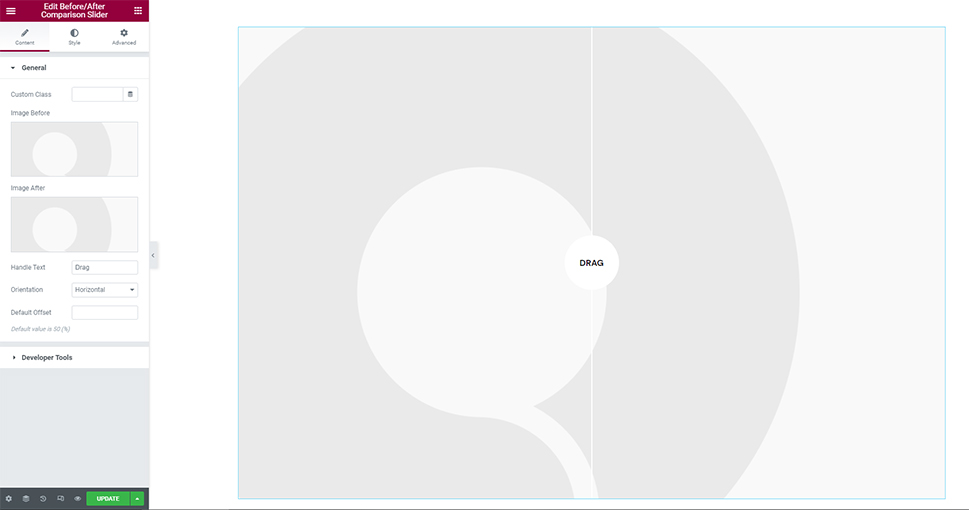
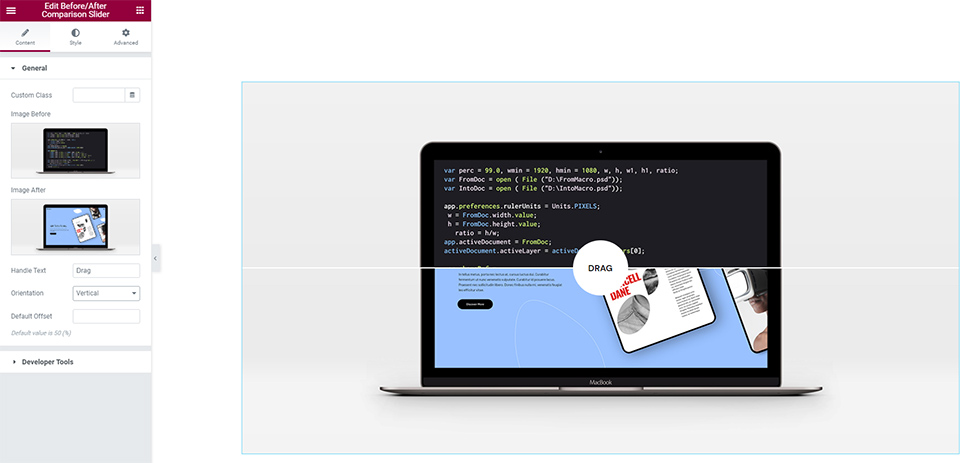
First things first, head to the backend in your page/post editor and, in the Elementor sidebar, search for the Before/After Comparison Slider widget. Then, simply drag it to the right side of your screen.
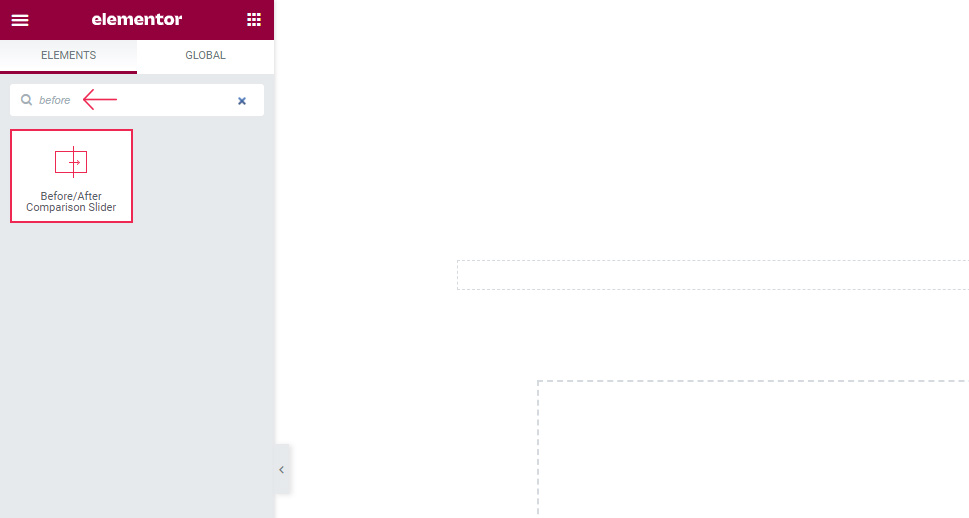
As you can see, the default widget has a horizontal alignment and enough space reserved for two images.
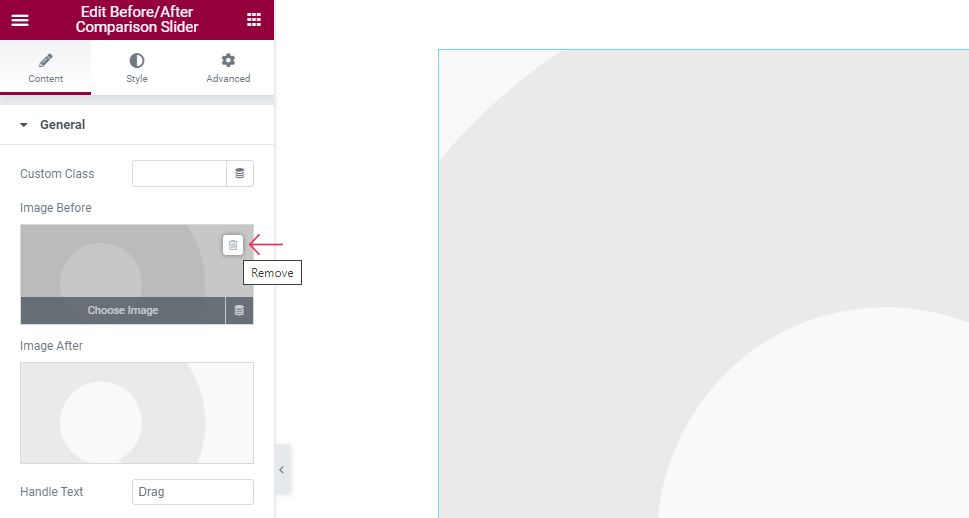
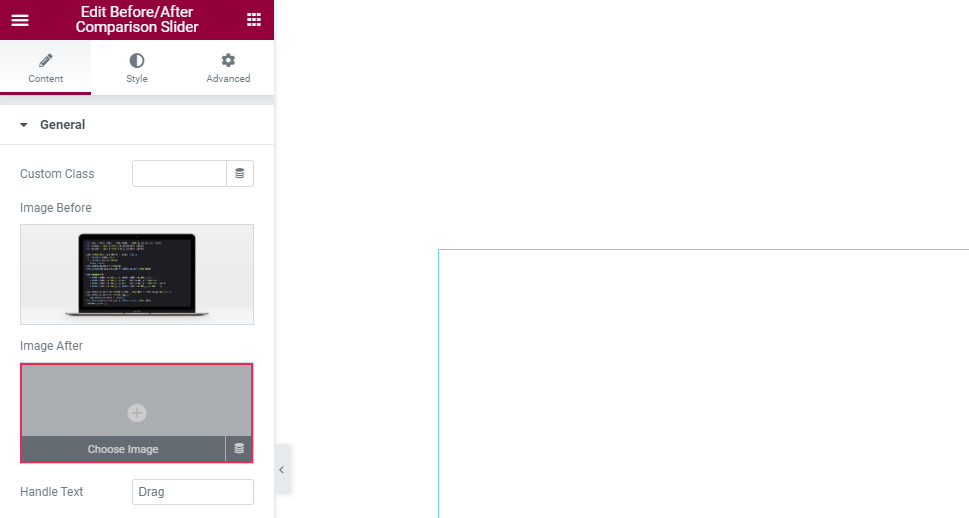
In the Content tab, you will be able to click on the little bin icon and remove the default images for your Before and After images.
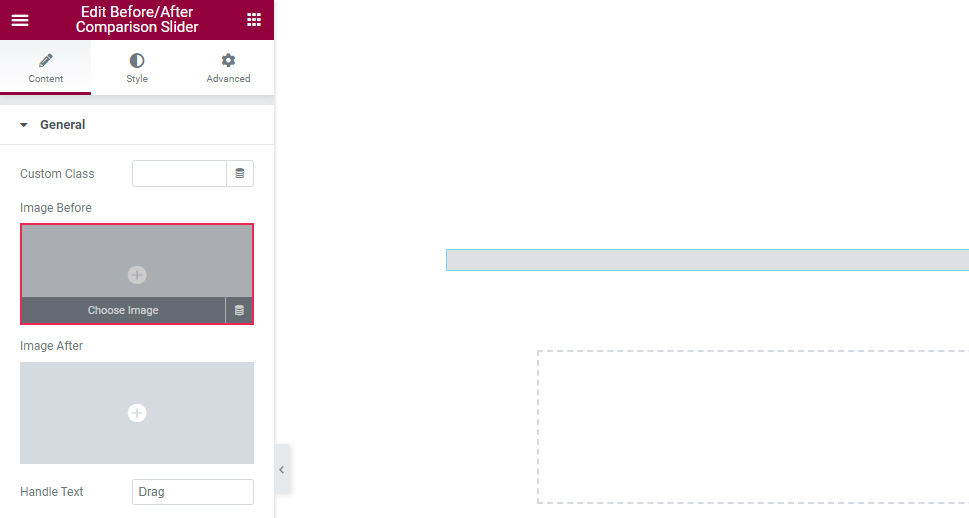
Afterward, you can go ahead and add your own by clicking anywhere on the image fields.
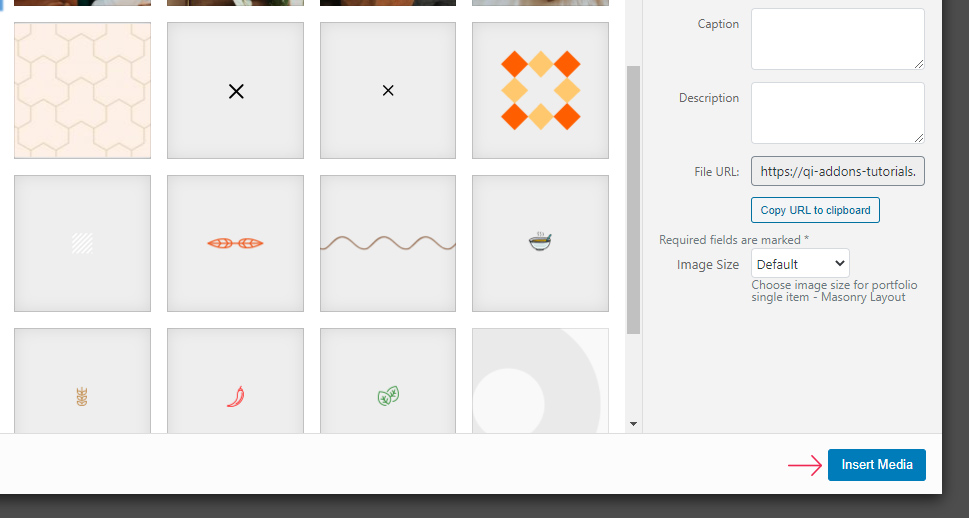
Hit the Insert Media button once you select your Before image. Then, repeat the same process for your After image.
Since you can’t drag the divider in the backend, you should go to the front end of your page to see what it looks like. You can simply open it in another tab for more convenience.
Make sure to refresh your page in order to have the new element displayed. Drag your divider from right to left (or vice versa) to see the way your image slider looks (like we did below):
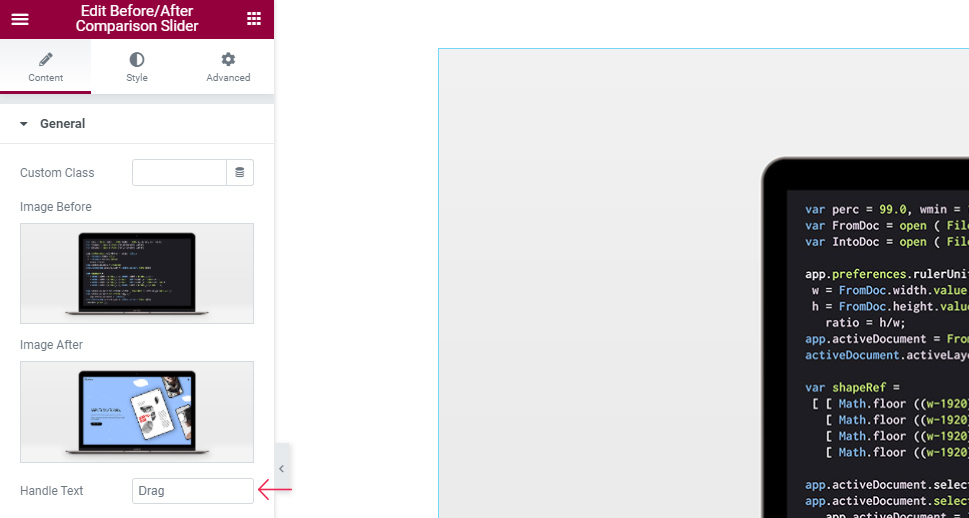
Right below the option that allows you to select your images, there’s the Handle Text option. This is actually the text that will appear on your divider. Ours is set to Drag by default, but you can change yours to anything you like.
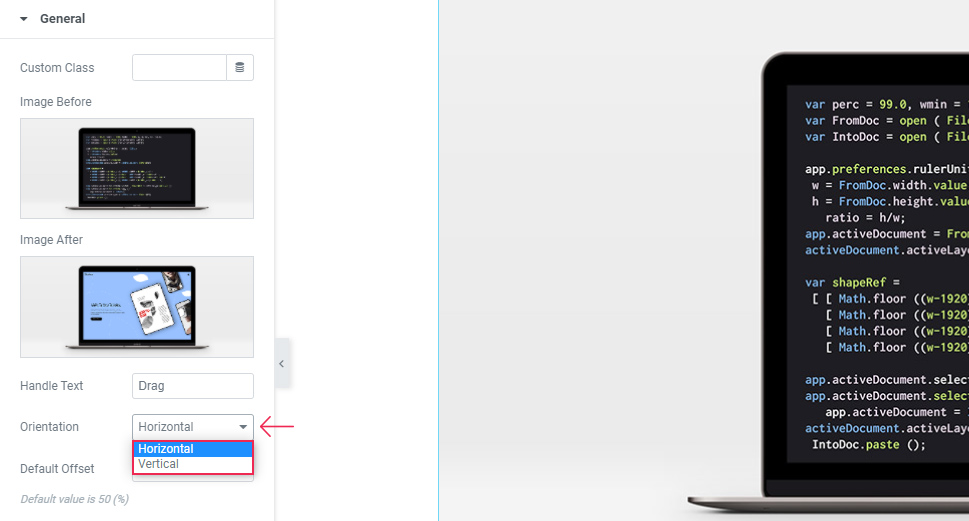
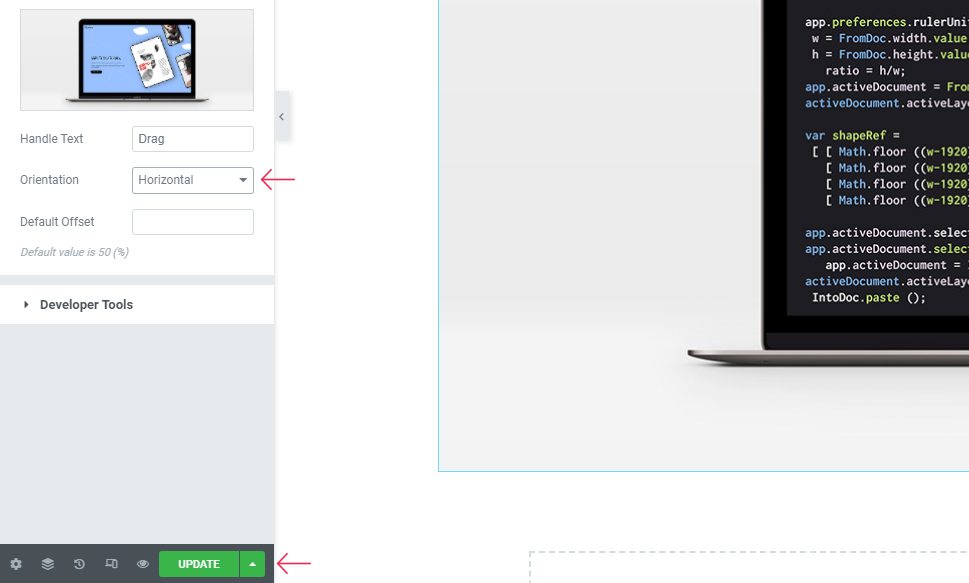
Next, the Orientation option can be used to switch your slider from Horizontal to Vertical.
And there you have it – our slider now has a vertical orientation.
Once you Update your slider you will be able to see the way the drag effect looks with the freshly customized settings.
Now that we’ve shown you what the vertical orientation can look like, we are going to switch this option back to Horizontal and hit Update. Of course, you should pick one that best works for you.
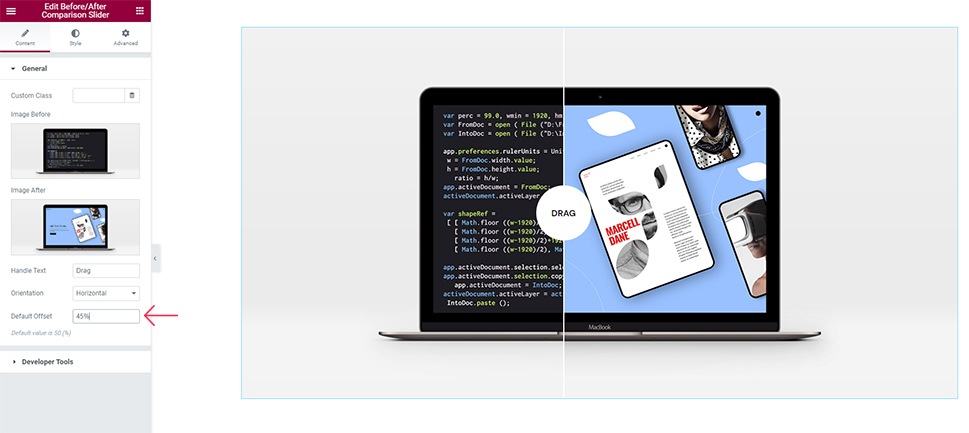
The Default Offset option allows you to adjust the starting position of the divider between your images. It is set to 50 percent by default, which means it is positioned right in the middle.
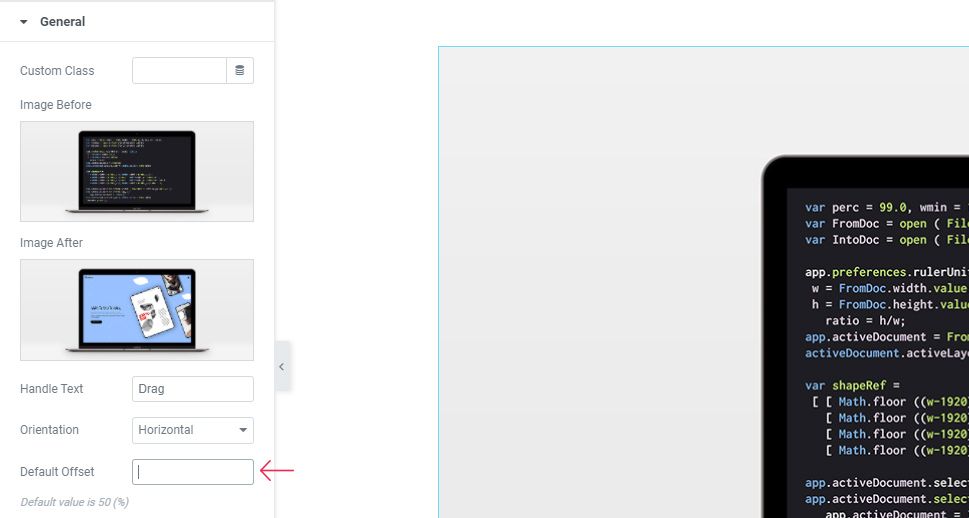
Setting a different value here will either move the divider position to the left or to the right. By setting it to something just a bit smaller, like 45 percent (like we did), you can instantly see that its position is now moved to the left. We’ve kept this setting for our divider position, but as with any other option, you can pick any other value you like.
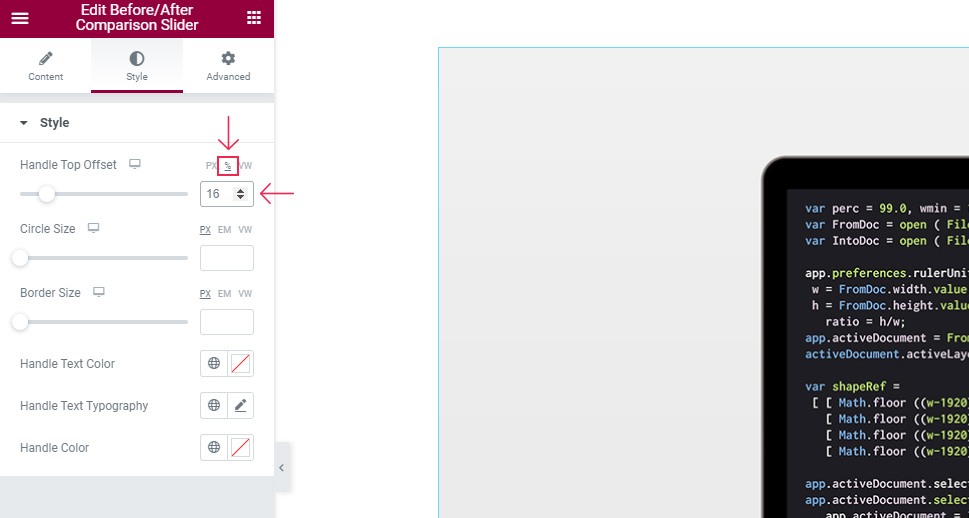
Moving on to the Style tab – there are a few options here related to the styling of your slider. The first one is the Handle Top Offset. Namely, it allows you to change the position of the divider handle. You can either use the slider to adjust it or type in a new value. We’ve switched the value to percentages for ours and set it to 16 percent.
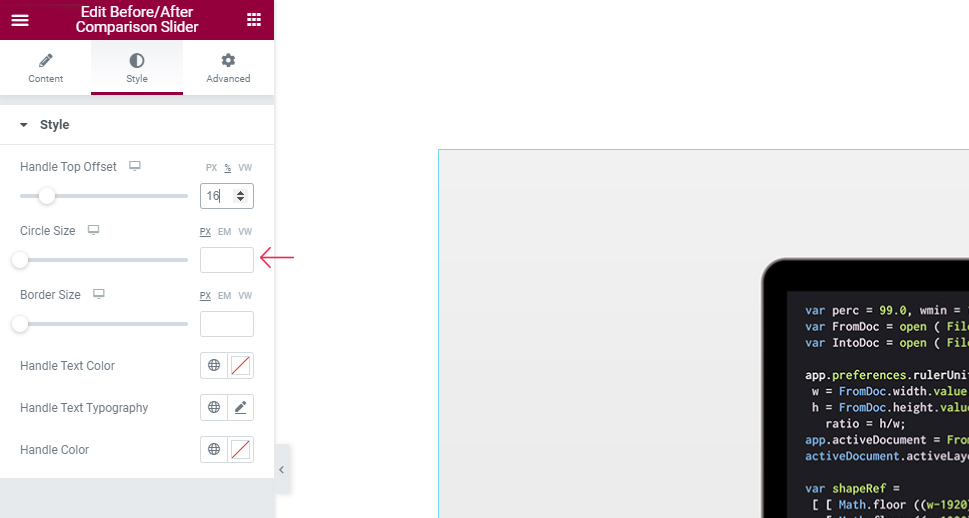
Right below, there’s the option to adjust the handle Circle Size. The same rules apply to this option as well – you can either move the slider left or right to adjust the size or simply enter the desired value.
The Border Size option allows you to adjust the width of the divider line. We’ve left ours at default, but if you want, you can adjust this option in the same way as the previous two.

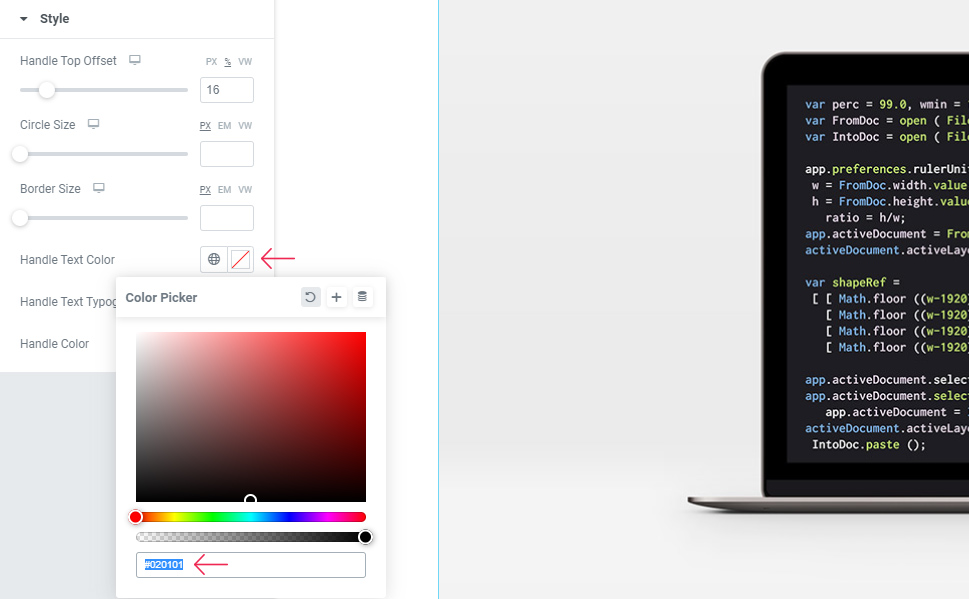
Now, the Text Color option changes the color of your handle text. You can easily change it to any color you prefer by using the Color Picker field (either by using the color slider or by entering a hex code).
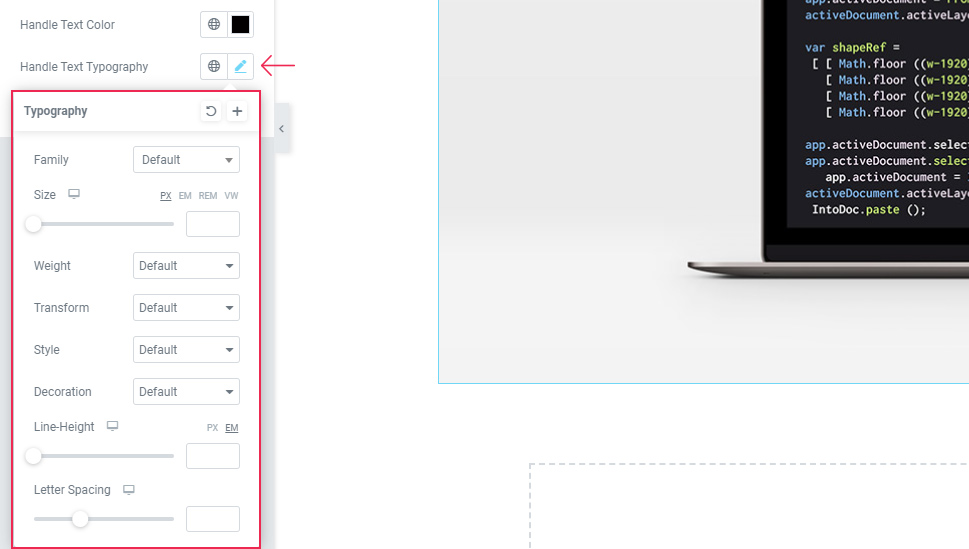
Clicking on the Handle Typography option opens a whole new set of typography-related options. Here you will be able to change the look of the text inside the divider.
You will get to choose a font family (either by scrolling through the list of fonts or entering your own), change the font size (by using the slider or entering a custom value), set the font Weight, use the text Transform option, Style, Decoration, and more.
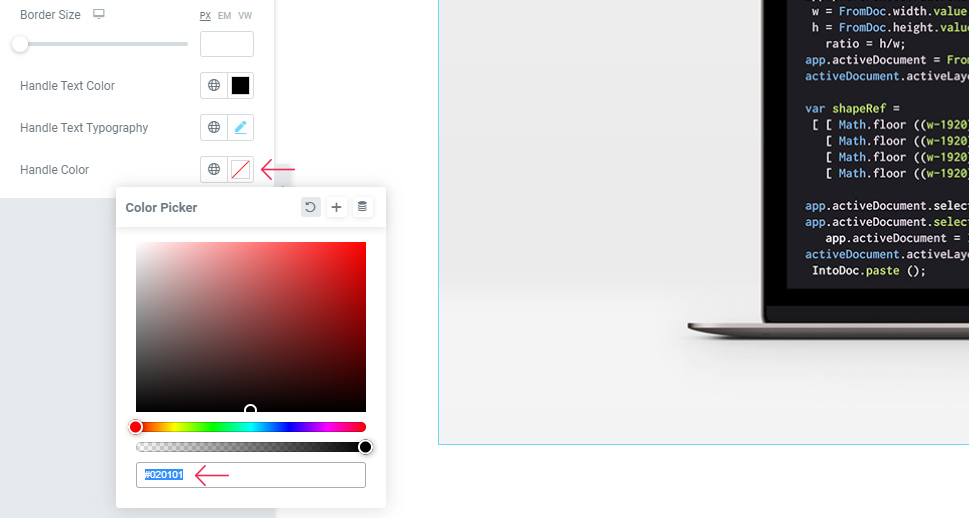
Finally, the Handle Color option will allow you to change the color of the divider and the handle circle. This is useful as it can let you match these elements with the color palette you have on your images or the rest of your site design.
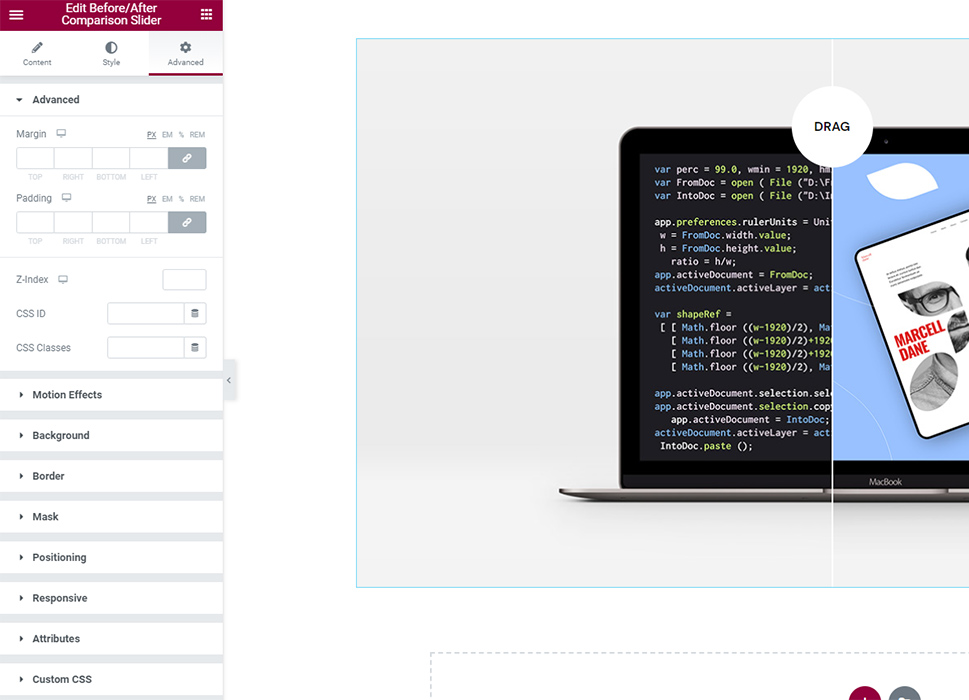
The last, Advanced tab has a few handy options related to positioning, responsiveness, entrance animations, and so on. Still, as it is present in all other Elementor widgets as well, we won’t be covering them in this tutorial.
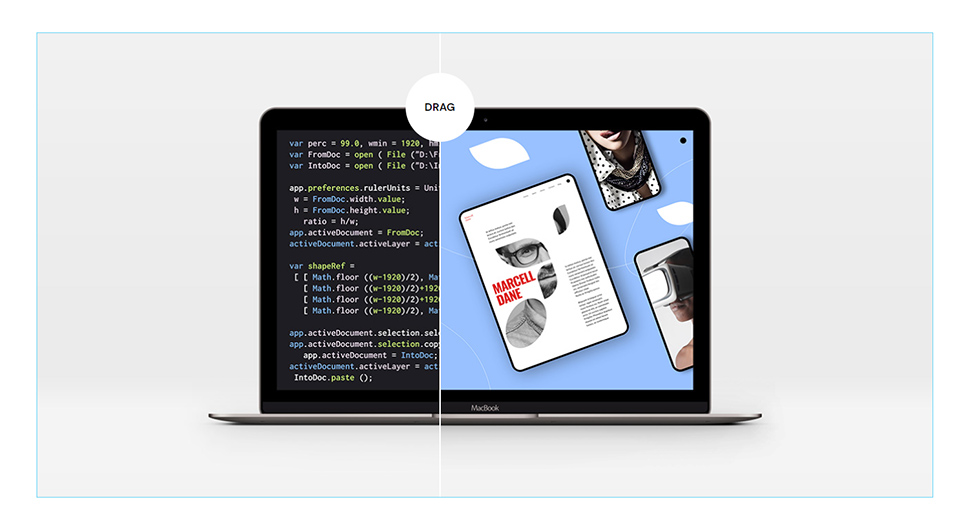
After you hit the Update button, refresh the page with your slider to see what it looks like live.
Wrapping Things Up
Displaying before and after images on your WordPress site is a fun and interactive way for your visitors to compare two different images and allow them to see the visual benefits of your products and services. By letting them use the slider effect to reveal the differences between your images, you increase the potential of engaging your audience further with your brand, which can only lead to more sales in the long run. So, no matter if you want to showcase the results of using your cleaning products, skincare products, weight loss results of your fitness or food program, or anything else, a before and after image slider is a way to go.
Adding a slider effect to your before and after images is as easy as it can get if you use the help of a Before/After Comparison Slider widget from the Qi Addons for Elementor plugin. It is super intuitive and contains plenty of customization options that allow you to create a unique-looking slider that best fits with your overall page design. Go ahead and follow our instructions and you’ll be able to display your beautiful before and after photos on your WordPress site in no time.
